|
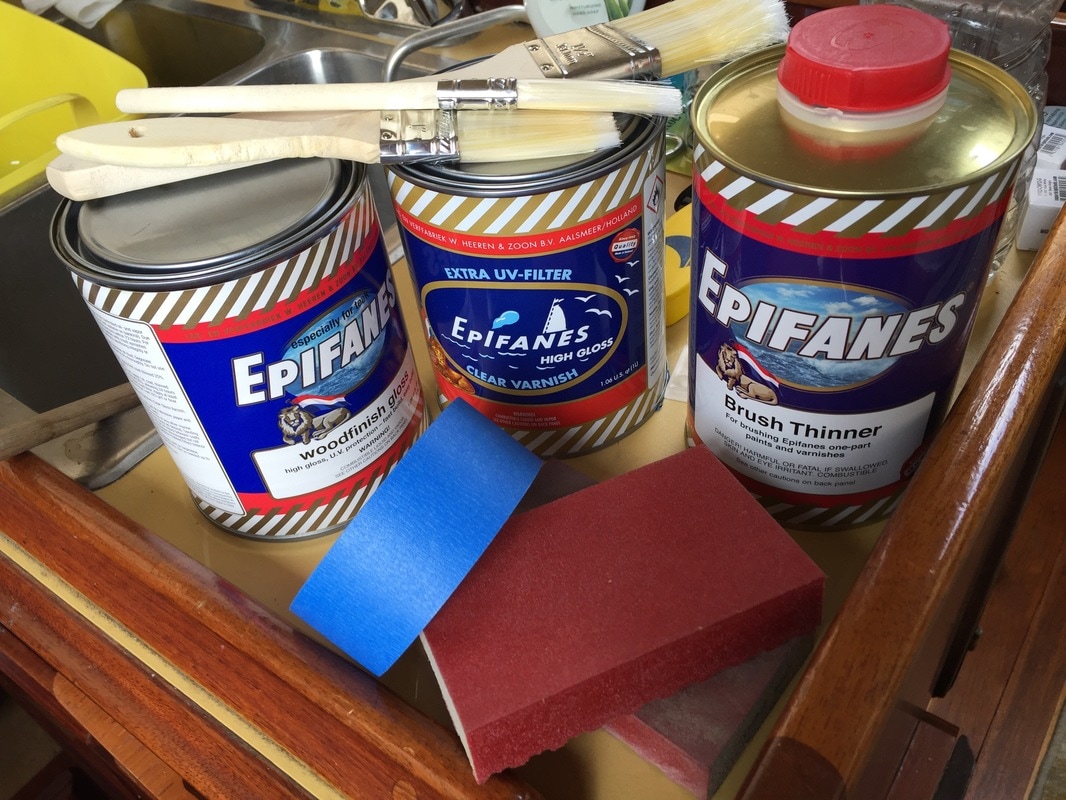
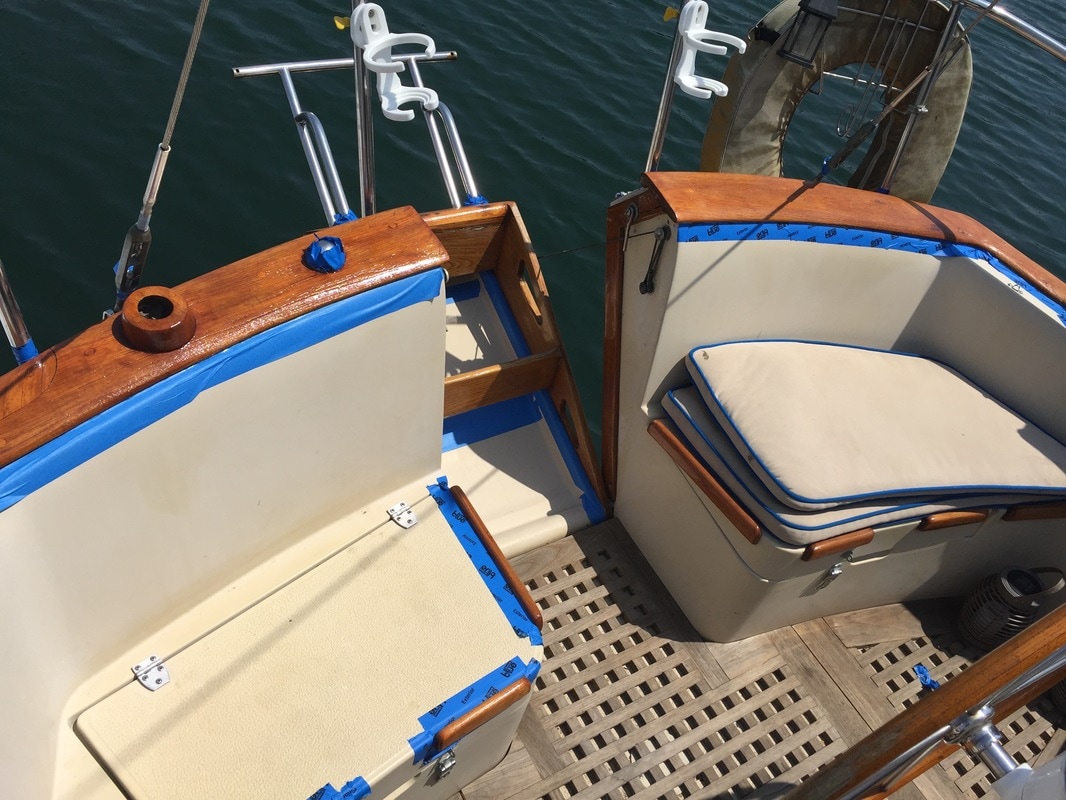
A guy a couple of boats over from us had some guys varnishing his woodwork, which made us really jealous. So jealous that we asked Jose, the guy doing the work, how much our varnish job would be. He said $800 and I'm pretty sure I rolled my eyes and said, "Have you seen these windows?" Our varnish looks 10,000 times better than our windows, which for me means it's just fine in its current state. After watching Jose demonstrate varnishing technique, we concluded we had all the skills needed to do the project ourselves. I did some research on varnishes and decided to go with Epifanes. Maybe because people loved it the most or maybe because people said it was super glossy or maybe because I get so tired of research making me crazy that I buy the most expensive one and cross my fingers. The first step was to sand everything down and clean it and wipe it with a microfiber cloth. I believe that is the first step to every boat project in existence, a first step that includes three steps and takes almost as long as doing the actual project. After we got the surface prepped, we taped off the wood. I'm a pretty good painter, so I rarely tape anything off. However, Mack was helping with this project and he tends to see the big picture more than the details. I used leftover blue painters tape and bought some extraordinary outdoor long lasting blue painters tape that was about $7 a roll. I won't do that again. The outdoor blue tape was thicker, but I don't think that made it better. It was harder to get it to conform to the weird shapes we were taping around. Then, when we pulled it off, it left behind a bunch of sticky, meaning even more clean up to do. Lesson learned. Once we got everything taped off, we mixed our varnish with thinner according to package instructions, which calls for a thicker coat at first and then thinner ones. We used Epifane's brush thinner to do the thinning. We used cheap bristle brushes, which were ordered off Amazon for like $9, and foam brushes, where were like $5 on Amazon, to lay down the varnish. Both brushes worked well while applying, but I noticed the foam brushes left some little air pockets on the surface of the varnish. Mack thought the foam brushes applied far better and used less varnish. I guess beauty is in the eye abilities of the beholder. We worked from the cockpit forward, in the hopes the cockpit would be mostly dry when we were done. After each coat, we sanded and wiped with the microfiber cloth. We applied one coat each day, which took about an hour with two of us and three hours on days when we had to go it alone. After about four coats, with angry knees and contorted backs, we decided we needed to go to Catalina for Labor Day and called it quits on the varnishing. Mack wants to do a heat gun method where you pull off alllllll the old varnish and start from scratch, where as I want to do the Amber method where you sand down the surface and keep building up the varnish by applying a few coats a year. I'm not sure which is better, getting down to the wood itself and starting over or building up the layers of varnish over time. For now, the wood looks better than it did, it's protected, and we're going sailing!
0 Comments
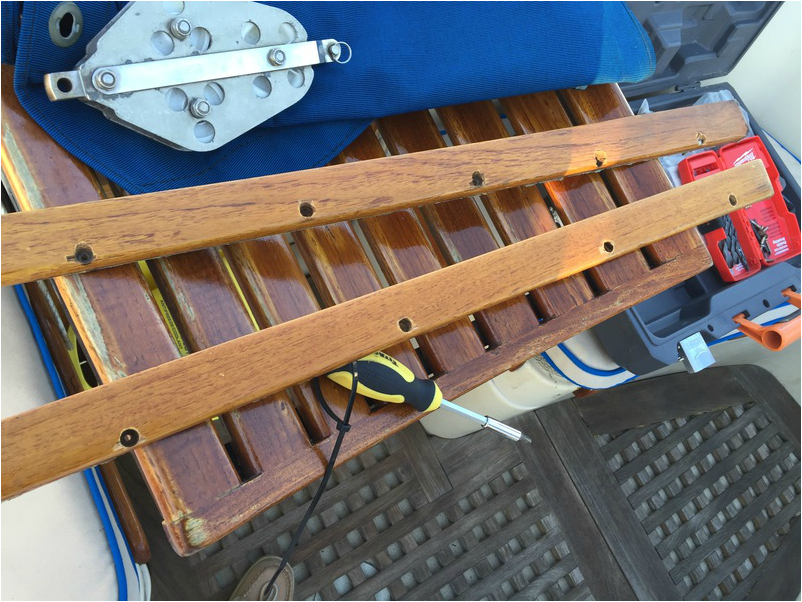
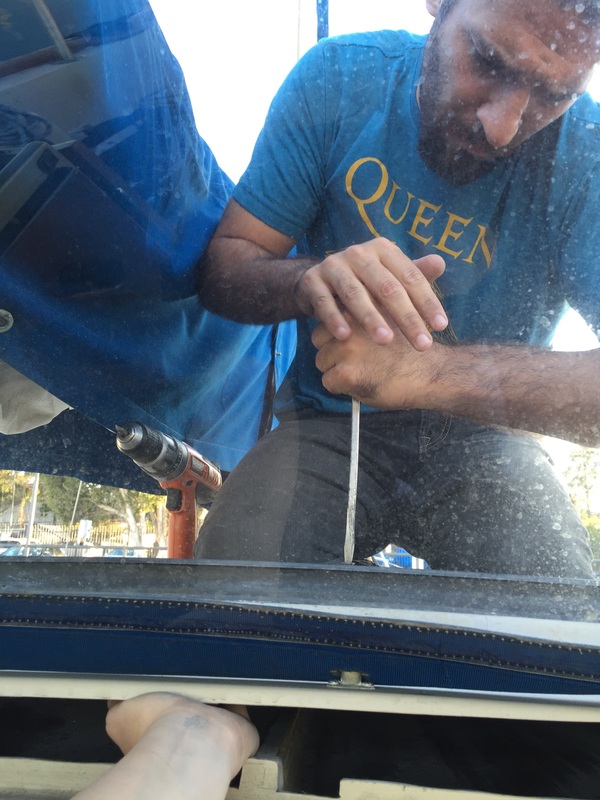
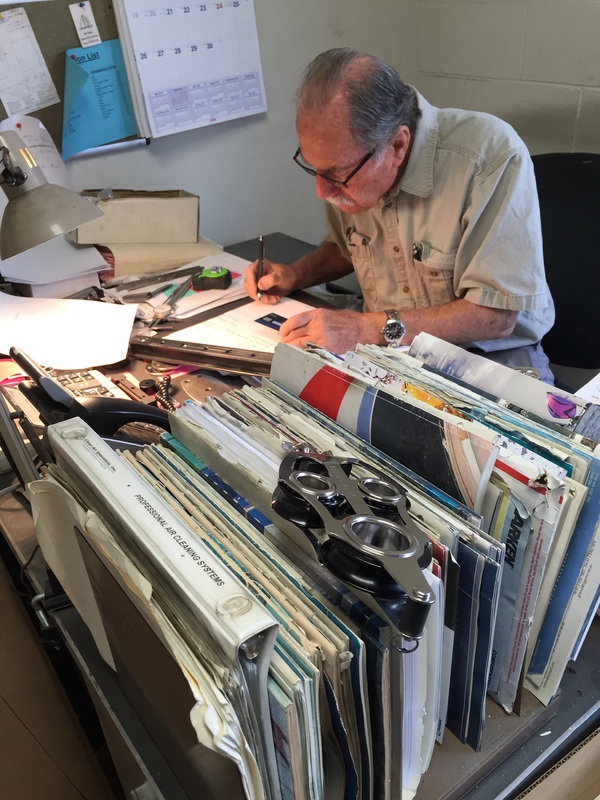
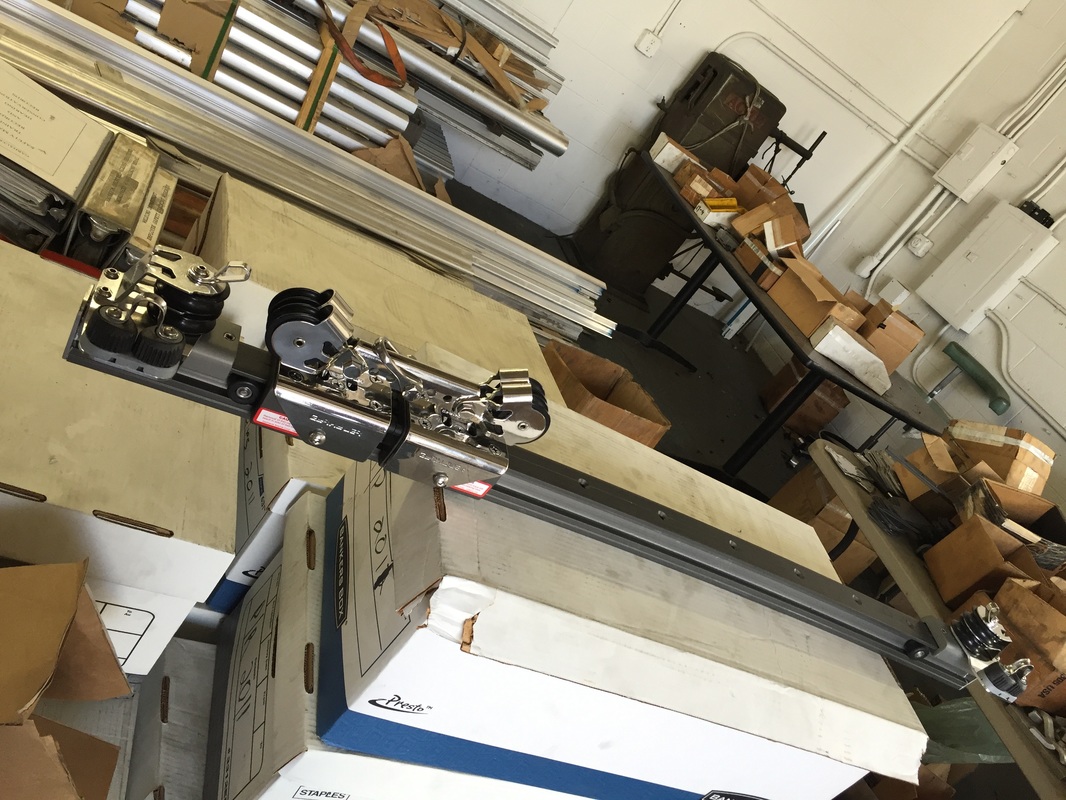
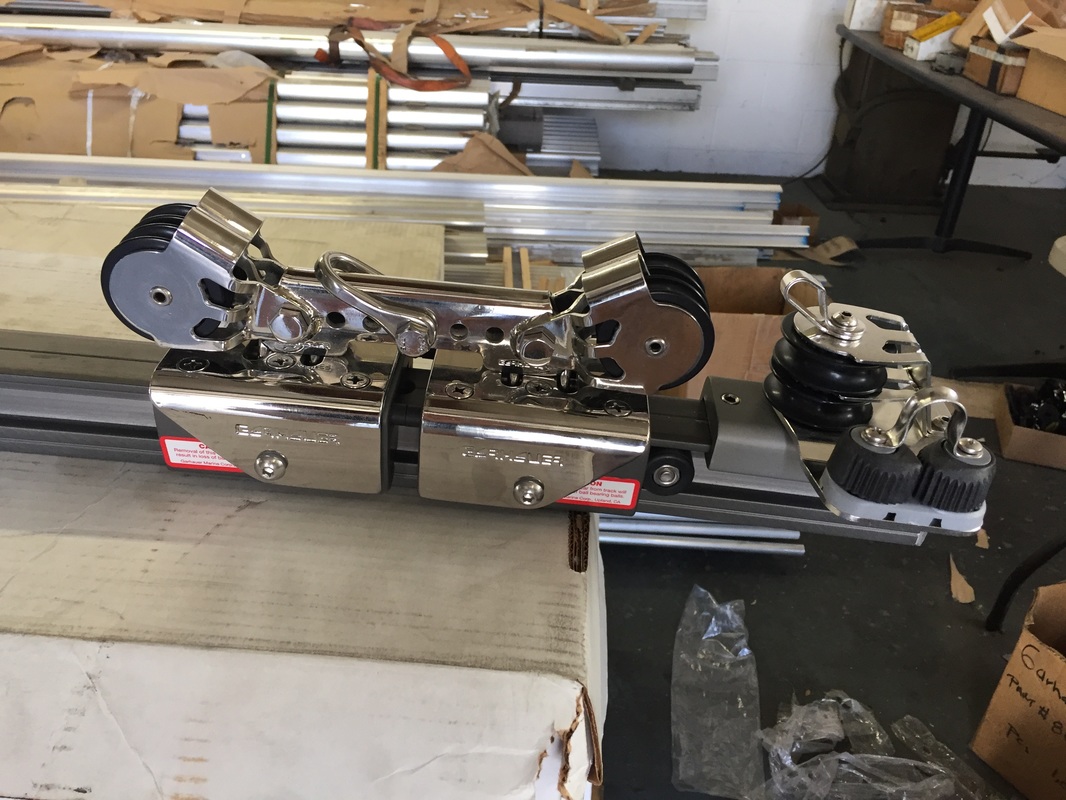
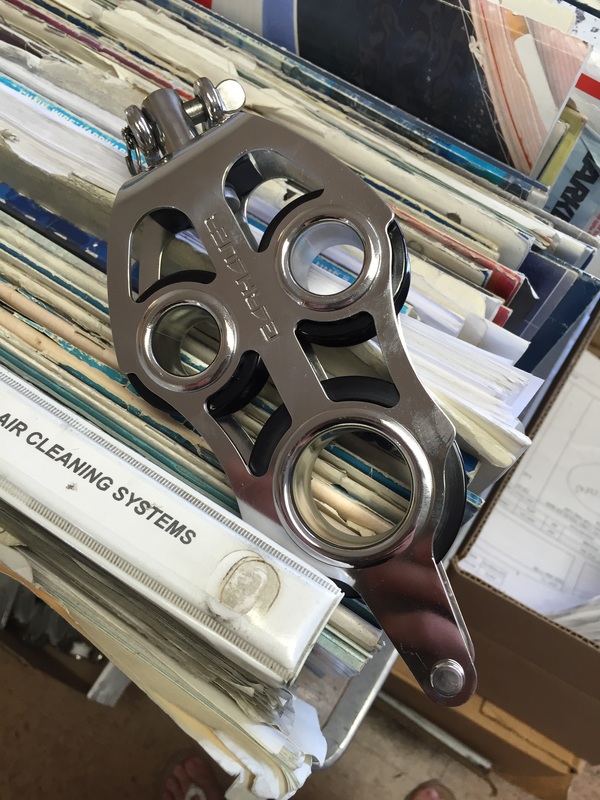
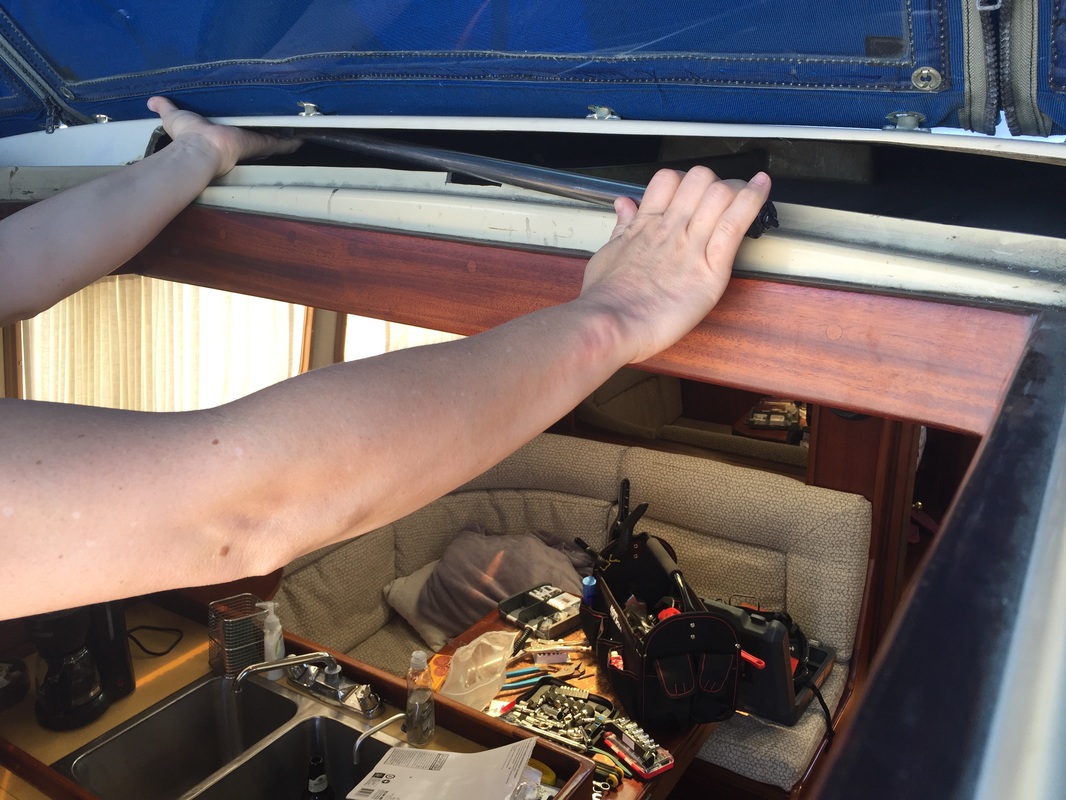
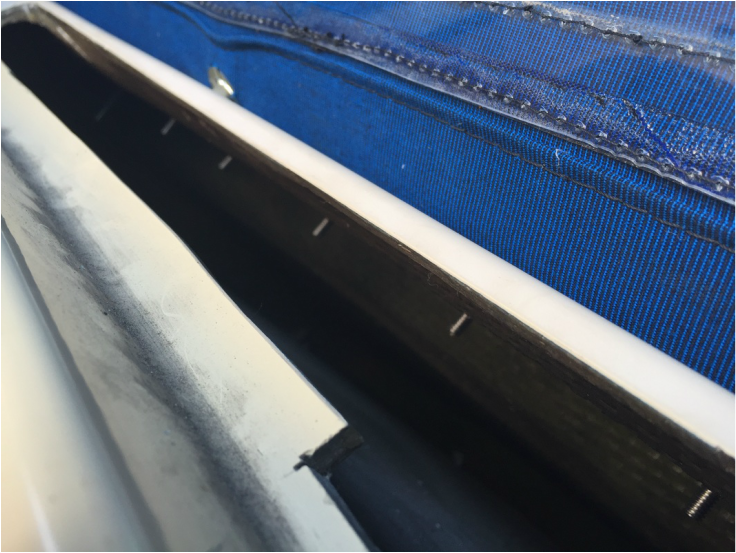
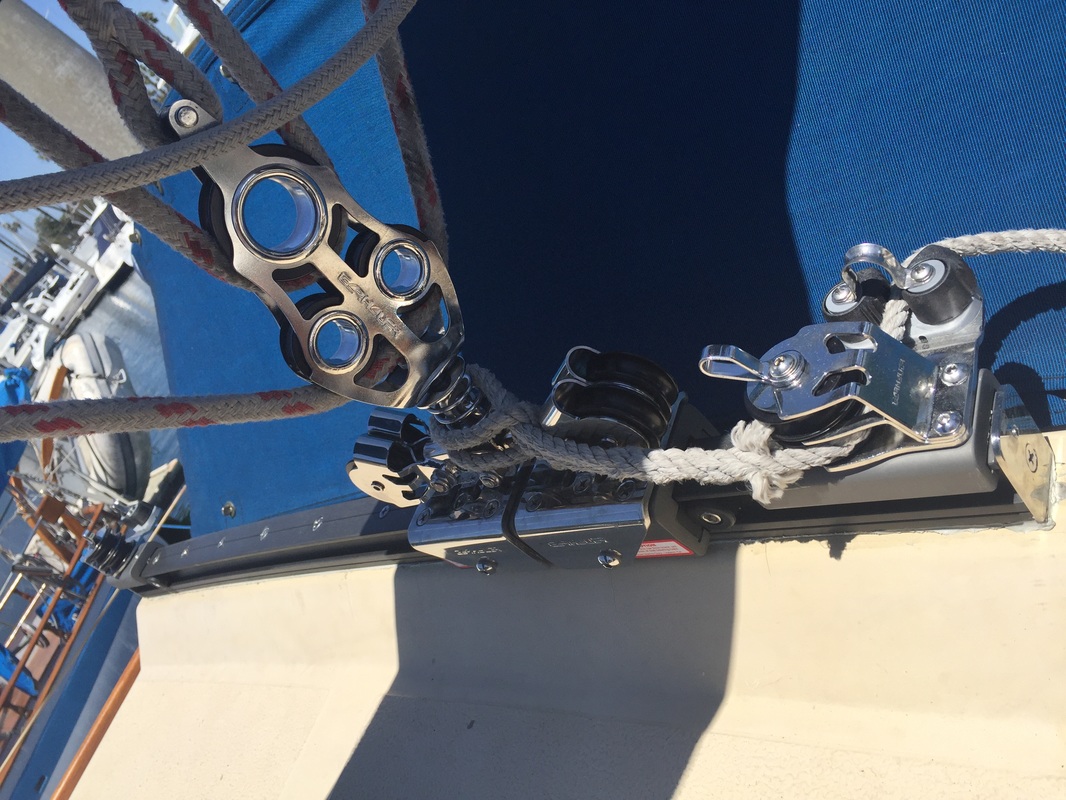
Mack found a crack in our traveller car. After he told me what that was, my next question was WHY WERE YOU LOOKING SO CLOSE? A traveller is a track that the traveller car moves along to move the boom (aka the metal brace for the bottom of the sail) from one side of the boat to the other. It basically lets you align your sail with the direction of the wind and get the most out of it. To get the traveller off the boat, we had to remove the companion way (aka sliding roof door). To do that, we had to remove the wood slats that serve as the track for the companion way. To do that we had to drill out little wood circles to find a screw and then unscrew the screw. That was the easy part. Once we got the companion way door out, we had to unscrew the screws attaching the traveler to the deck of the boat. The boat designers kindly left about 2" of space to access these screws. Mack put all his weight into the screwdriver to extract them while I shoved my hand into the cramped quarters and held onto a ratchet and held the nut still. We had to do this 10 times. Of course the last one was a foot into the abyss and I can't remember how we even got it out. After we got it off, Mack sent me on a tour around Los Angeles to find its replacement. Actually I had a bunch of errands to run in far away cities ... had to get foam for the mattress from my favorite foam shop and had a doctor's appointment on the way other side of LA ... so I offered to swing by Upland on my day-long journey and take the traveller to Garhauer Marine. When I met Guido, it was all worth it. Guido's office had about 40 old travellers standing up against the walls. There were boxes full of clunky metal things and old papers and general old man chaos clutter. It reminded me of my grandpa's work sheds, places I'd linger for hours when I was a kid and find all sorts of gadgets and trinkets and leave smelling like keys. I told Guido I was here about a traveller, he looked at our old one and walked me into the workshop to show me this. Seeing this powerful machine made our traveller look pathetic. Weak and pathetic. Puny and ineffective. The slidy bits (aka the traveller car) on this sample went from end to end with a whisper of effort, like a well-greased roller-skate. Ours was like a creaky old woman's wheelchair. I texted Mack these photos, and Guido and I went into his office where he and Mack went over the measurements that he had sent with me to the shop. The final damage was about $900. And the heartache of knowing that our boat would be out of main sheet sailing commission for 4-6 weeks of summer. I left the shop with a handwritten invoice, crossed fingers, and this block. Mack spun those little black wheels for about an hour when he got it in hand. He couldn't believe how smoothly they rolled, which meant he was going to be blown away by how awesome the traveller car was going to be. After a week of spinning the wheel, though, Guido called and told us to send back this block because he was going to put a block on a spring so it wouldn't be flopping all over if there wasn't tension on the rope. Once the traveller FINALLY arrived, about 5 weeks later, it was time to install. We'd been sailing with just the genoa most of the summer, but we missed the main. Mack put down some butyl seal tape and set the traveler in place. Then we had to tighten the screws. Which meant shoving my hands back into a cramped, fiberglass adorned abyss while Mack shredded his palms driving in screws. The ratchet was NOT getting the job done this time, nor was the drill. We made a run to the hardware store and got a T-handle screwdriver and Mack fashioned an extension for the ratchet out of the cockpit table leg and some electrical tape. Once we had the right tools, we got everything locked in place. I still can't believe we were able to do this with JUST THIS MUCH SPACE to work. Once we got the traveller mounted, Mack skated the cars back and forth like a toddler with his Hot Wheels. We got the rigging back on the block, reattached the companion way slats, and have been enjoying some oh-so-smooth sailing.
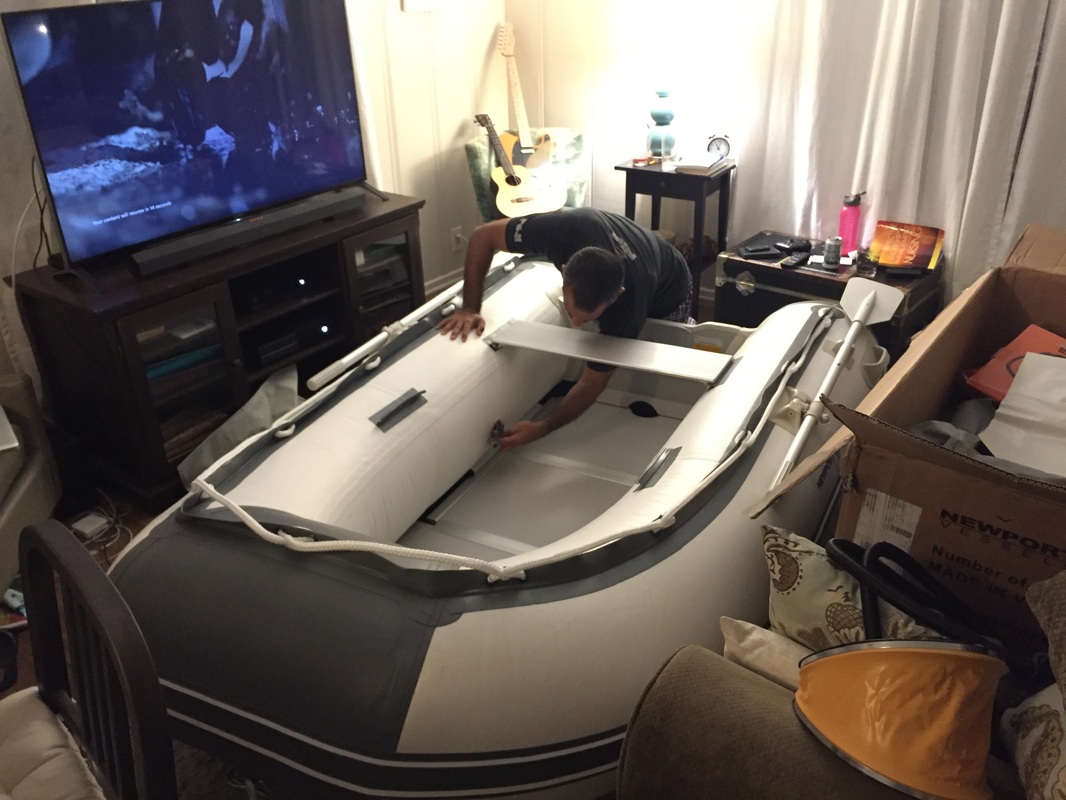
We did some AirBnB'ing of the boat last month to try to offset some of the costs of repairs and slip fees. Of course, our marina caught on and threatened us with eviction for using the boat for "commercial purposes." Trying not to flush hundreds of dollars a month for a parking spot is apparently a commercial purpose. If you plan to rent your boat out, don't give the location or any indicating photos or else you'll get busted. You'll probably get busted anyway. But hopefully not before you make enough money to buy a proper dinghy! After having a dinghy that was chronically deflating on one side, one that was deflating and had a ripped open floor panel, and a hard dinghy that was a general embarrassment, this new Coast Guard-rated Newport Vessel dinghy is a dream come true. We were so excited about it we naturally assembled it in the middle of the living room.
It comes with oars and a foot pump and a hard floor and a bench. It has a inflatable keel so the nose of the boat is lifted when it's going over waves. It was made with super strong plastic. It was about $900 on Amazon. Thanks to our AirBnB guests for making this happen, no thanks to our marina managers. |
AuthorTwo people dumb enough to think anything is possible and smart enough to bumble their way into discoveries. Archives
September 2018
CategoriesMates |
 RSS Feed
