|
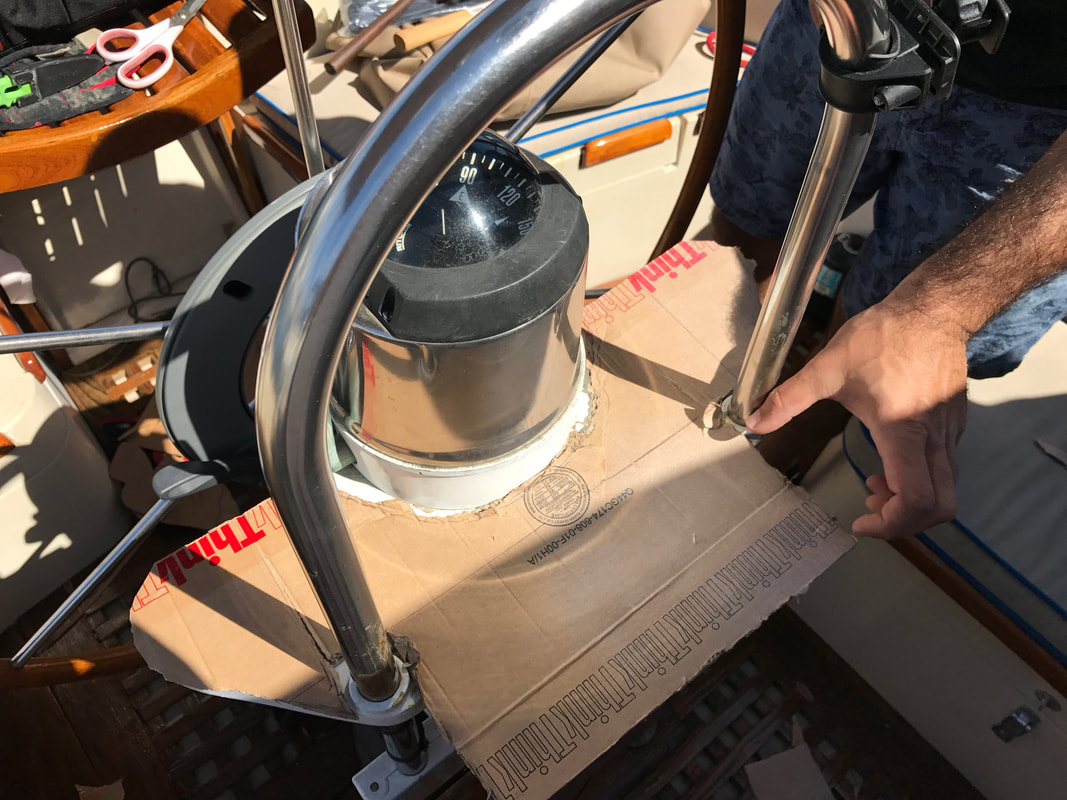
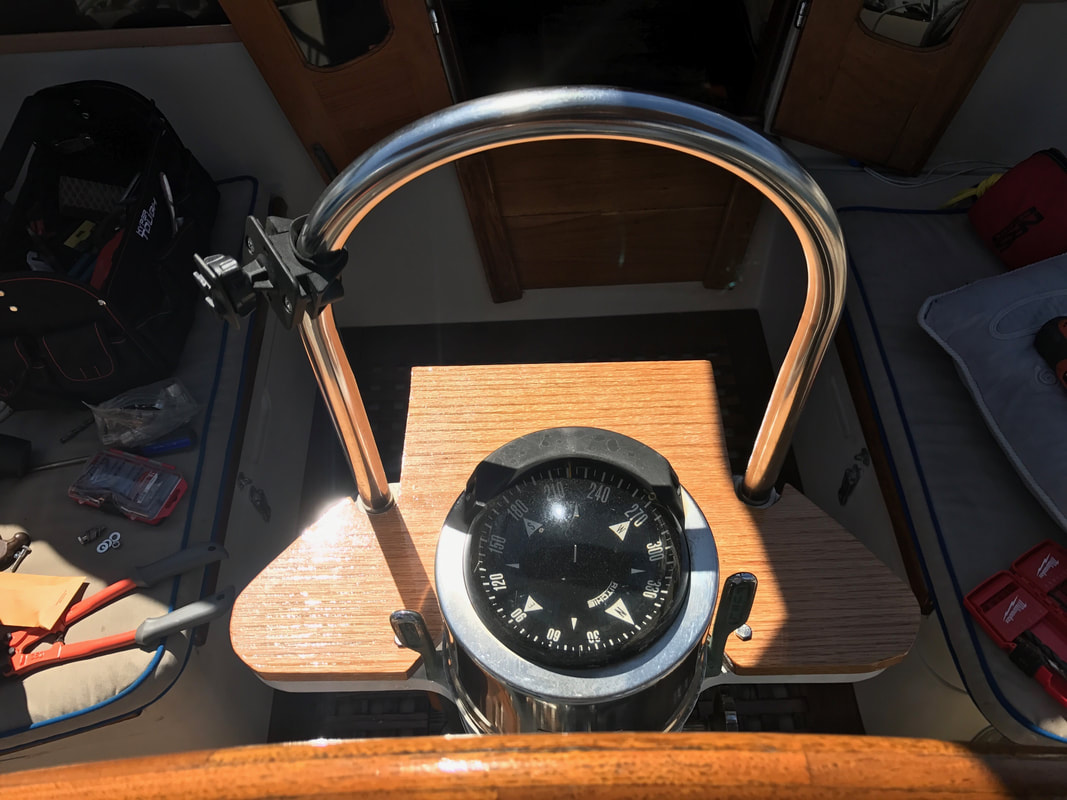
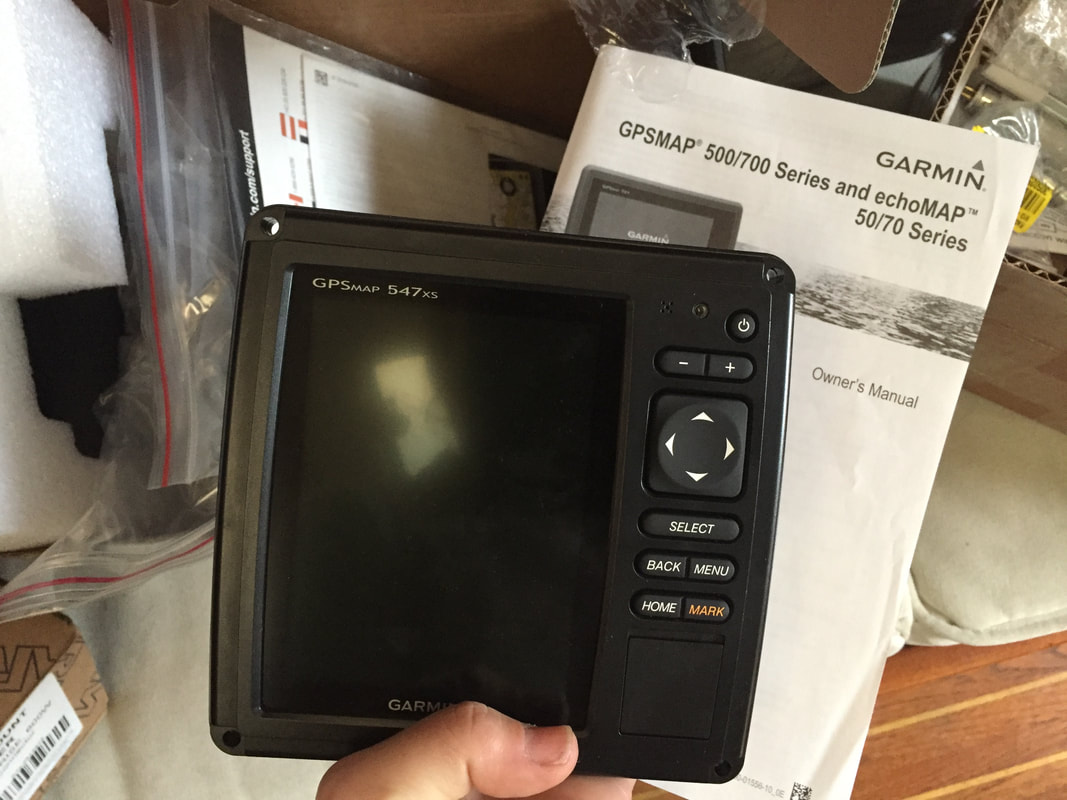
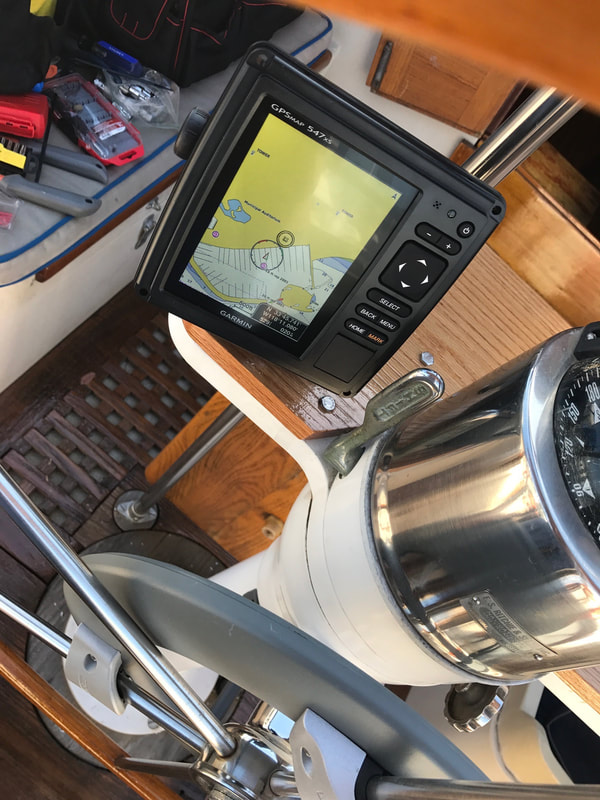
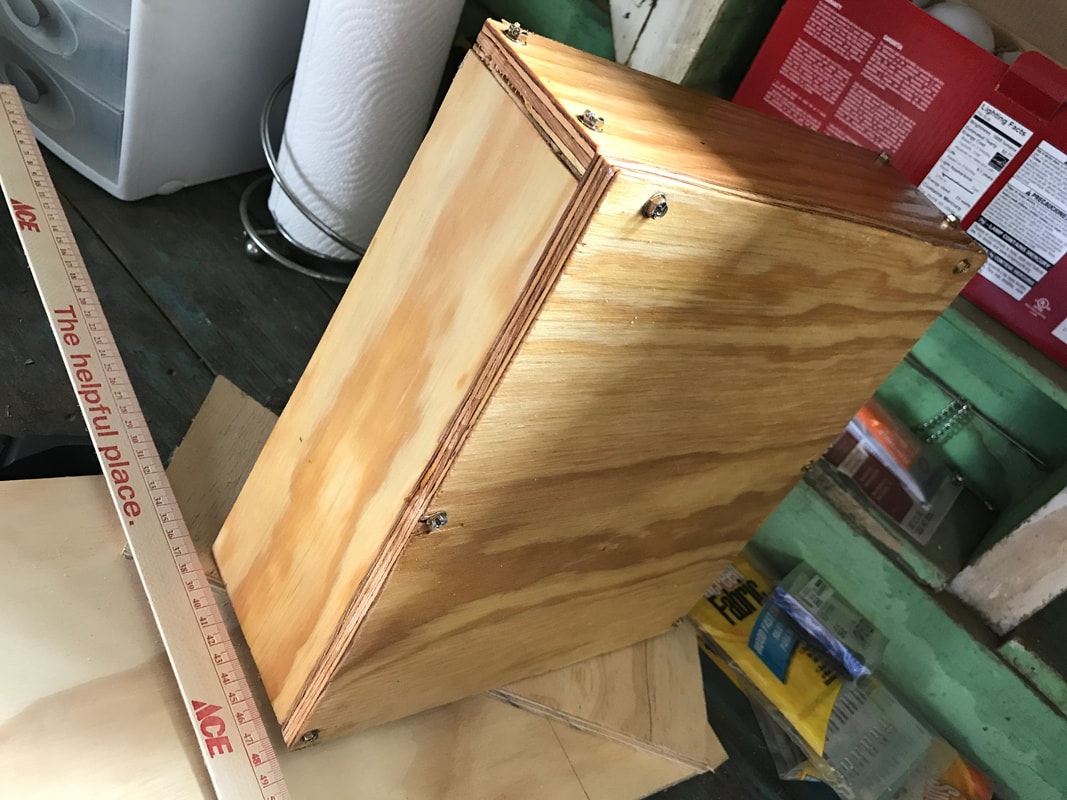
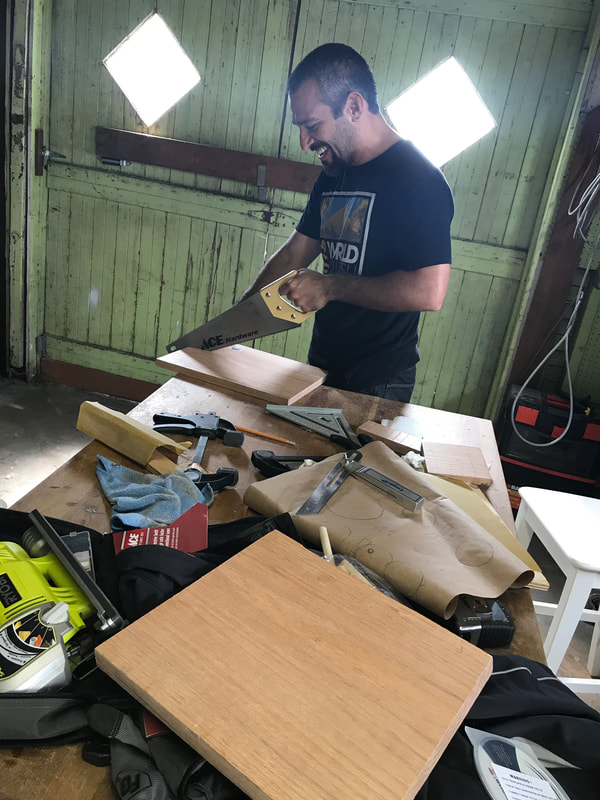
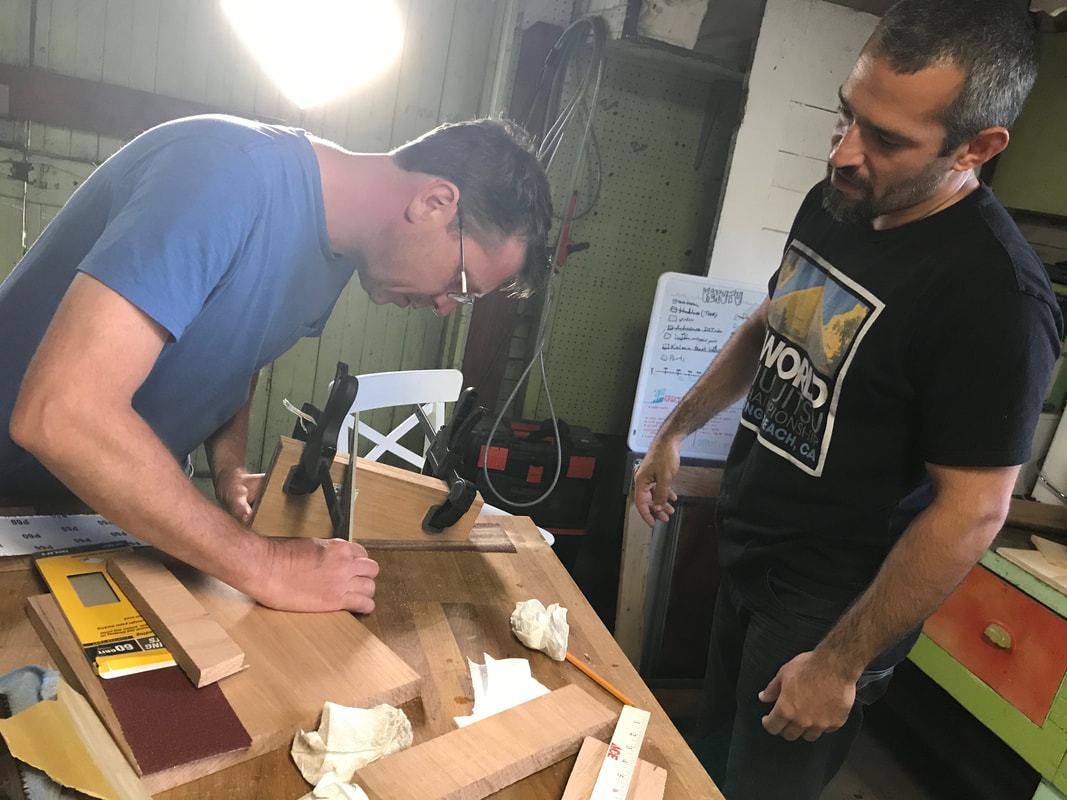
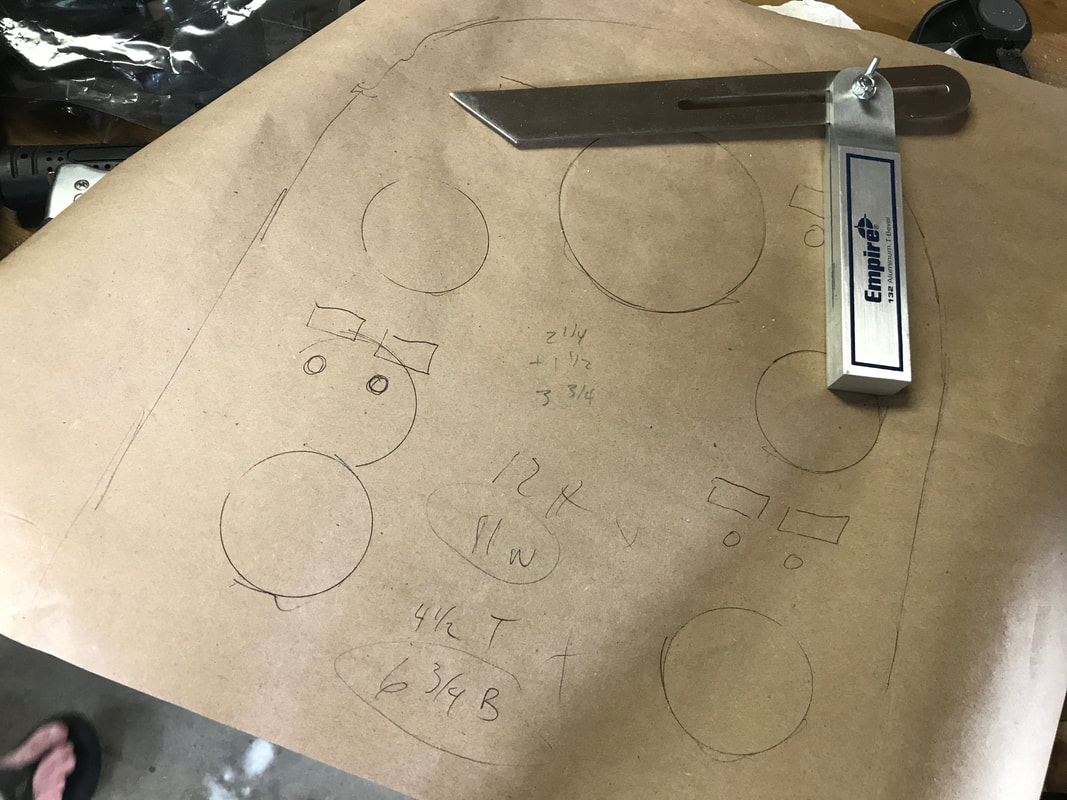
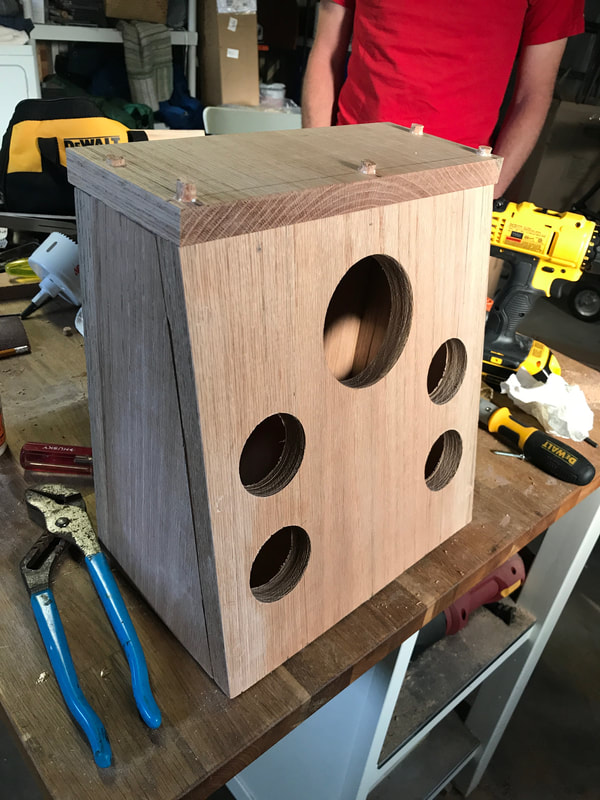
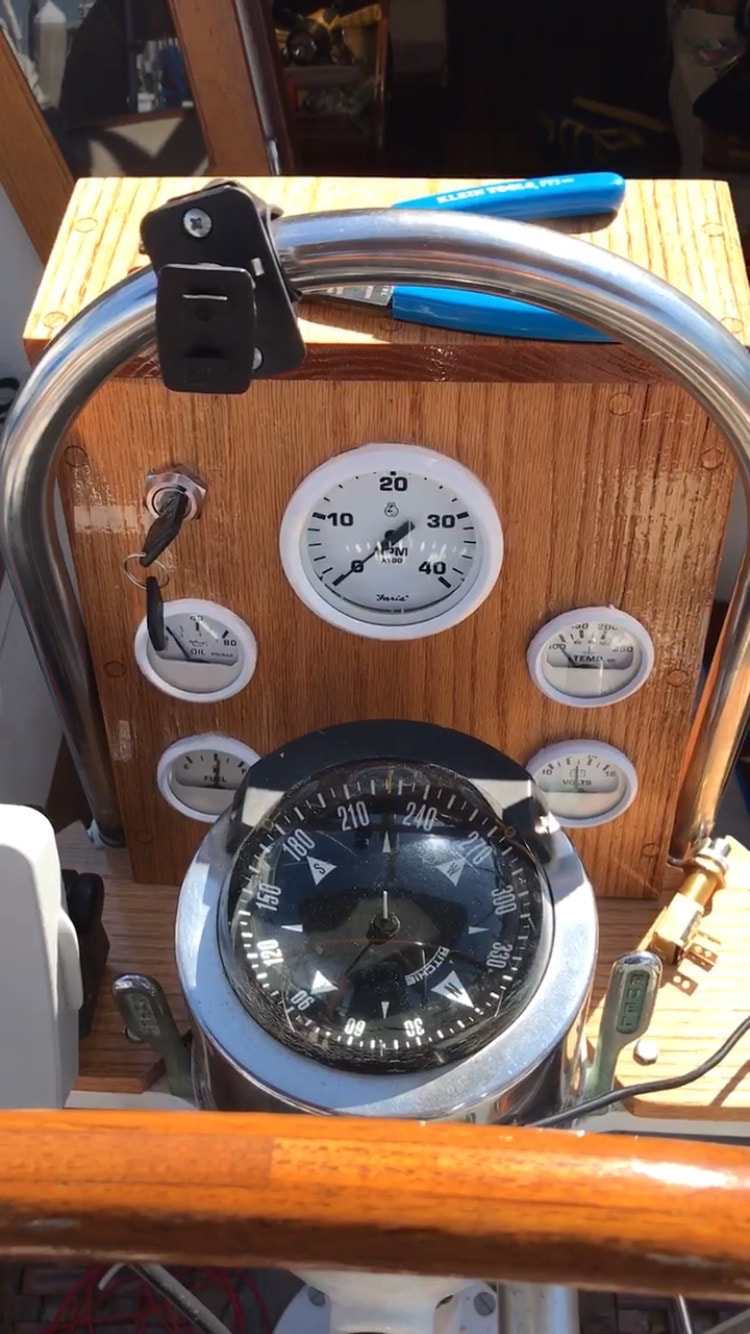
To get Kenutu's motor running, you have to bend over. She's kinky like that. Also, her gauges and ignition switch are in the cockpit wall near the floor. The captain does not take kindly to bowing, so he decided he was going to rig all the gauges and the ignition switch to an electronic box on the binnacle. We saw this set up on another Islander when we were in Holiday Harbor and were insanely jealous. The first step was templating out the base, which had to sit on top of the existing shelving thing and wrap arrow. Thank god for cardboard, am I right? Next up was getting the jig saw and some wood and seeing just how talented we are with sharp power tools. The template gave us the rough shape, Mack bought some very expensive oak, and then we sanded and trimmed until we got a perfect fit. I say we, I mean he. Then Mack threw on some varnish and taaaa daaaaa! When we got Kenutu she didn't have any electronics. No depth finder, no chart plotter, nothing. Now that she had a pedestal it was time to fix that. Plus, Mack loves electronics. We opted for the Garmin 547XS, mostly because it was one of the few models out there that's compatible with our autopilot. Mack found it on sale for $350. It's small enough to fit on the pedestal perfectly without interfering with the gas, and it spins so if you're sitting on the side instead of at the helm you can watch where you're going. Things were progressing so nicely Mack moved into making the box that would sit on the pedestal and house the gauges. The end result was a piece of shit that we later lovingly referred to as the prototype. Luckily Scott came for a visit and, in between Screwdrivers, he helped Mack craft a beautiful box. He pointed out that we don't want the box to leak so we should make the top hang over a smidge. He introduced us to fancy pants woodworking tools, like clamps and saws and drill bits to recede screw heads. We got some triangle metal thing to make out angles right. For someone who was always drinking while doing this project, I gotta say, Scott was meticulous. After the sides, back, and top were cut out and perfectly aligned, it was time to do the face. This meant planning out where you wanted each gauge and then cutting a circle with another new tool that would make a hole for the gauges. Mack also planned to place an ignition switch on the panel, which meant the helmsman would no longer have to bend over... until it was time to kill the engine. Part of what made the prototype so crappy was all the exposed, sticking out hardware. Scott taught Mack about this skinny bendy saw and this fancy drill but that would cut out dowels out of your wood. So they made dowels, placed them in (some of them even matching up seamlessly with the grain of the wood), trimmed them off and voila. Amazing. Mack mounted the box to the pedestal base he'd made and left the screws on the back exposed so that he could wire everything in and access the wires as needed. Then, one day while I was at work, I got this. Mack had fed the wires up the support pole and connected everything. He even sent me a video of him turning the key and starting the boat! You could almost feel the jealousy lift!
Before moving the gauges to the pedestal there was a bunch of wiring running across the starboard lazarette (aka under seat storage), which we were always worried we were going to break when we pulled out life jackets or other crap from that abyss. Mack cleaned all that old wiring out and now we can go crazy pulling stuff out of there! Once the box was all rigged, Mack relocated the auto pilot to the pedestal as well. And now, you feel like the captain of an electronics supership when you sit at the helm. I gotta say, having the ignition and gauges right at eye level is awesome. We have to be a little strategic with our hand holds now, since the electronic box obscures the grab bar on the sides of the pedestal. And we lost our cup storage that used to sit on the back side of the grab bar. But all in all, the box is a major improvement.
0 Comments
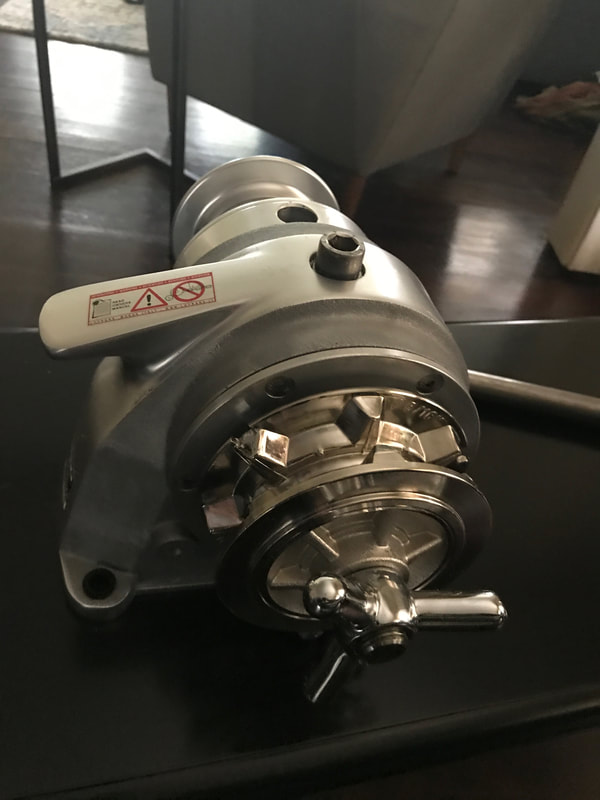
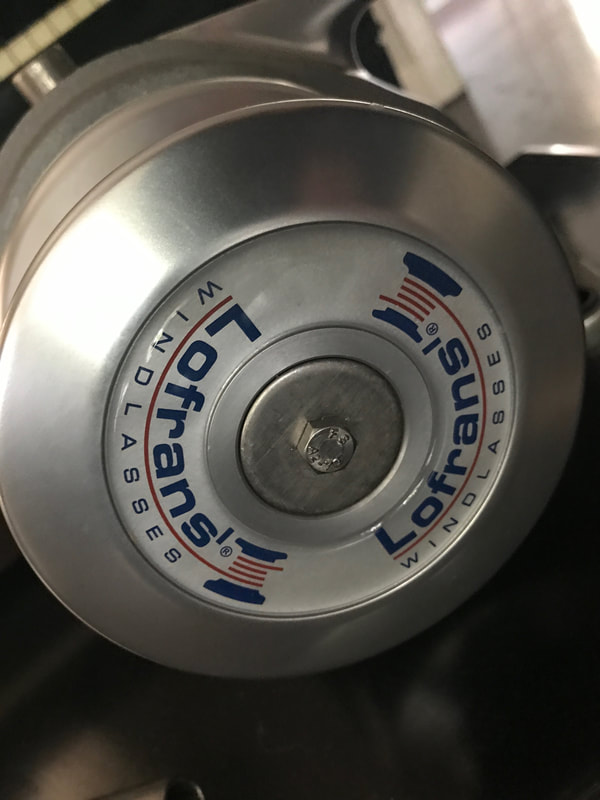
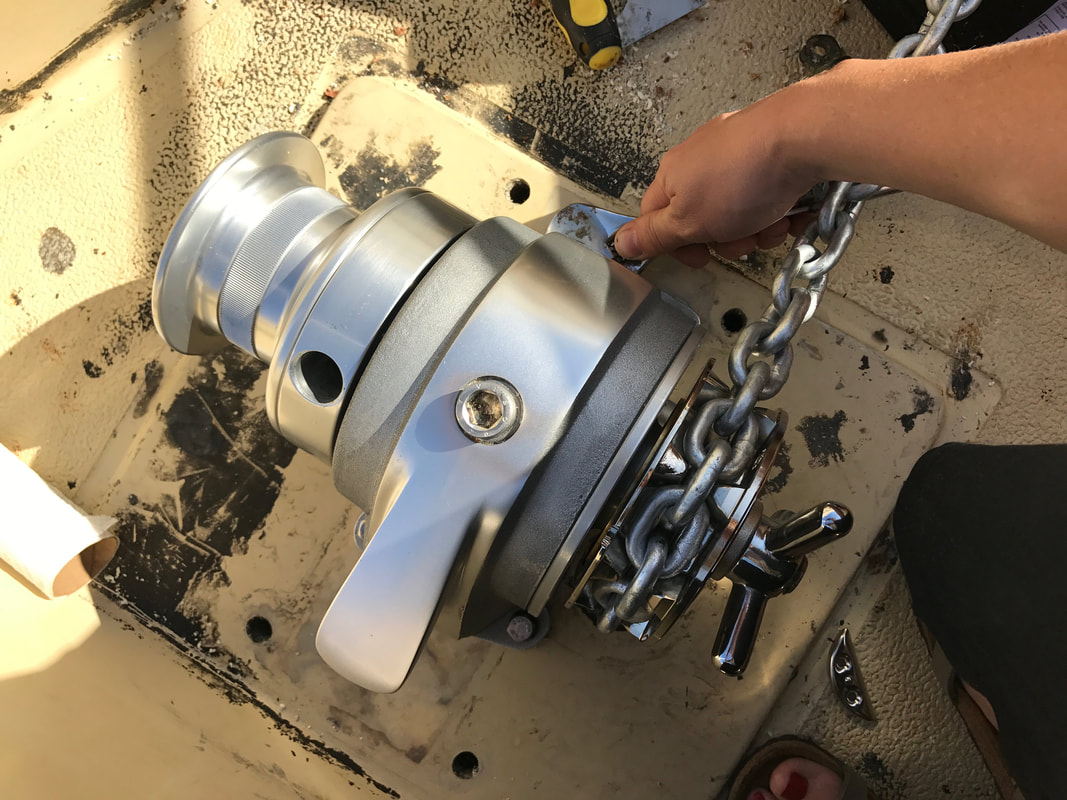
Ladies and gentlemen, we have a new windlass. The chain we bought didn't fit the gypsy on the old windlass right, so it was slipping. When you pulled back, it pulled back. But when you went forward, it also went forward. Which means no progress. As the Captain went to remove it so he could inspect the gears, the bottom gasket ruptured, pouring hydraulic fluid out into the anchor locker and all over the deck and the dock. The moral of the story is old and sturdy is still old. I just asked the Captain what was so great about the new windlass he picked, a Lofran's windlass, and his words: "It looked sexy as hell." hasA little more probing and he was able to itemize other features. He has a thing for manual things over electric because he claims they are more reliable but really because he sits in the cockpit while others haul the anchor. The Lofran's Royal is made from marine aluminum and is so much lighter than the old SeaTiger was. It's also filled up with oil and sealed, meaning no maintenance. Most importantly, though, it had a low enough profile to fit in the damn anchor locker. Install was pretty easy. We had to drill a few new holes and patch the old ones. I cozied up with some anchor chain and held nuts from below while Mack turned bolts, and after learning how to shout at each other through tiny holes, we found a rhythm. Now we have a new windlass in place, the chain isn't slipping anymore, and the extension lever makes it pretty easy to haul.
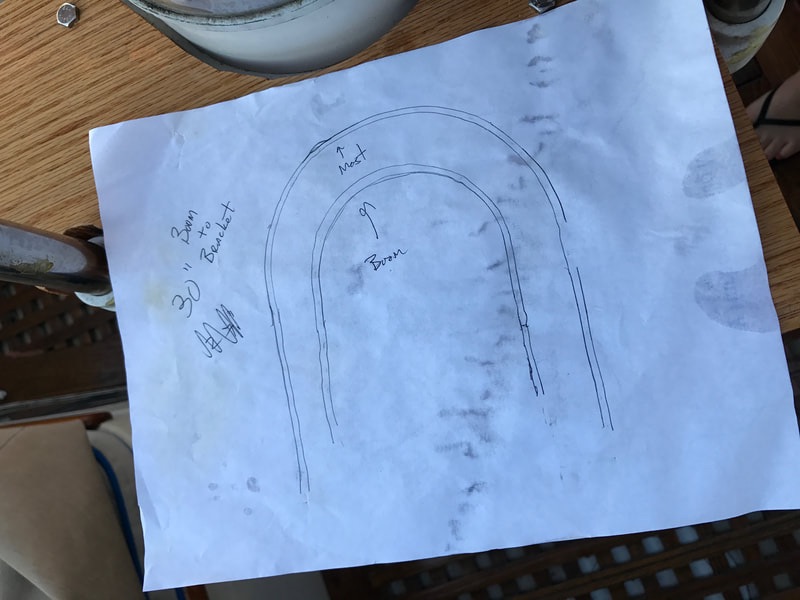
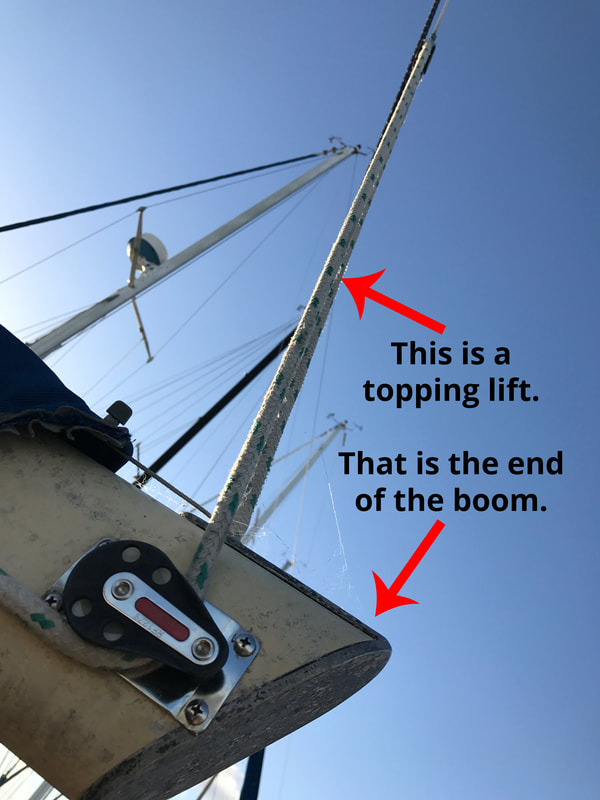
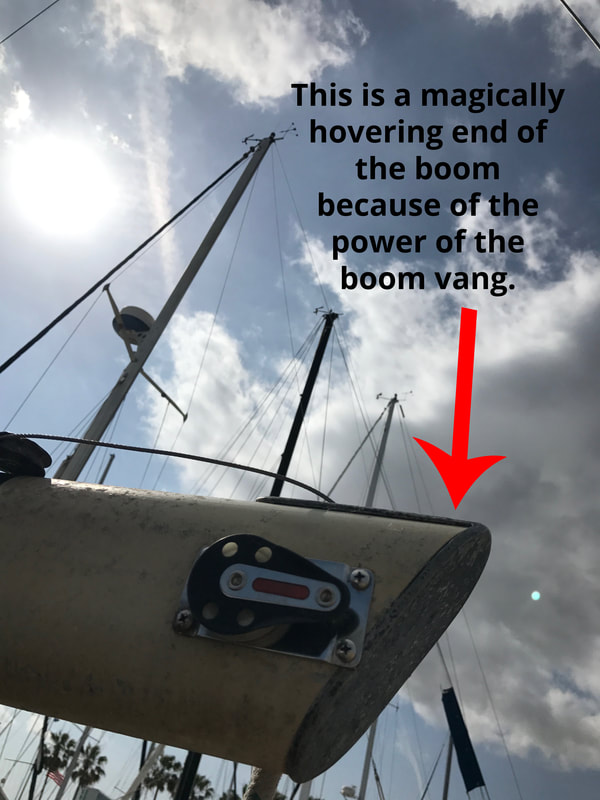
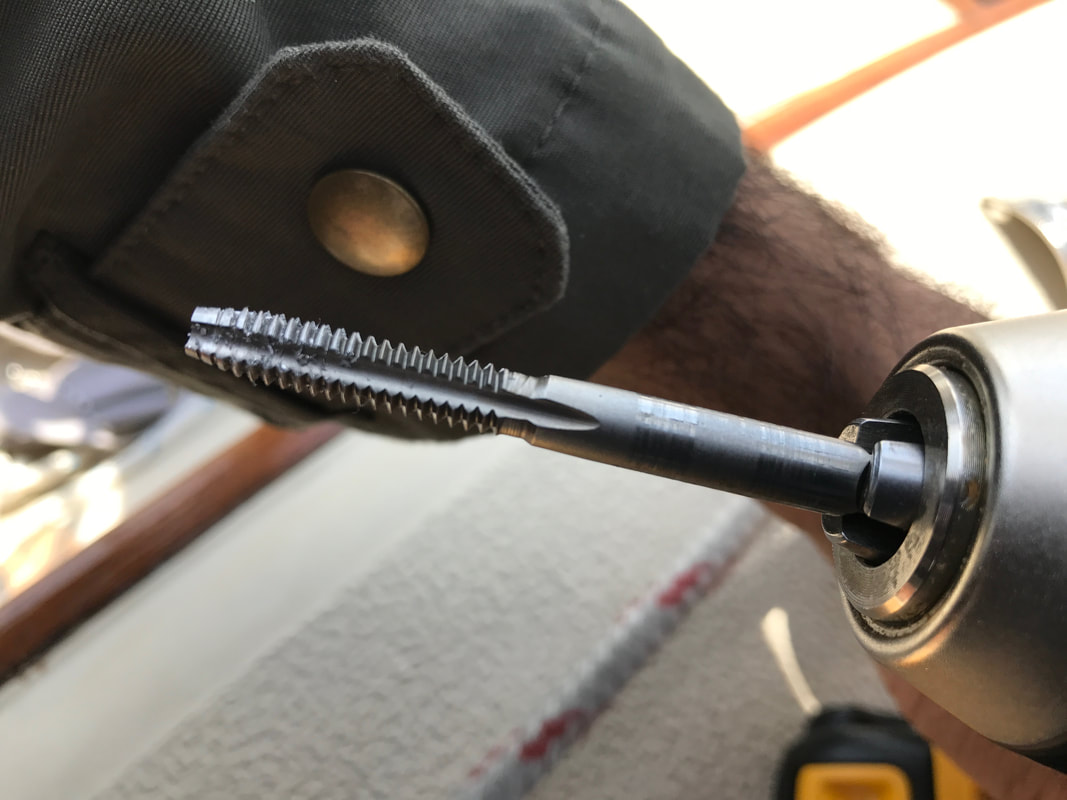
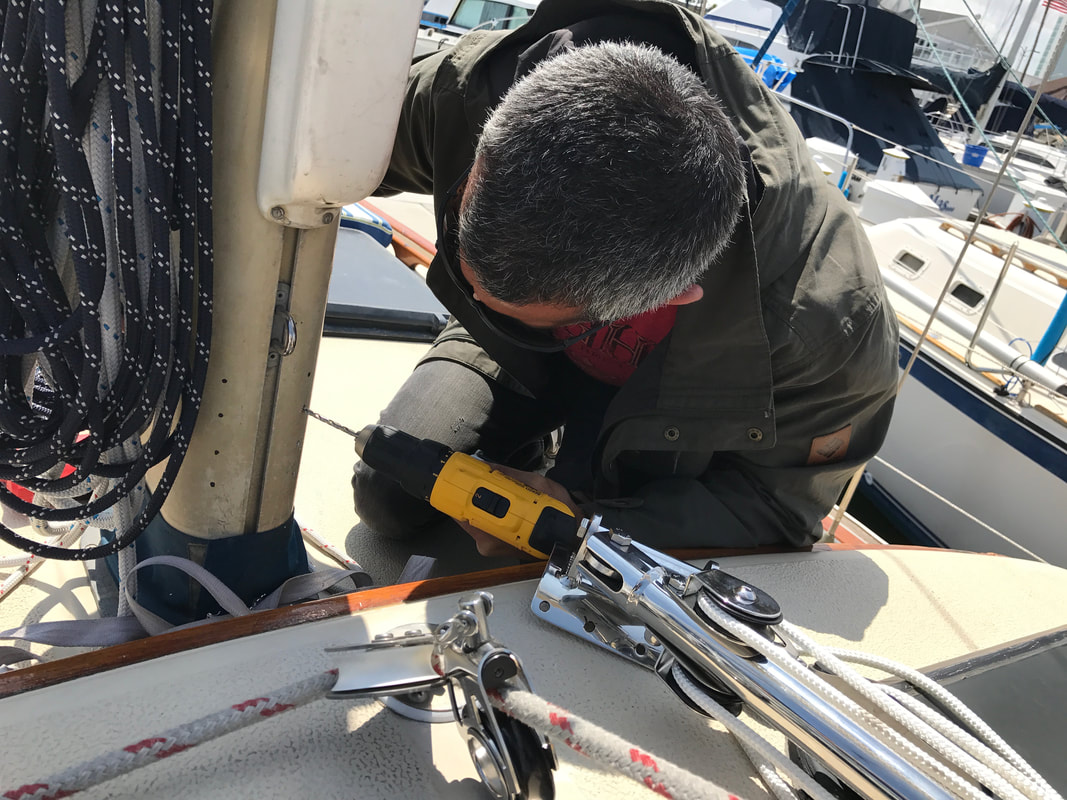
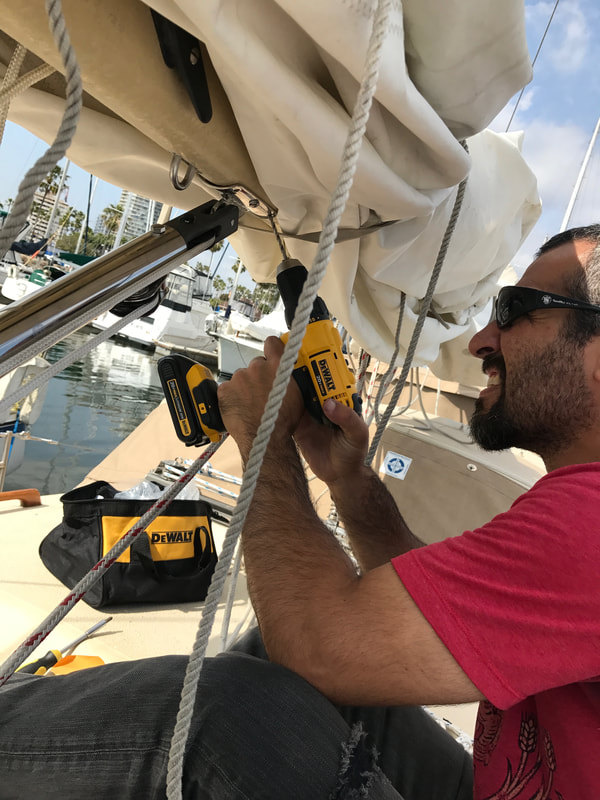
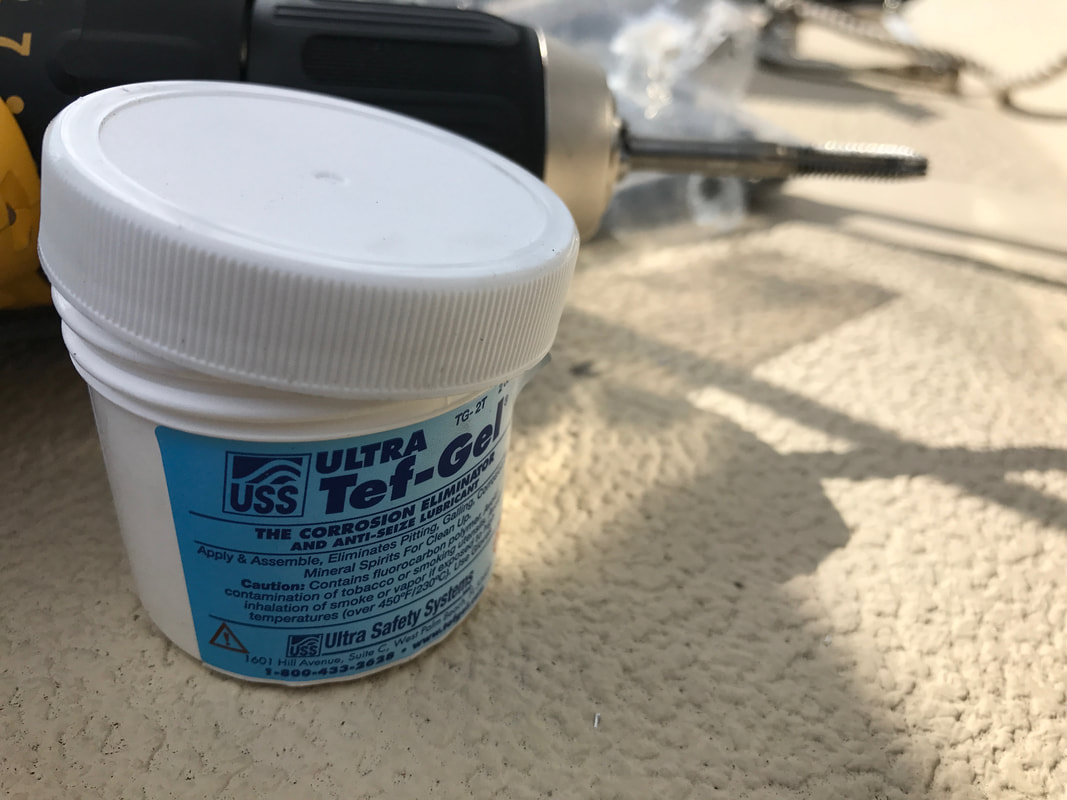
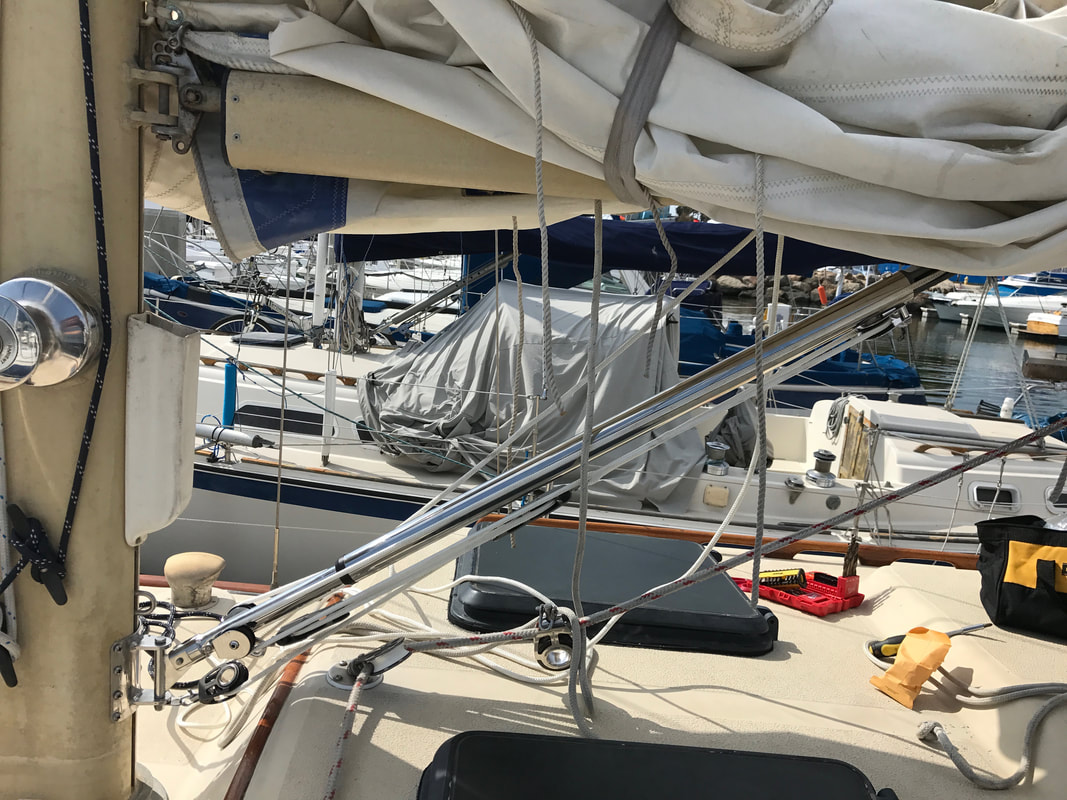
Hopefully this ends the windlass saga because it feels a little like torture at this point. After we got our traveller from Garhauer Marine, the captain got twitchy for a new boom vang. When we moved in next door to a fella named Doug who had an ultra tidy deck with a ultra sturdy boom vang, the captain succumbed. Jealousy is a powerful motivator. We made a sophisticated drawing using wire and some wet, dirty paper and mailed it off. A few weeks later, this came in the mail. The draw of the boom vang is that it was going to let us get rid of the topping lift and that it would hold the boom up. The boom is that big pole that the bottom of the sail is latched to that swings from side to side when you turn the boat. On Kenutu, the boom was held up by a couple of ropes so that it wouldn't hit people in the head when it swung from side to side and to keep the bottom of the sail level. The boom vang is basically a squishable metal pole that supports the boom from the bottom instead of the top. It has a pulley rig so you can tighten it or loosen it as needed, depending on conditions. To install the boom vang, we had to drill screw holes using a tap bit. This was uncharted territory for us, but turns out tap bits are an awesome little invention. While Mack drilled the screw holes to the mast and the boom using the mounting plates as templates, I discovered the power of using your long bones as a frame for holding things up forever. One thing we learned is that the angle that you drill the screw hole with is important if you want everything to line up. Our final holes were a smidge off, but we made it work and didn't have to drill extra holes in the mast. We dipped the screws in anti-corrosion Tef-gel, which we called sour cream, before placing them as an extra measure. Boat time is like boat money. Everything takes 20 times longer than you expect. Everything except installation of the boom vang. The whole process, from drilling the holes in the mast and the boom to the final product, took less than two hours. I was floored that a) it went so quickly and b) it went so easily. We didn't even have to recharge the drill! Take that, Doug.
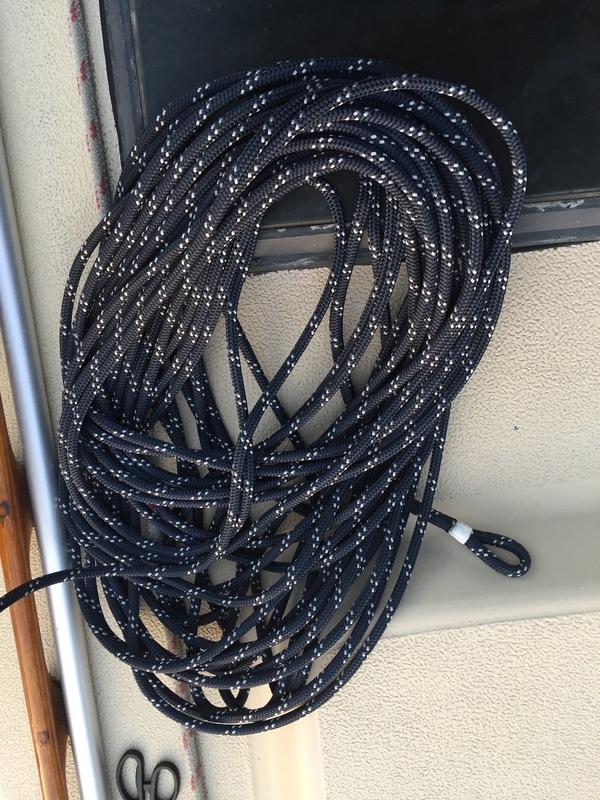
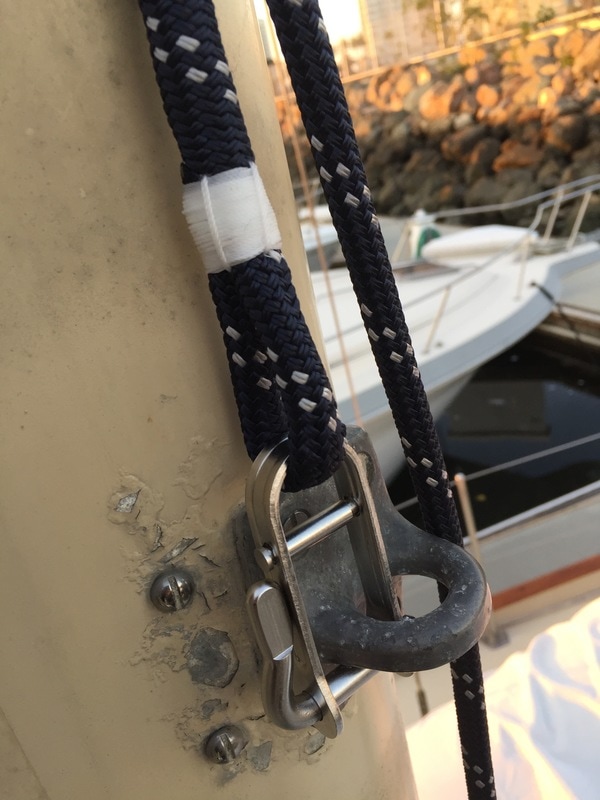
Last summer a rock climber friend gave us some Dyneema, a type of rope that is touted as being as strong as steel. Since rock climbers put their lives on their lines, we figured the stuff must really be strong and reliable. We started using it on deck to secure the paddle board and various other tasks and were impressed at the little rope's power. Our main sheet, a combo line of steel cable and rope, was pretty stretched out... so stretched out that when we raised the main sail, the cable ended up on the wench, making a taut sail nearly impossible. After only like two months of whining, Mack finally listened and agreed to upgrade the lines. Hello Dyneema. He ordered 10mm lines, and the company even whipped in an eye splice as a bonus. Mack had spliced rope before and is really good at it, but getting the lines in a ready condition was pretty awesome. One less thing on the list! Now for the fingers-crossed work of swapping the new line for the old. Mack engineered a bridge between the new line and the old cable using duct tape and small piece of smaller diameter Dyneema. The plan was to pull the new line into position on the tail of the other line. What could possibly go wrong when there's a block at the top and the rope goes into the mast for about a million feet.
NOTHING WENT WRONG. I still can't believe it. Mack held his breath as we pulled the bridge bit over the block at the top of the mast. It seemed like we might have a problem getting it thru that part, but with a little extra tug, it hopped over the speed bump and we were home free. We even swapped out the shackle on the end because why not? |
AuthorTwo people dumb enough to think anything is possible and smart enough to bumble their way into discoveries. Archives
September 2018
CategoriesMates |

 RSS Feed
