|
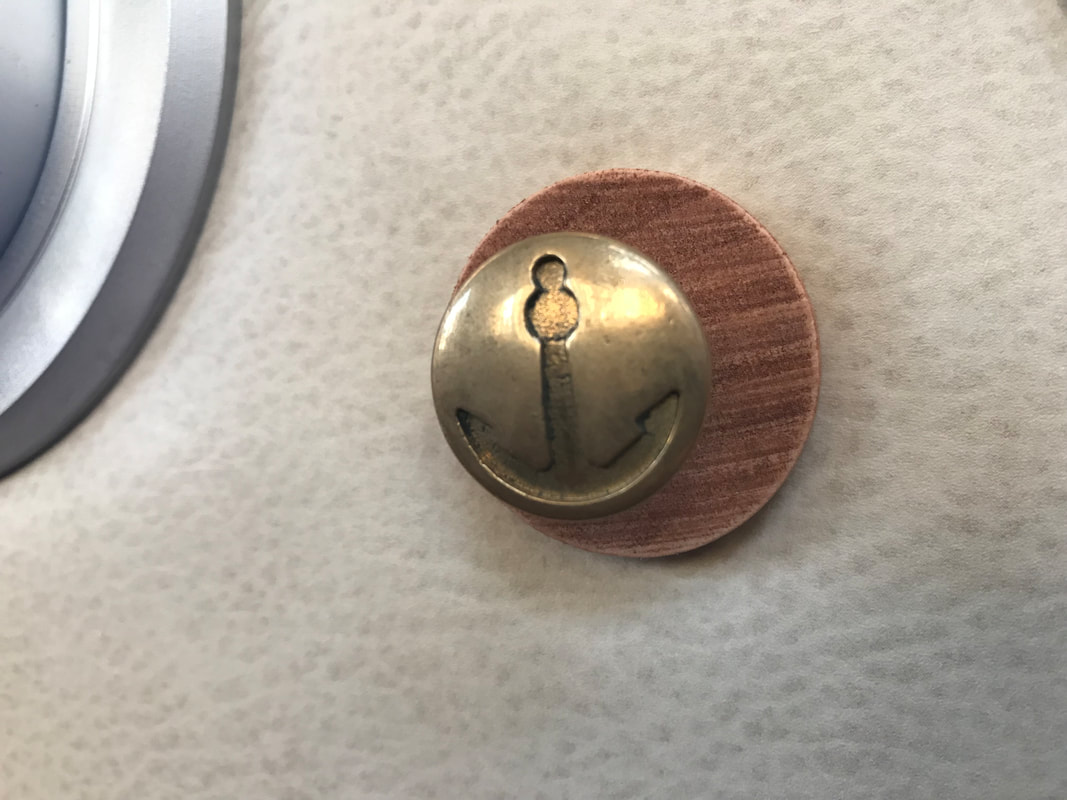
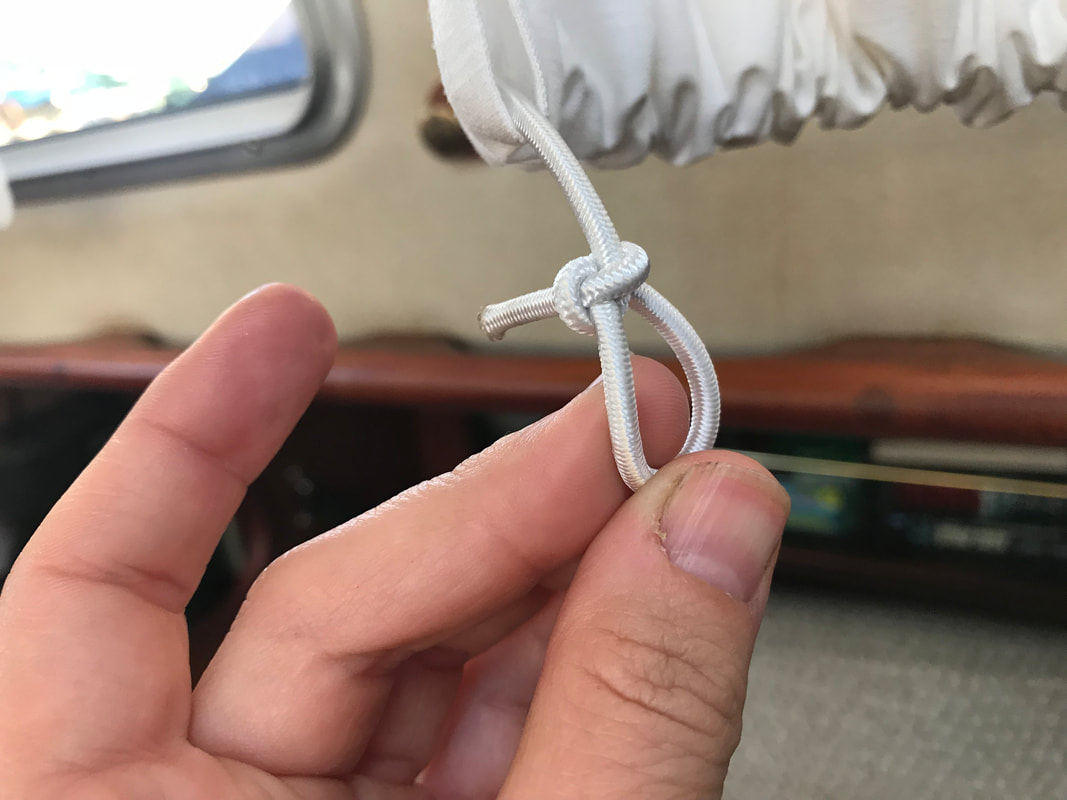
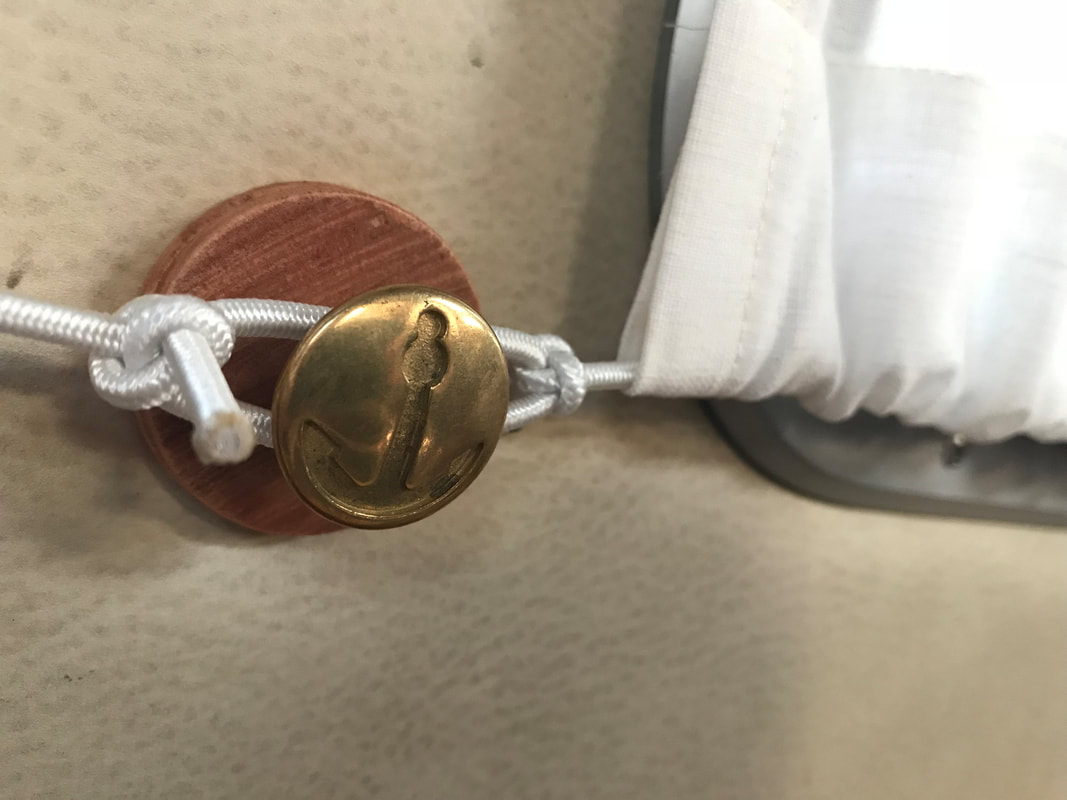
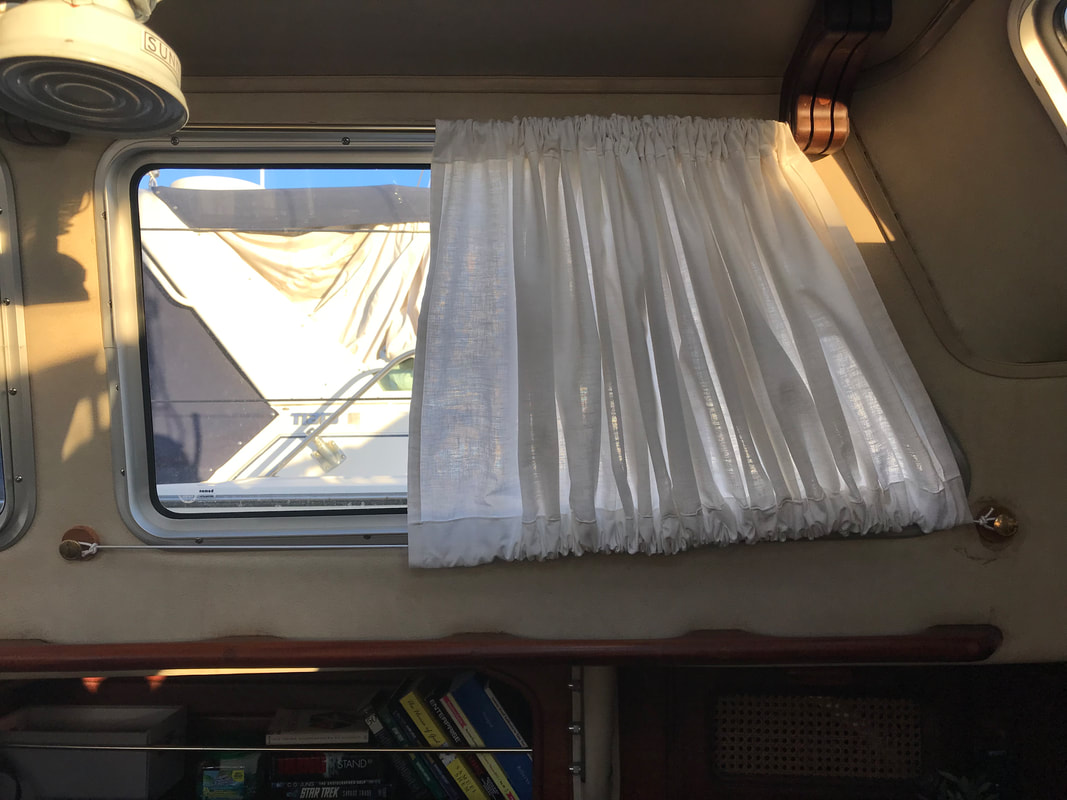
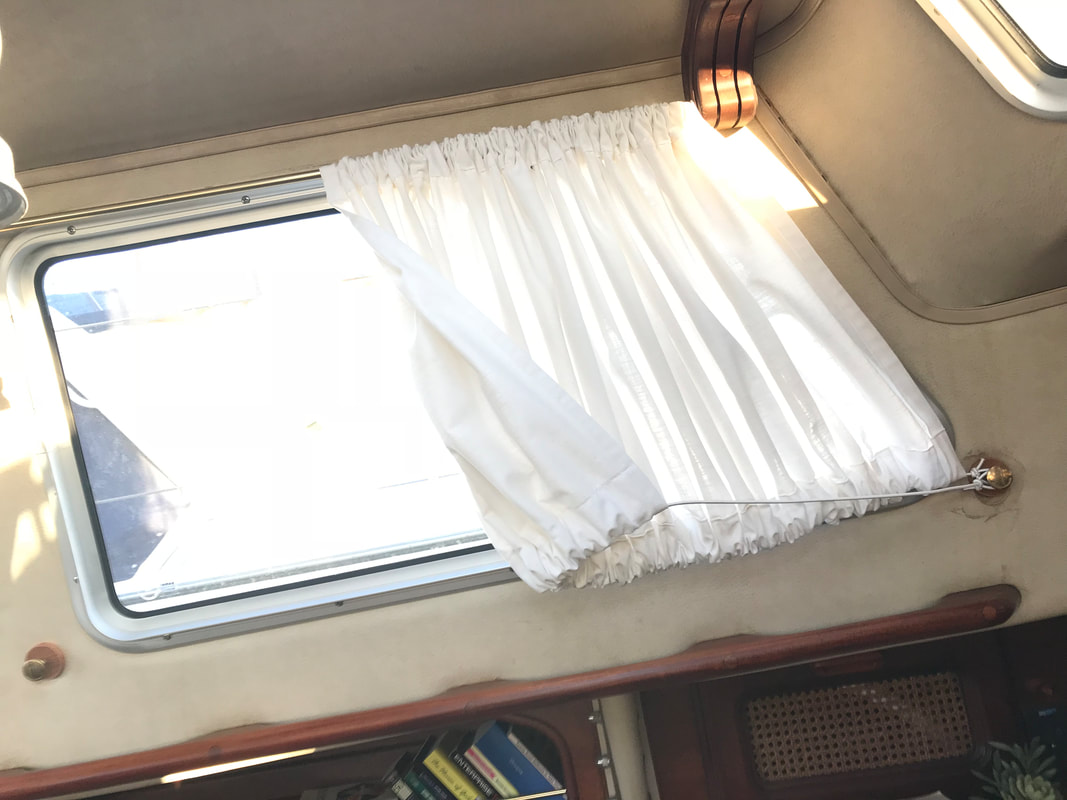
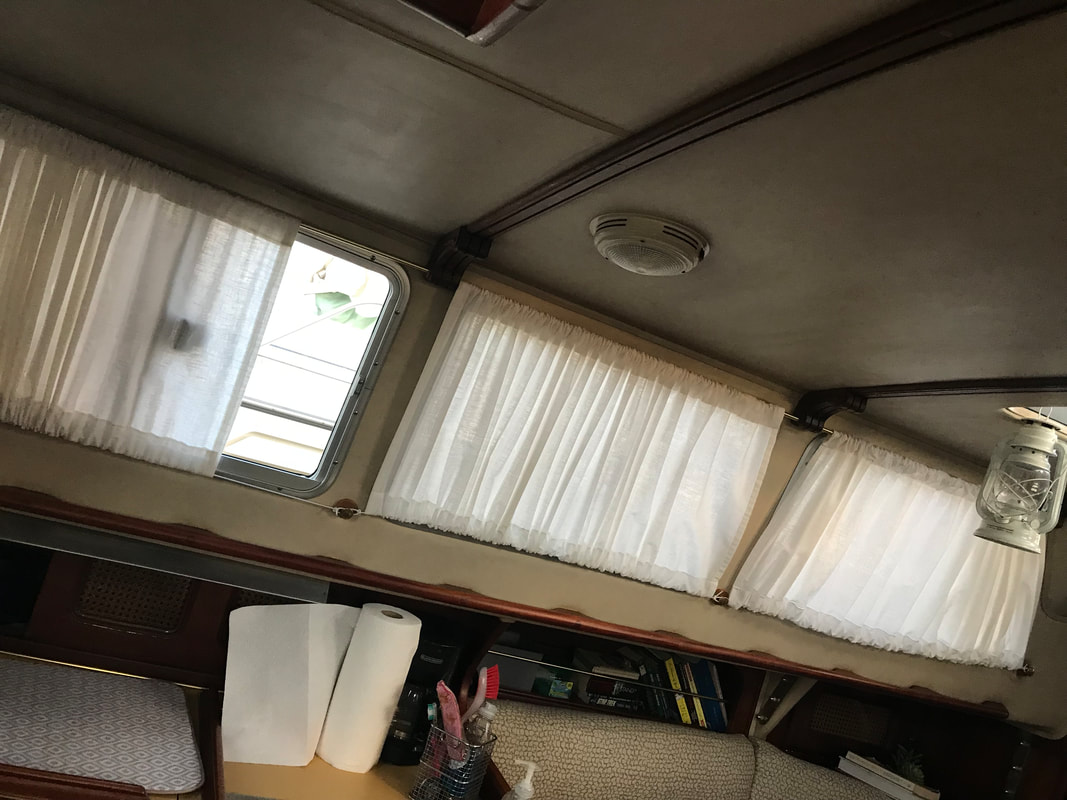
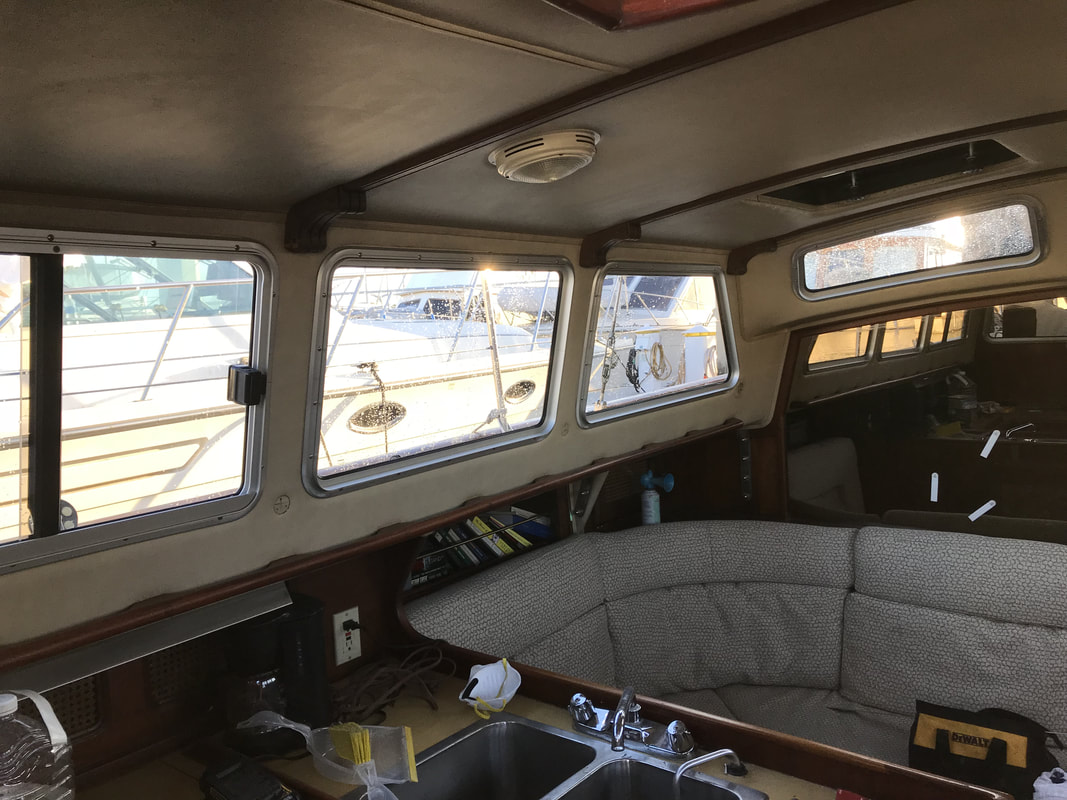
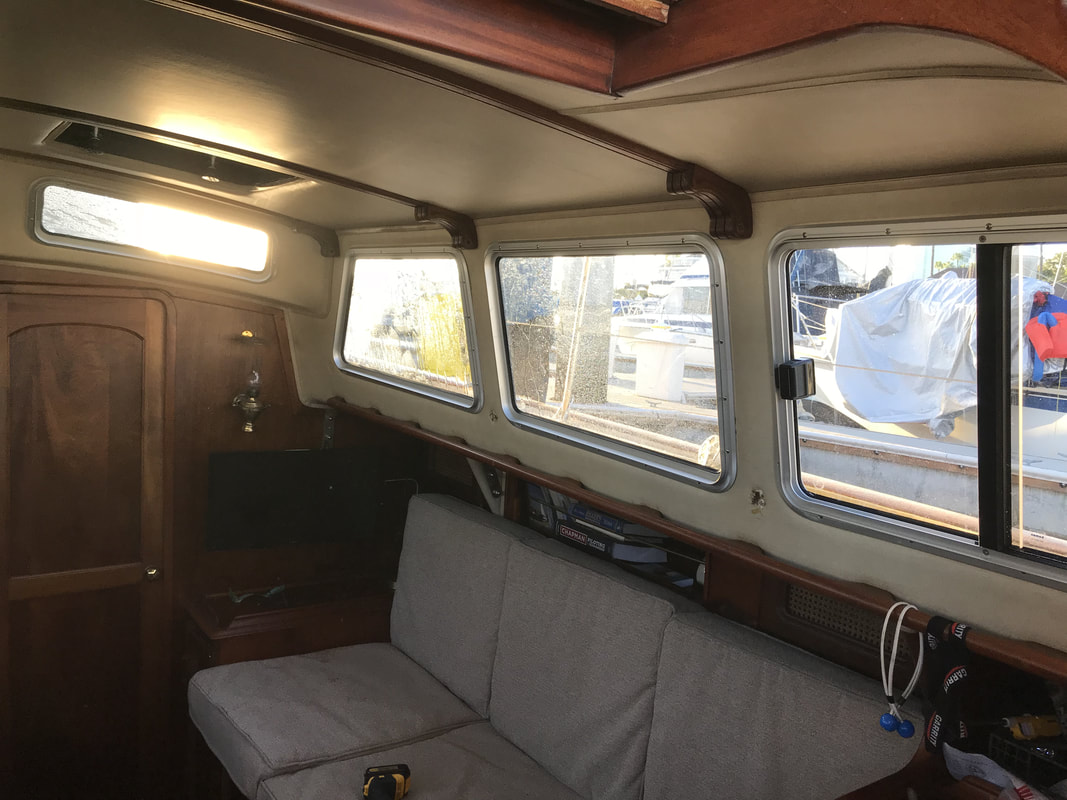
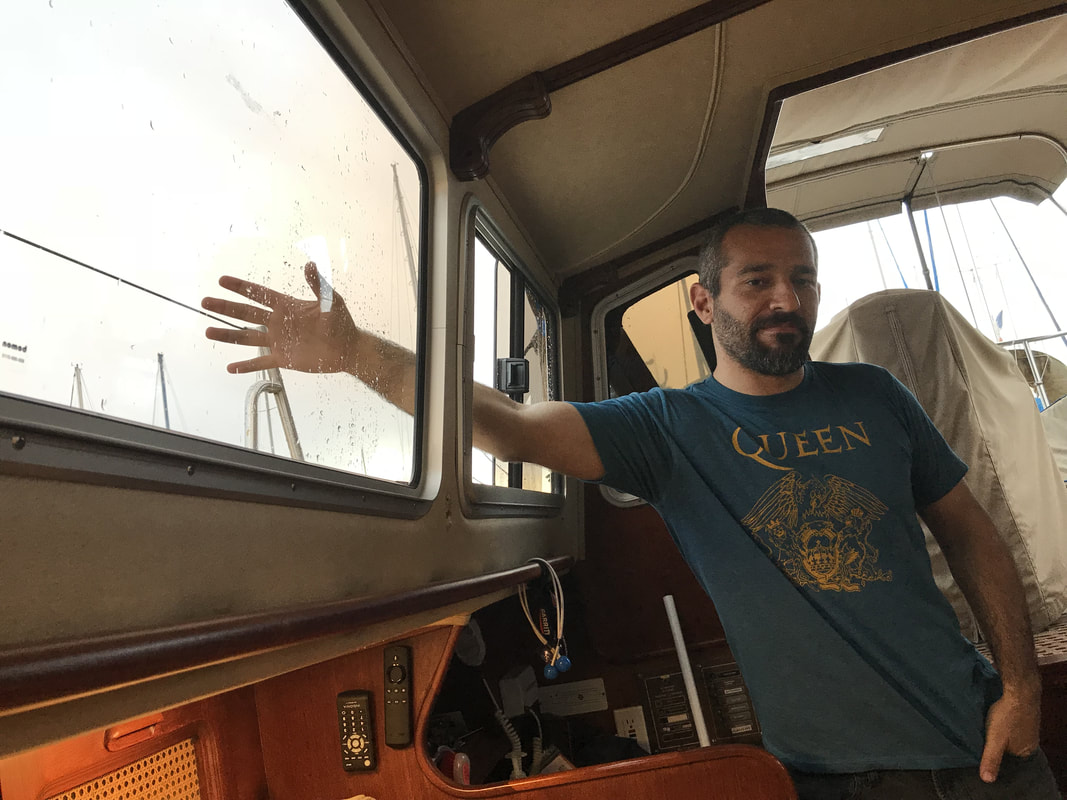
To install Kenutu's new windows, we had to take down her curtain hardware. The curtains were mounted on brass rods anchored into brass posts, but you had to put a lot of pressure on the posts to squeeze the rod into place. Well, 30 years of that and the posts, which are really heavy, aren't well anchored into the wall. Time to find a solution, because those new windows are made for peepers. The brass posts left three screw holes in the vinyl headliner, and some of the anchor points were torn and unlevel. Whatever solution I found needed to cover that mess, especially since replacing the headliner is no where on the To Do list. I found these amazing brass drawer pulls at what should be a nautical museum in Seal Beach, a fantastic shop of maritime magic called Antiques of the Sea. We'd driven past this shop dozens of times and it's always closed, but one lucky day it was opened and it was the answer to my question of what the hell am I going to do about these curtains. I got some little wooden rounds from the craft store for like $5 and 12 anchor drawer pulls for $12 each. Then I ordered some bungee cord for $5. All in the project was about $150. Yes, that seems crazy but those drawer pulls were too perfect. Mack stained the wood rounds and cut the screw part off of the drawer pull. Then we used 5200 to glue them together and to mount them onto the wall. That 5200 is more permanent than it needs to be, but we needed the anchor point to be strong and since the base was unlevel at most of the anchor spots, 5200 was the easiest and best solution. Then I cut the bungee cord the length of the curtain base, threaded it through the bottom sleeve of the curtain, and tied the only knot I know in each end... the good ol' bowline. The brass rods that were the original curtain mounts didn't let the curtains slide very easily. That's not normally a problem but if you want to open the curtain quickly, it may slide the rod out of place or dislodge the mount. Basically we just avoided opening the curtains. But now that we have these gorgeous clear windows, we need those curtains to open. I figured the bungee cord would allow the curtain to slide open in a fashion similar to that of the brass rods. But I also liked that if I wanted to open one up real quick, I could just unlatch it from one post and anchor it to another one, essentially opening the curtain by folding it over on itself. The bungee cords also have some give so that when wind blows through, especially the open windows, no hardware is getting too strained. All in all, the function is great, the hardware is more interesting, and now we don't have to subject passing strangers to accidental flashings. We're classy dammit.
1 Comment
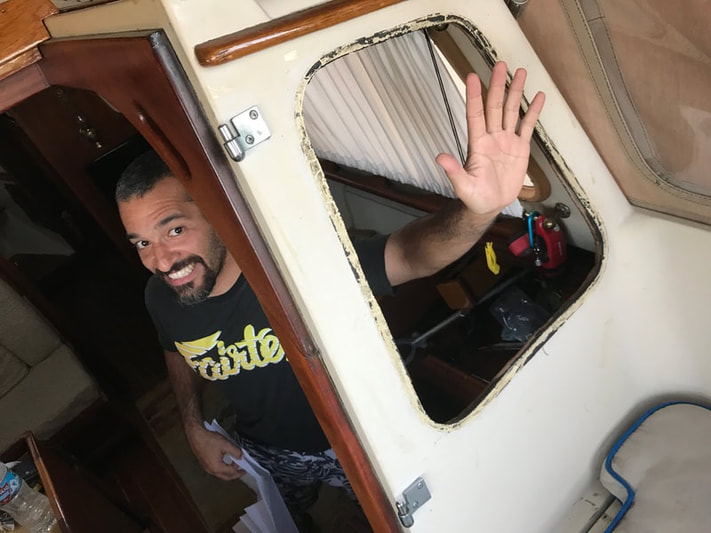
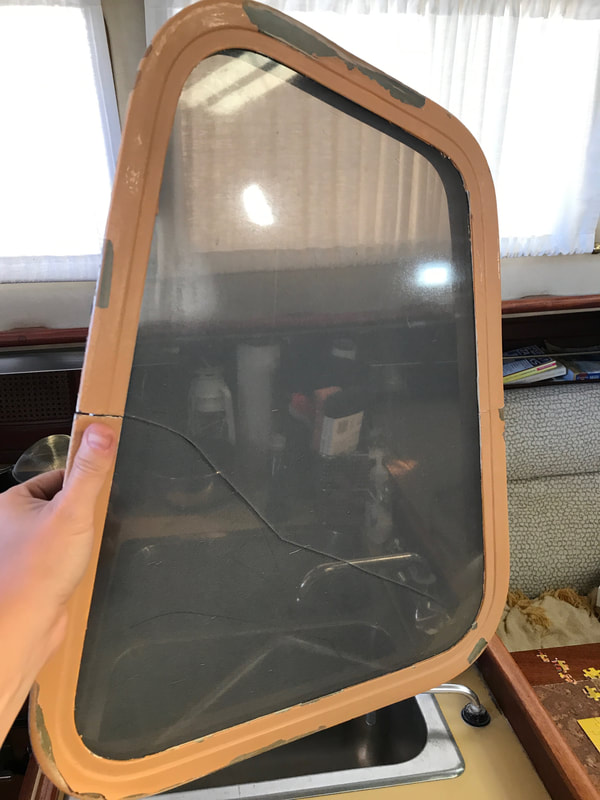
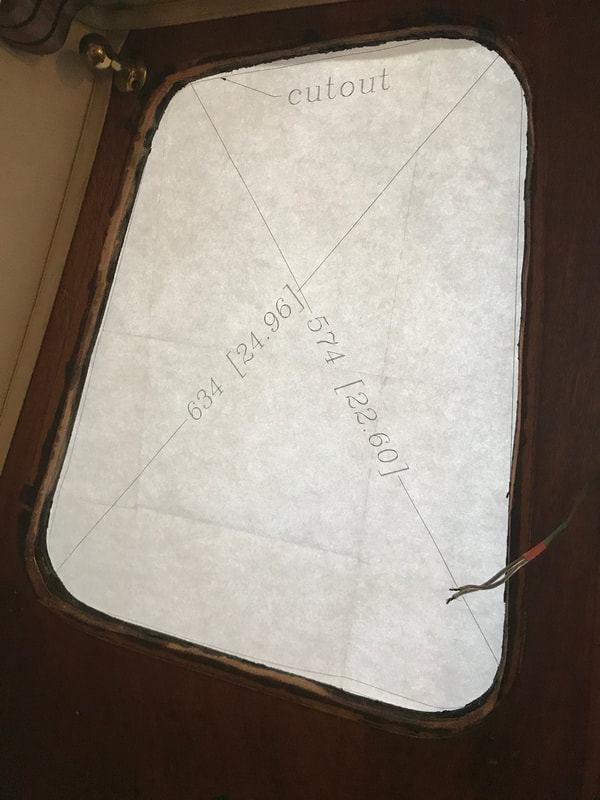
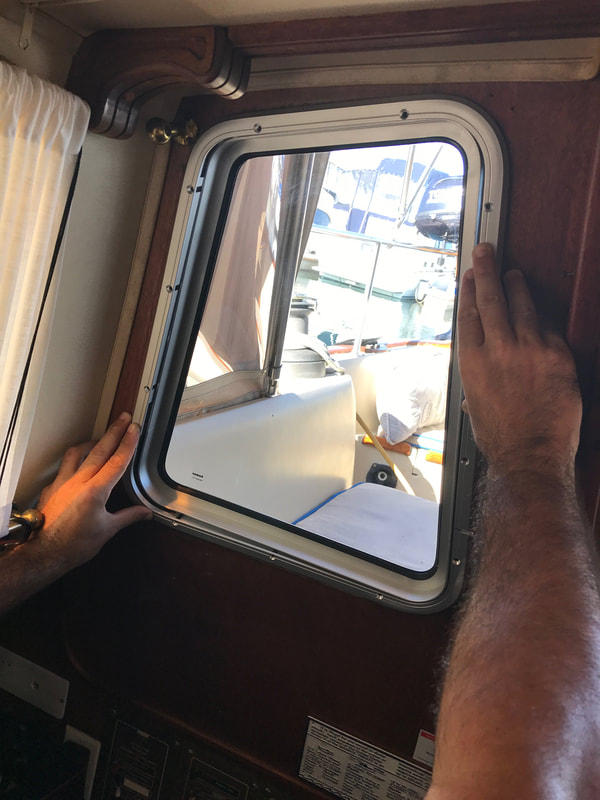
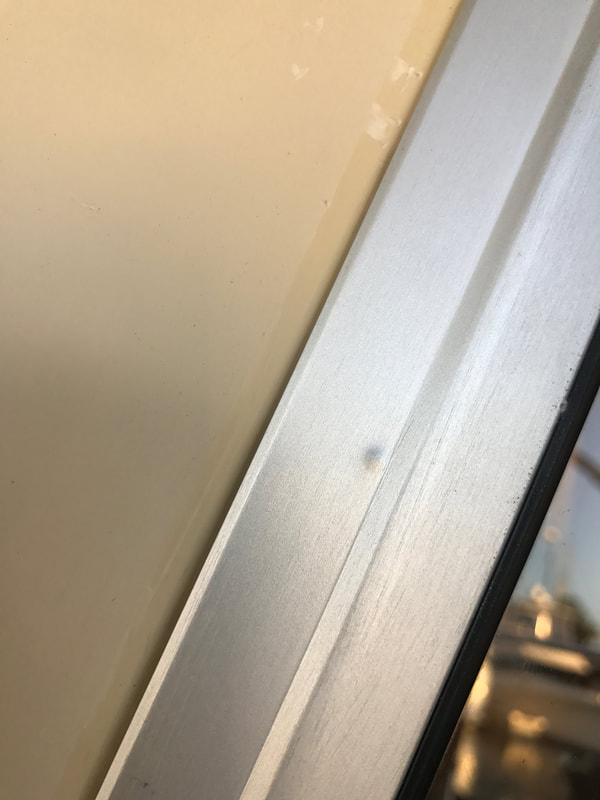
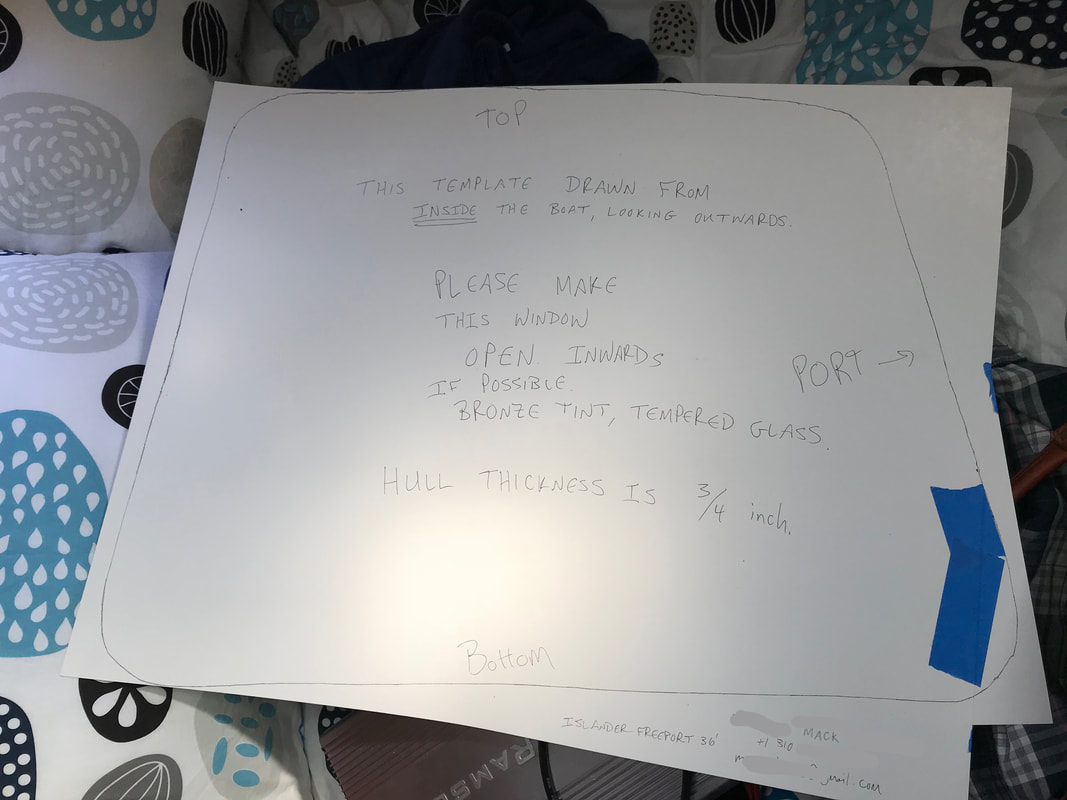
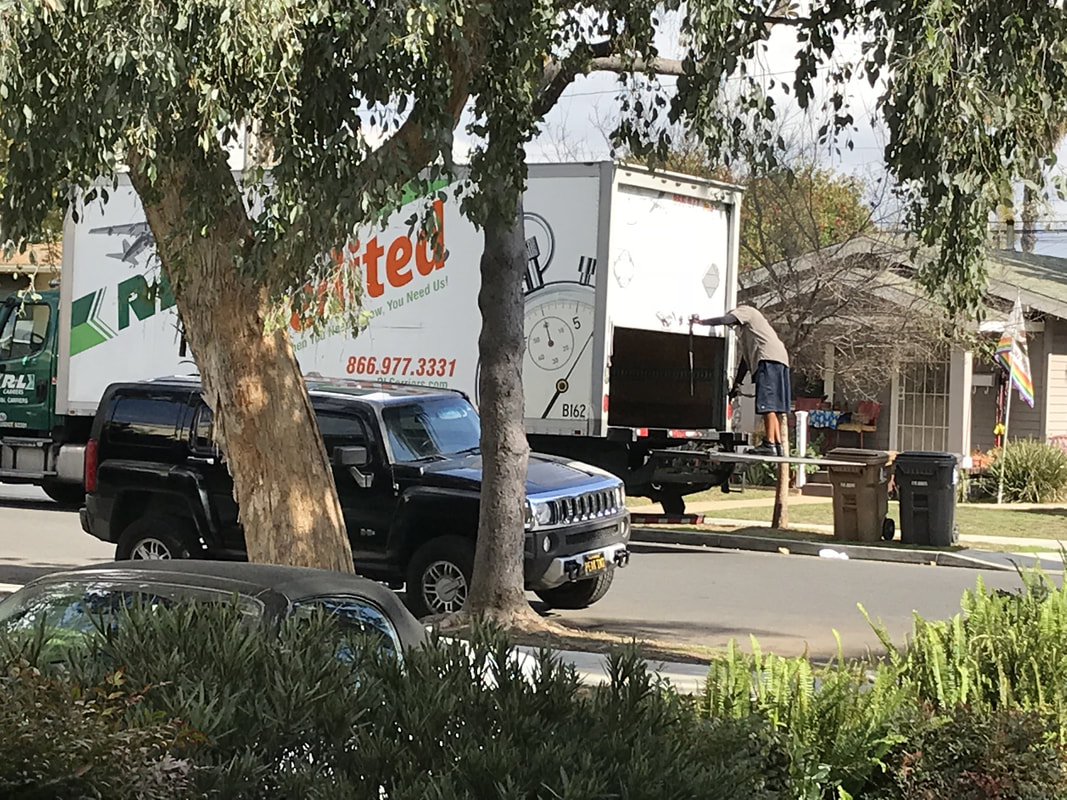
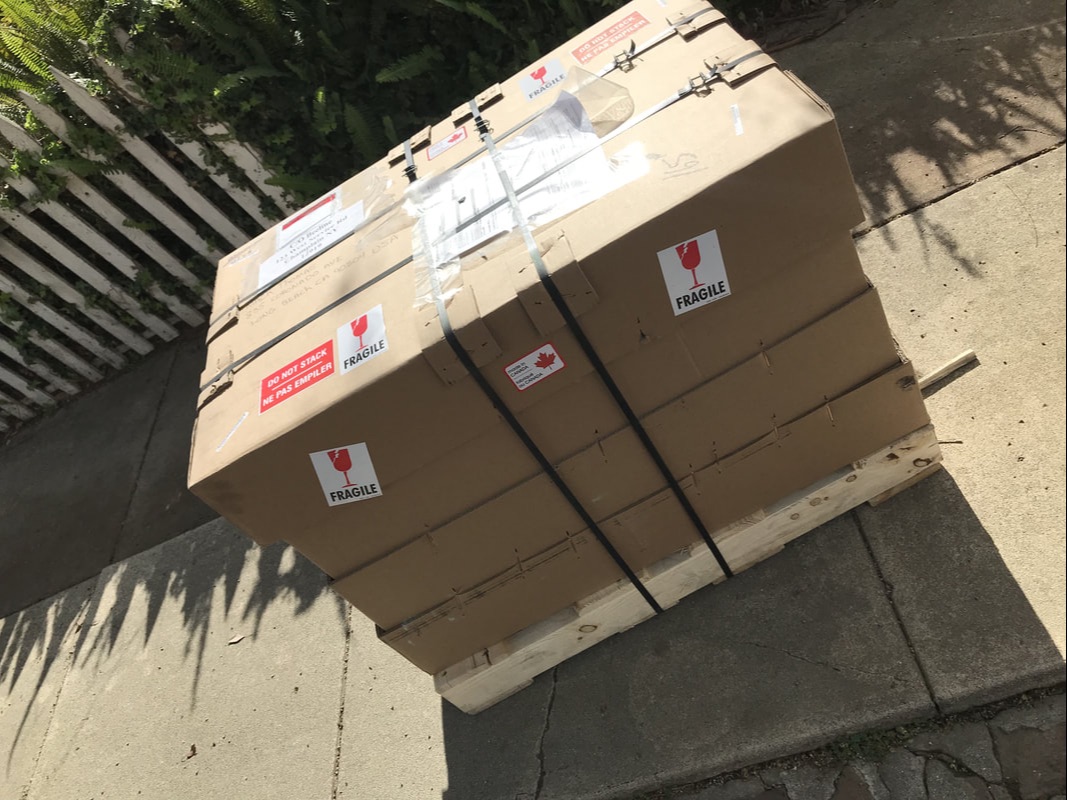
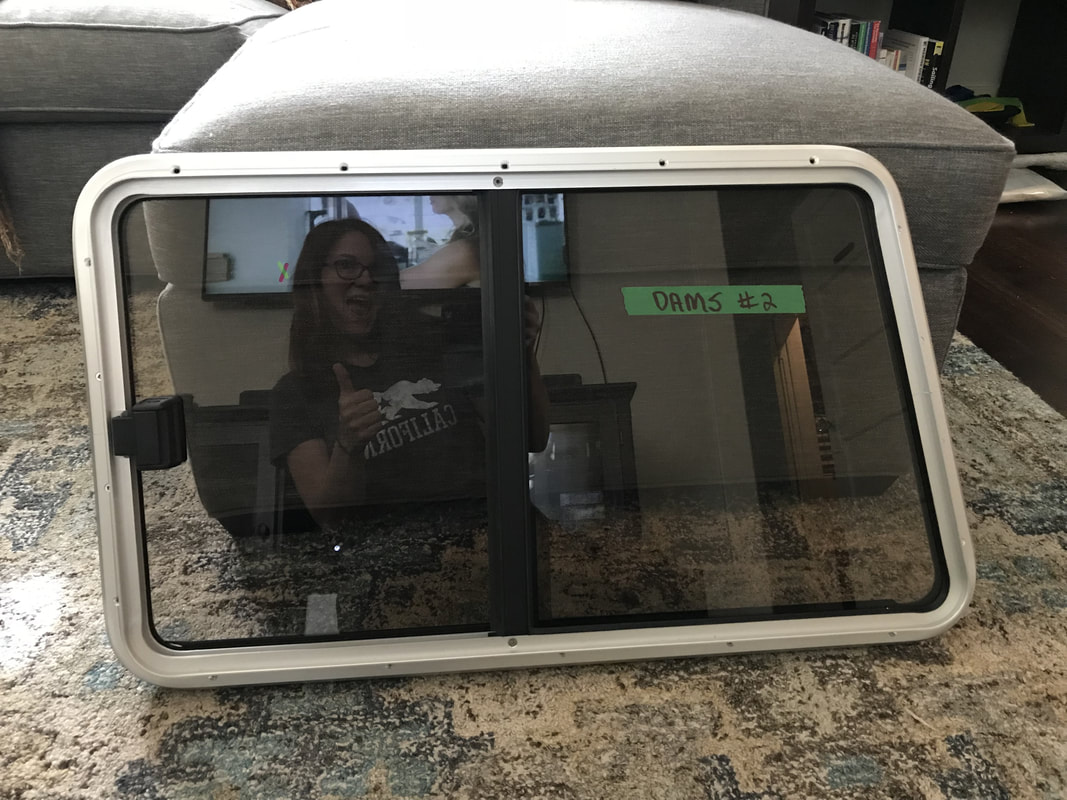
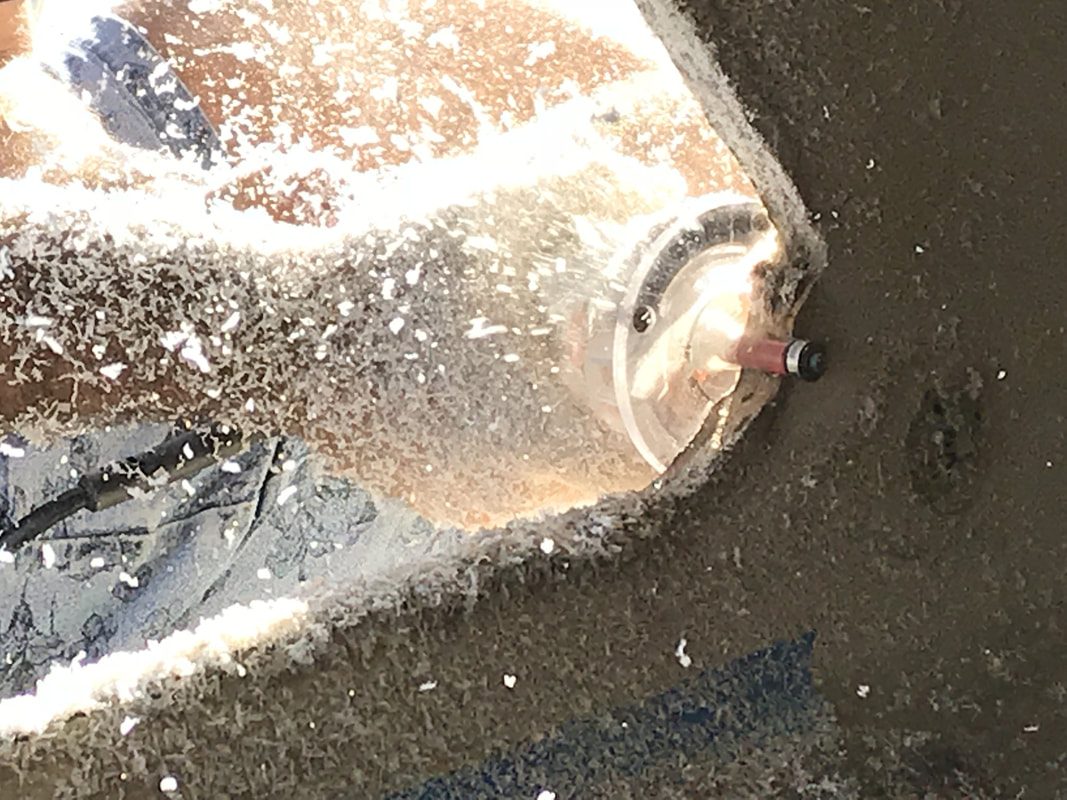
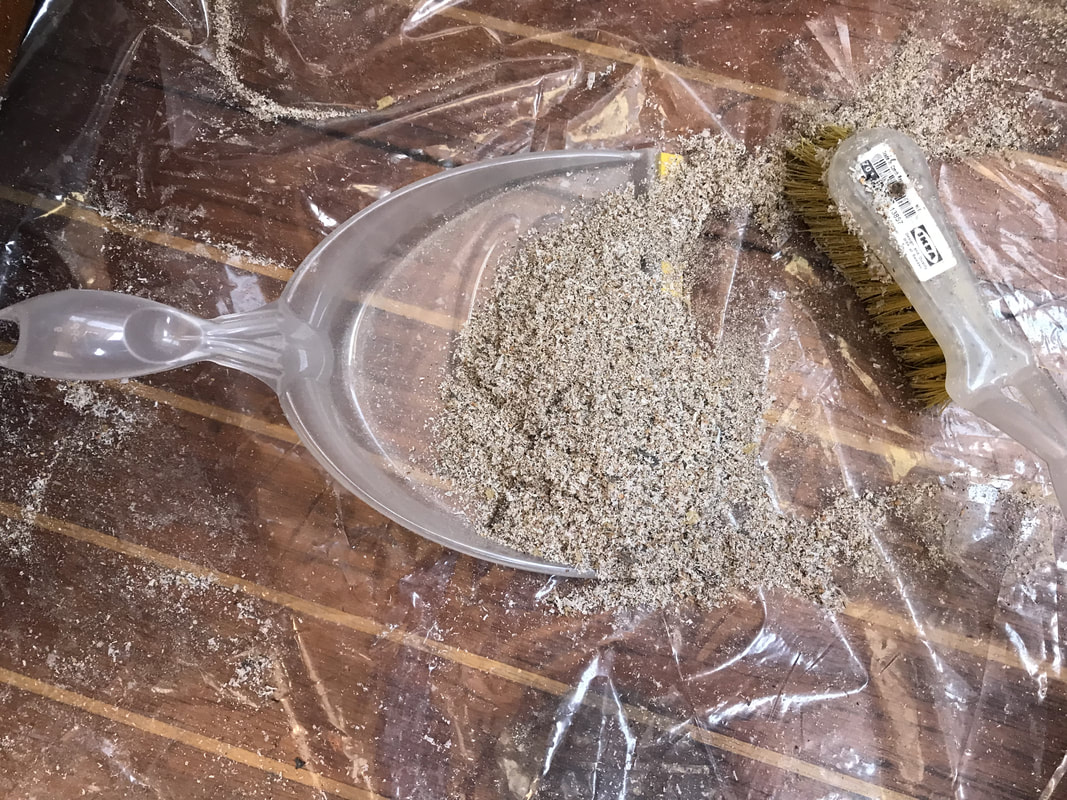
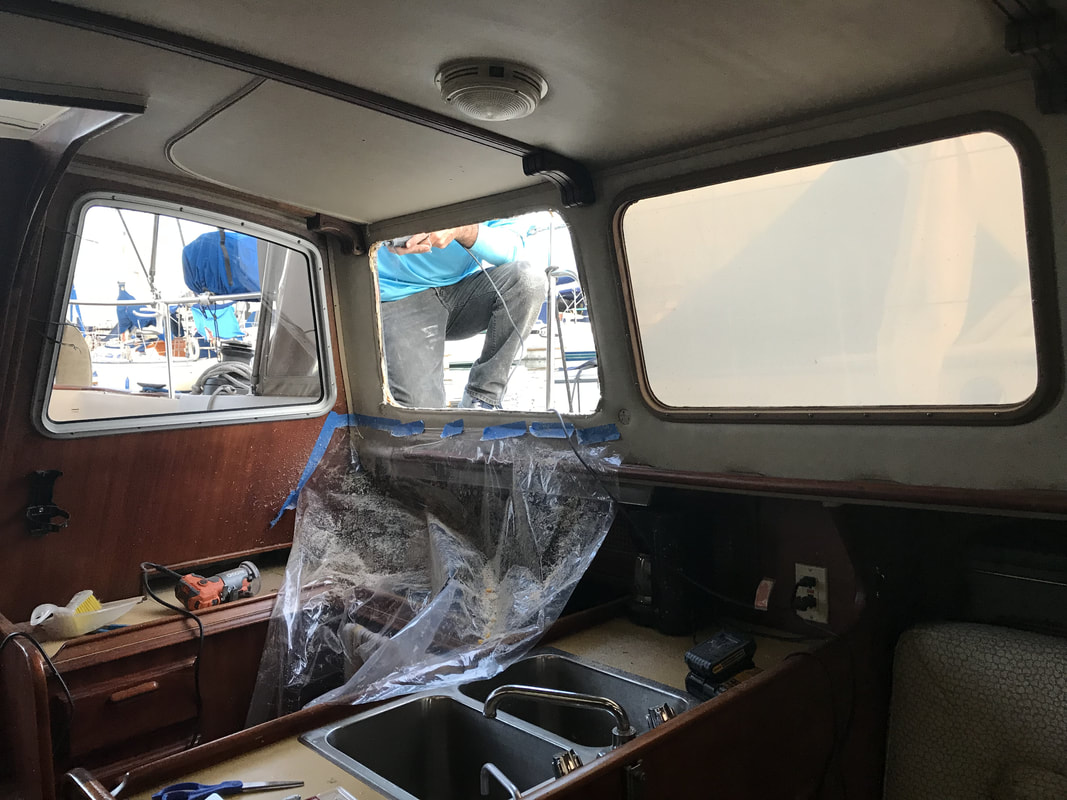
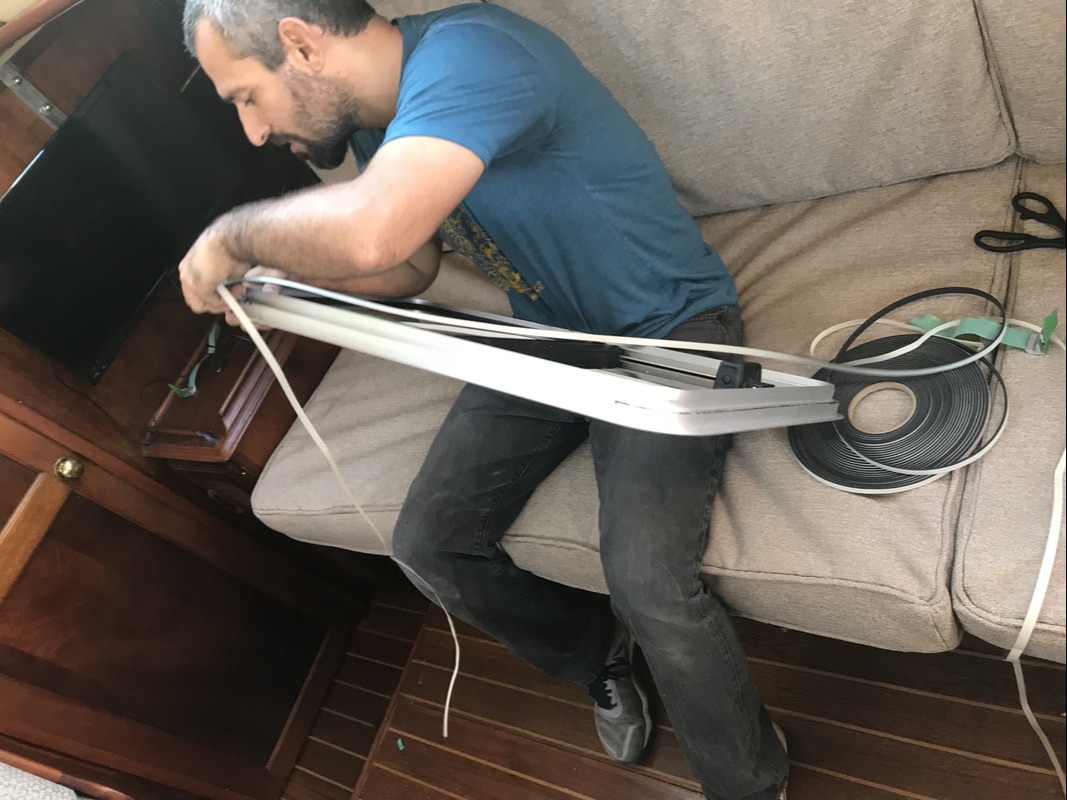
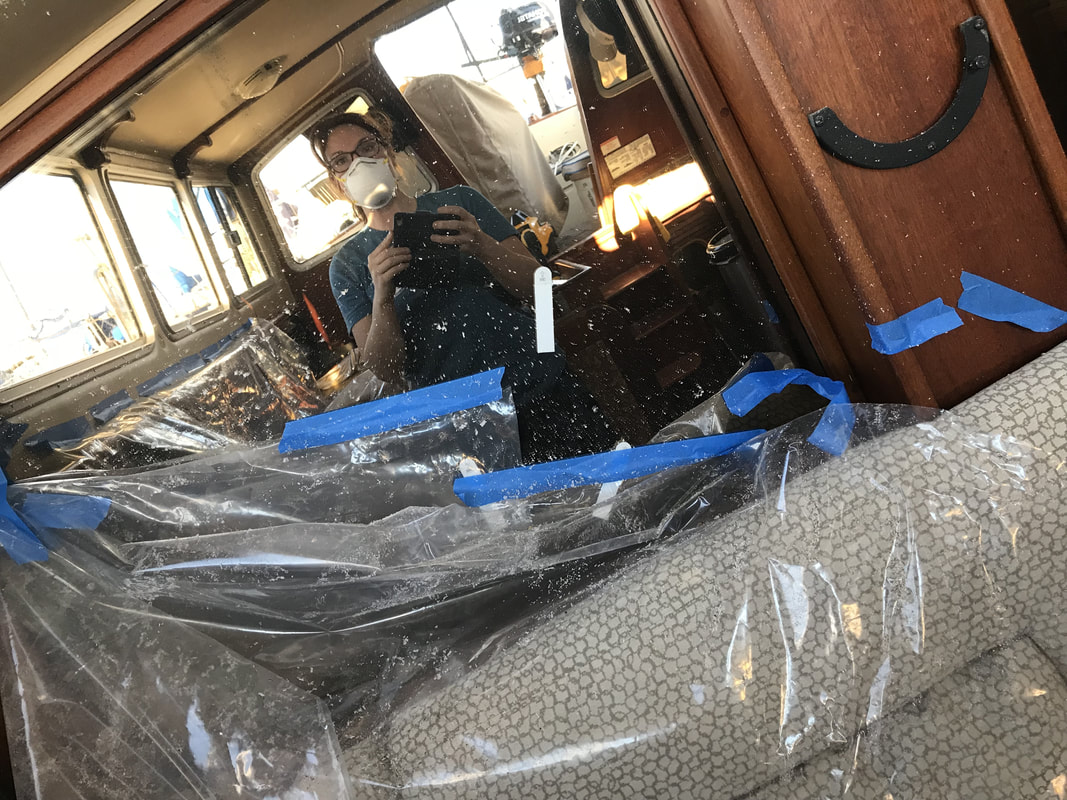
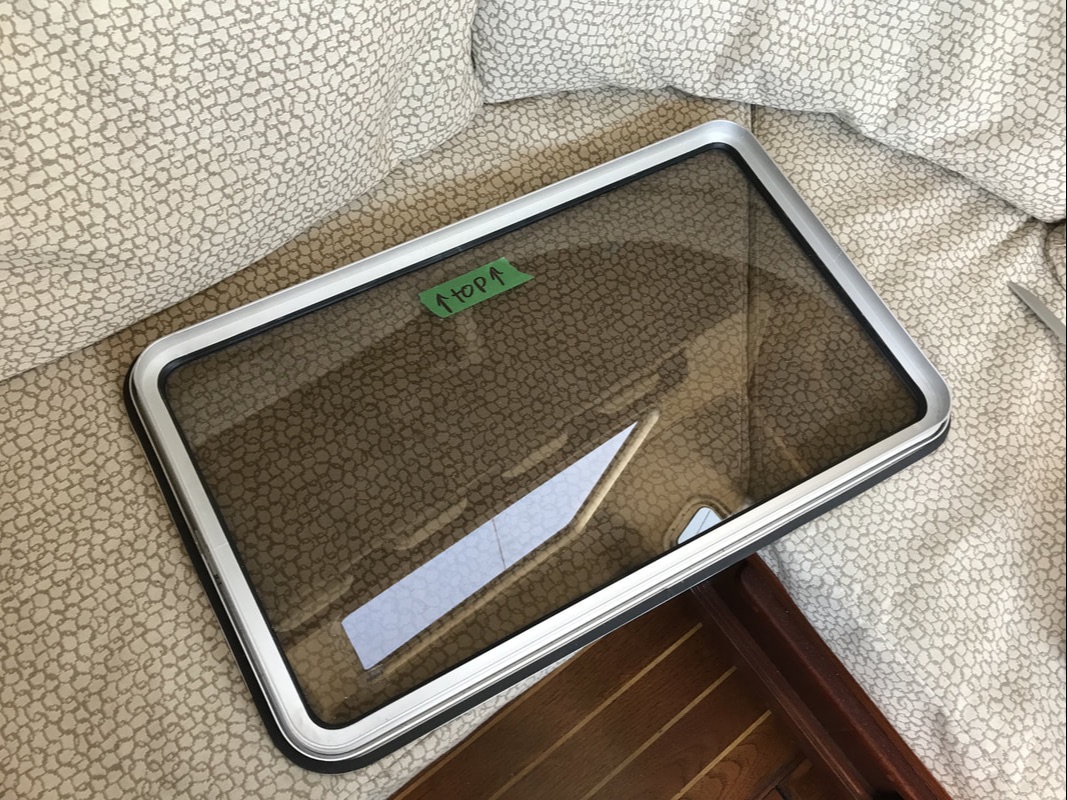
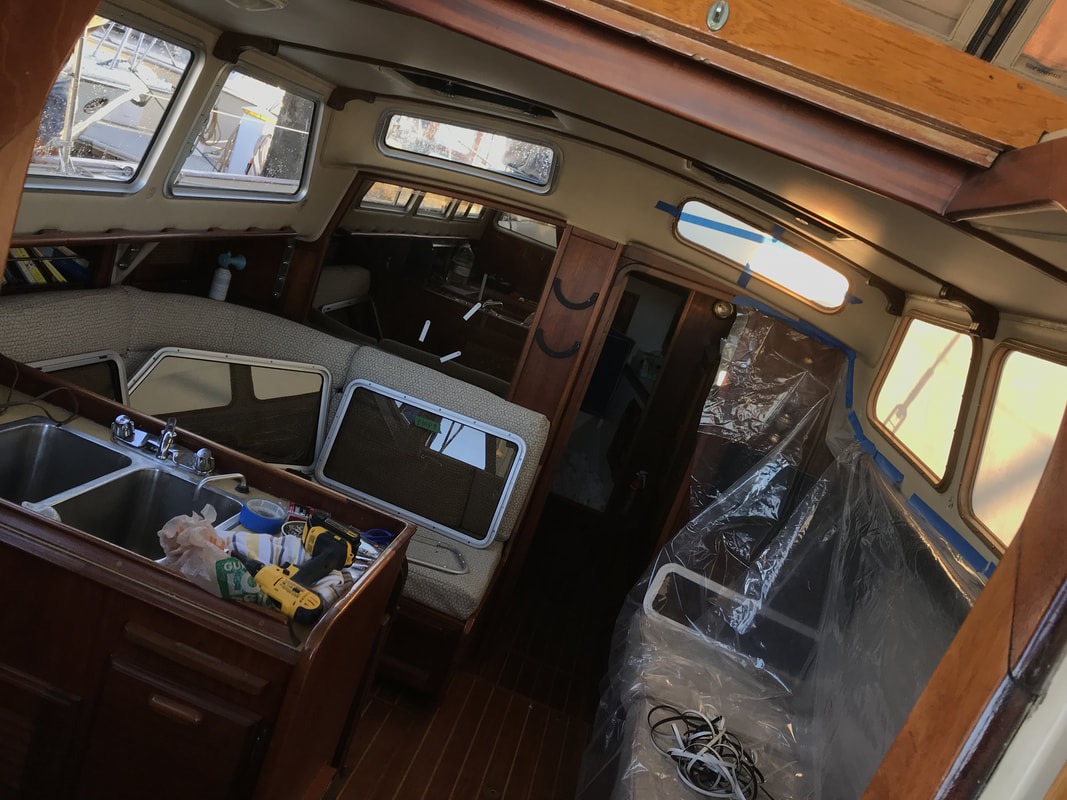
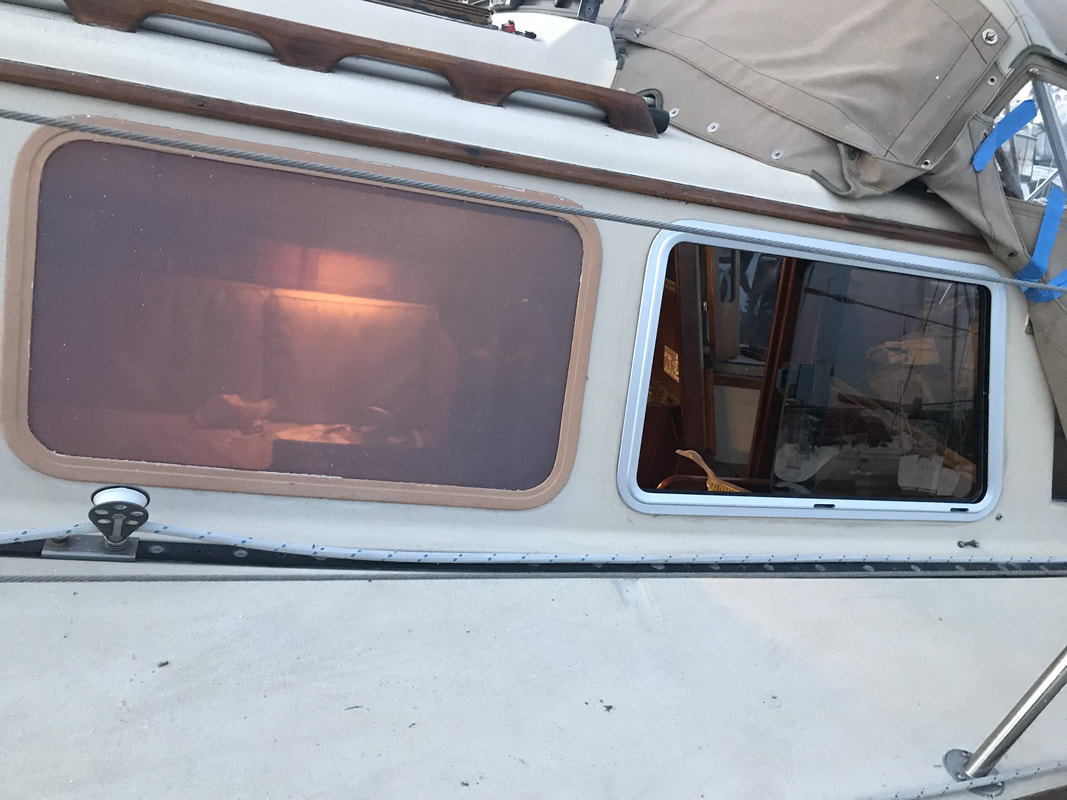
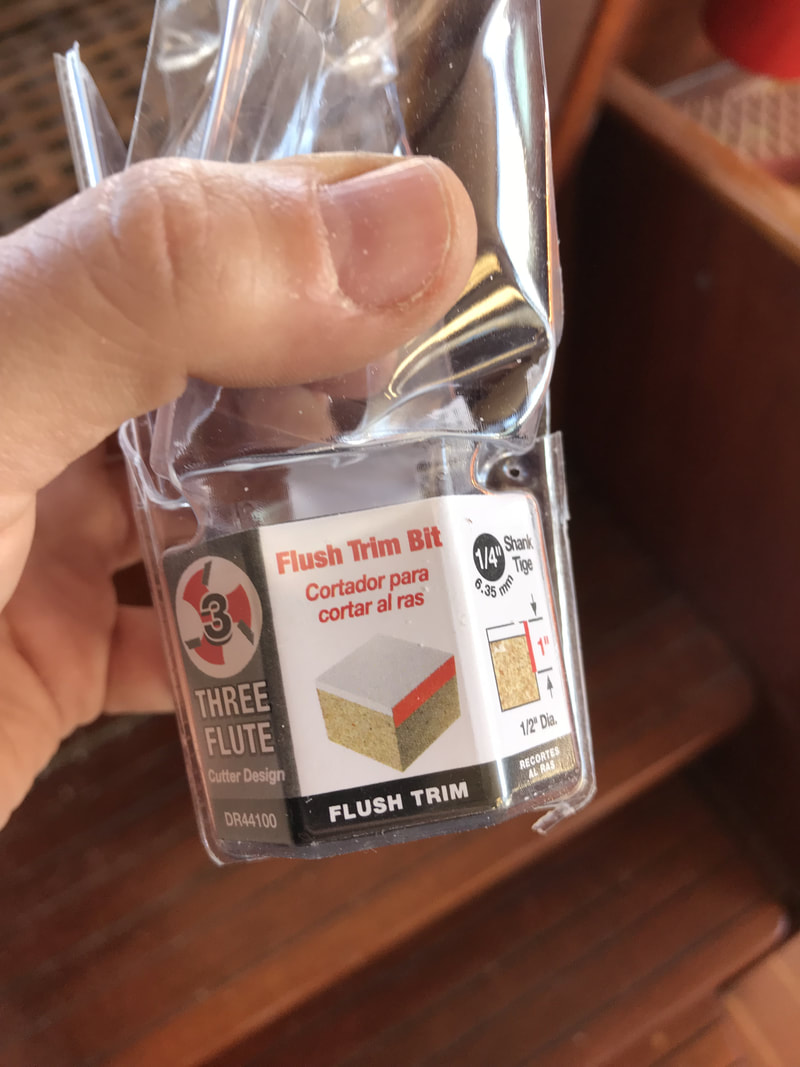
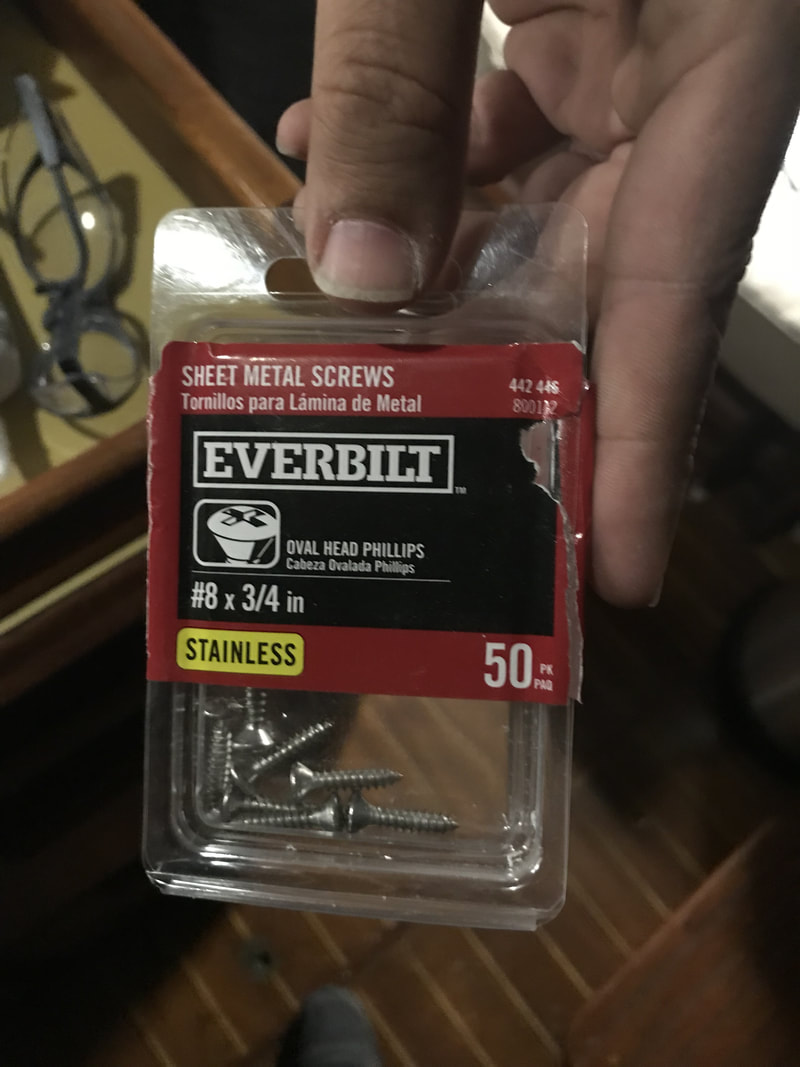
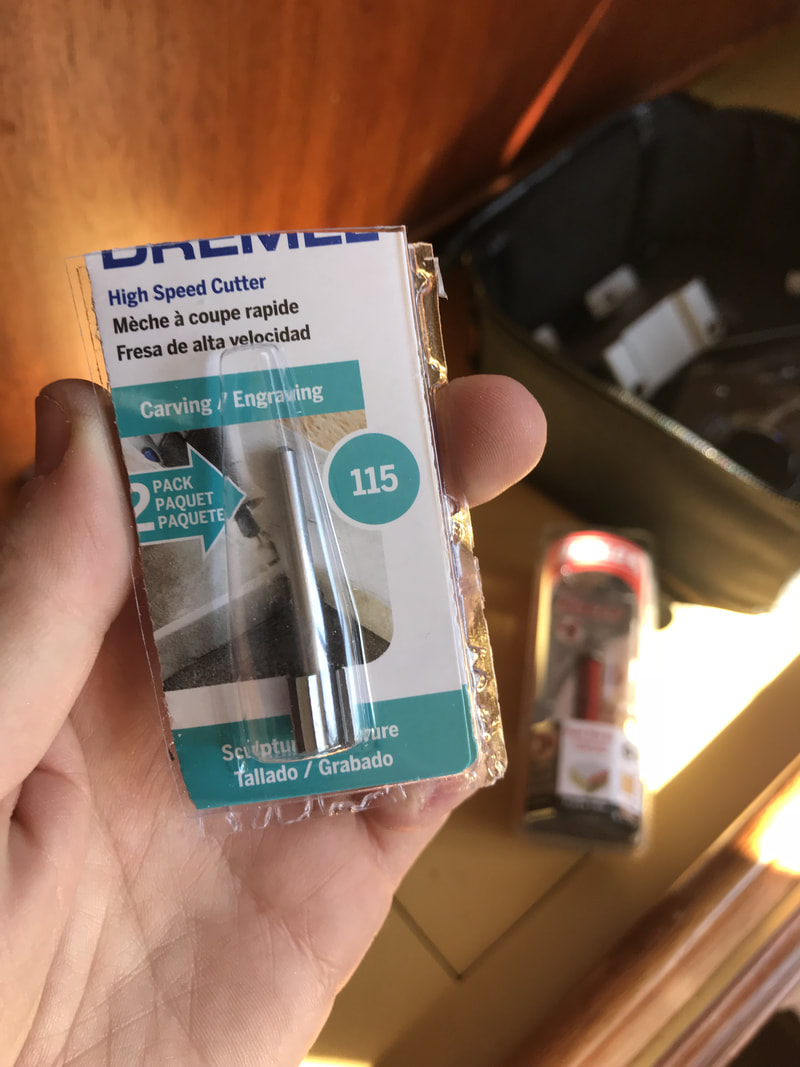
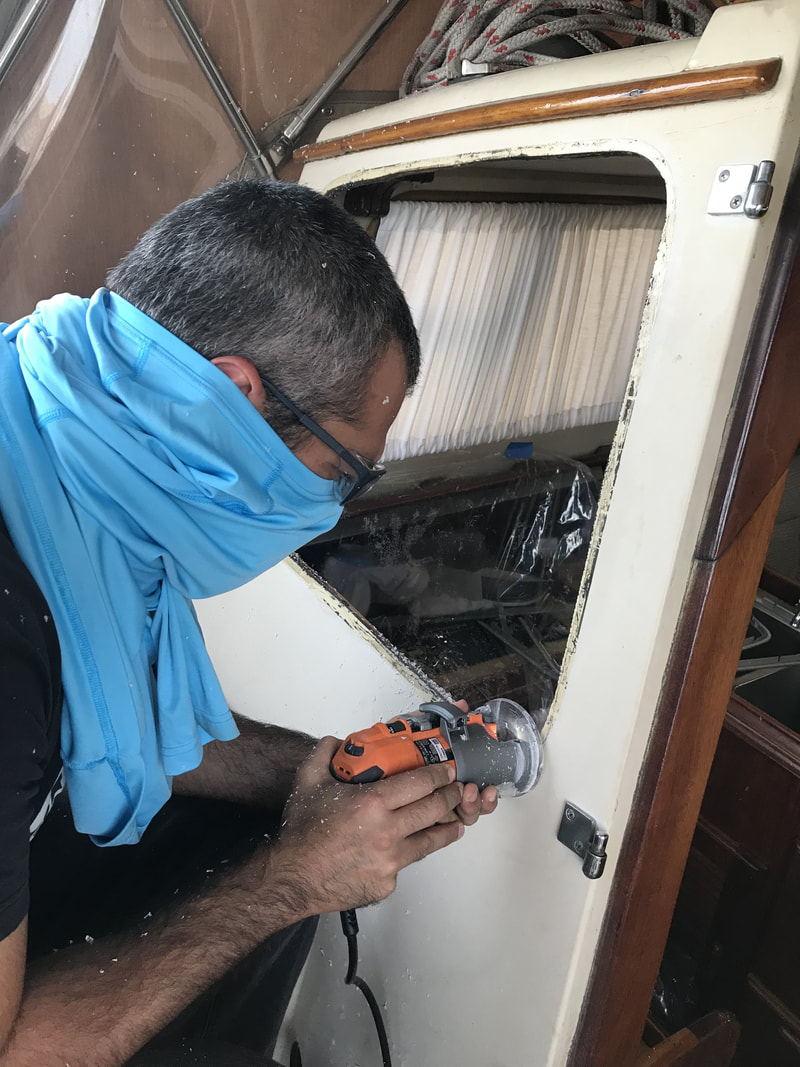
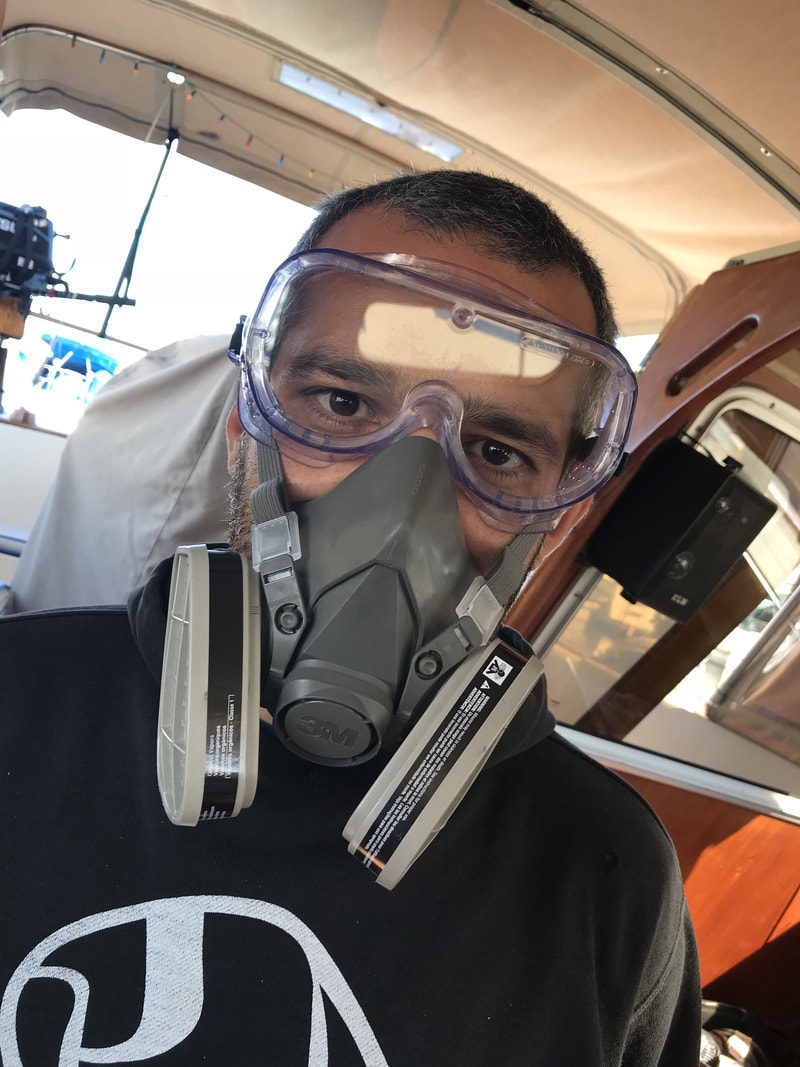
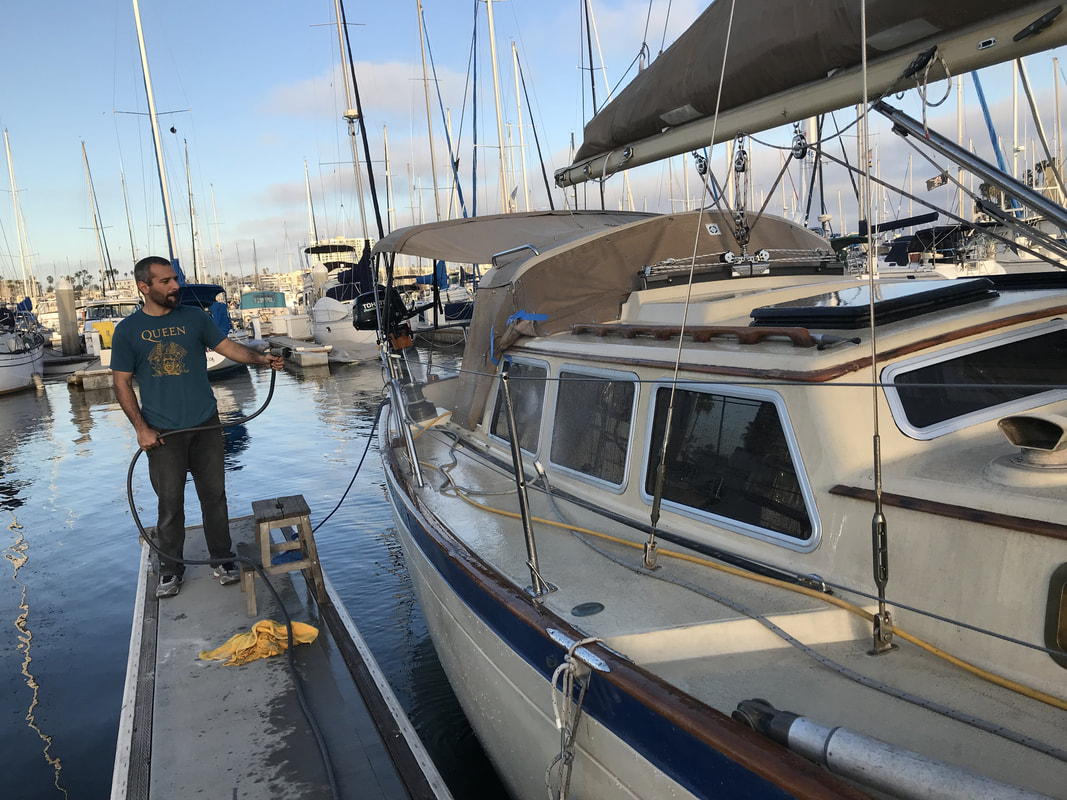
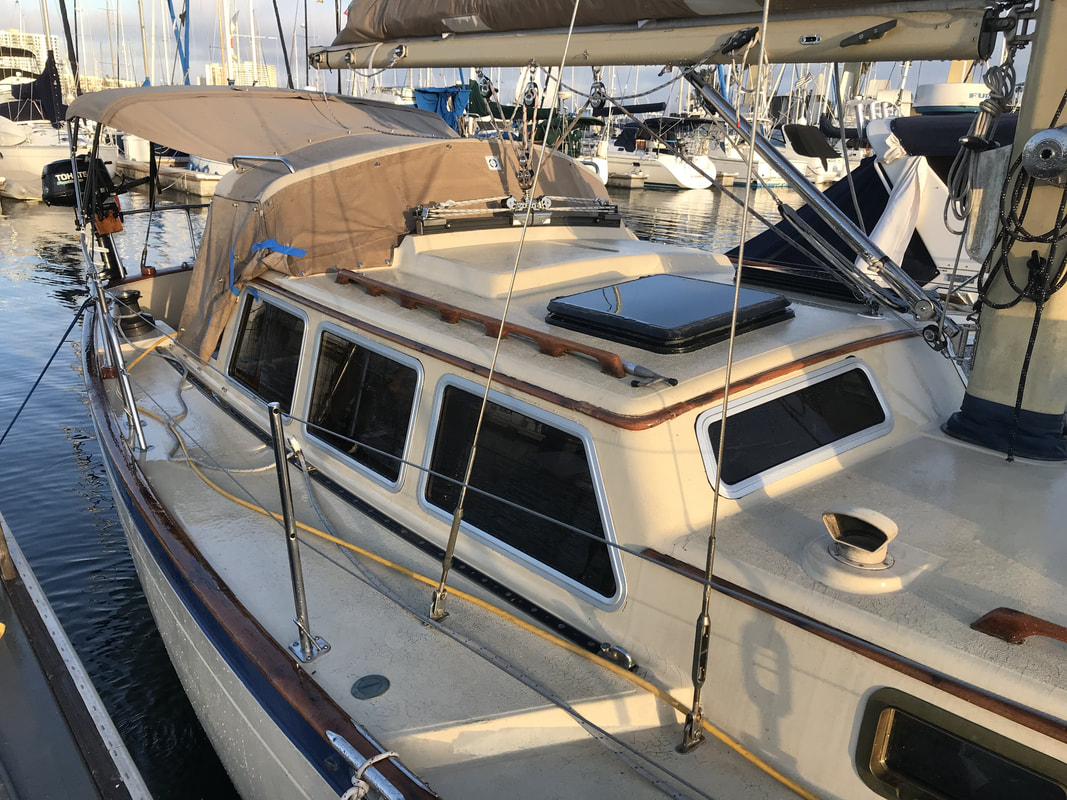
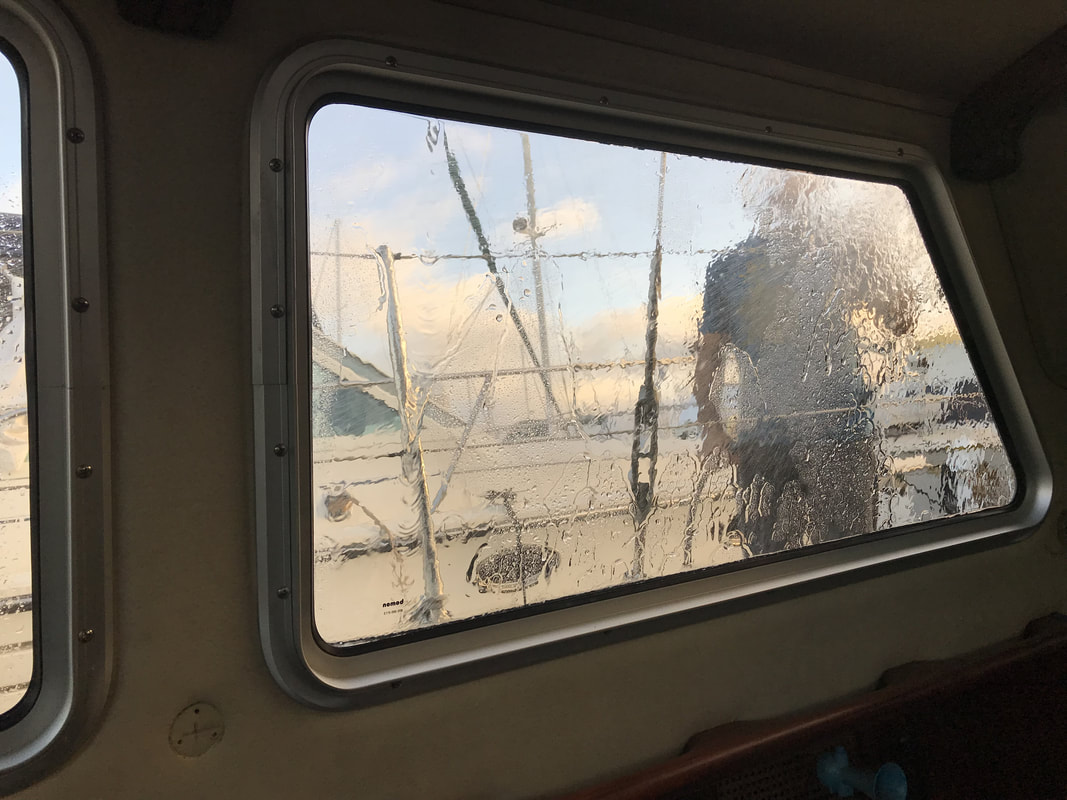
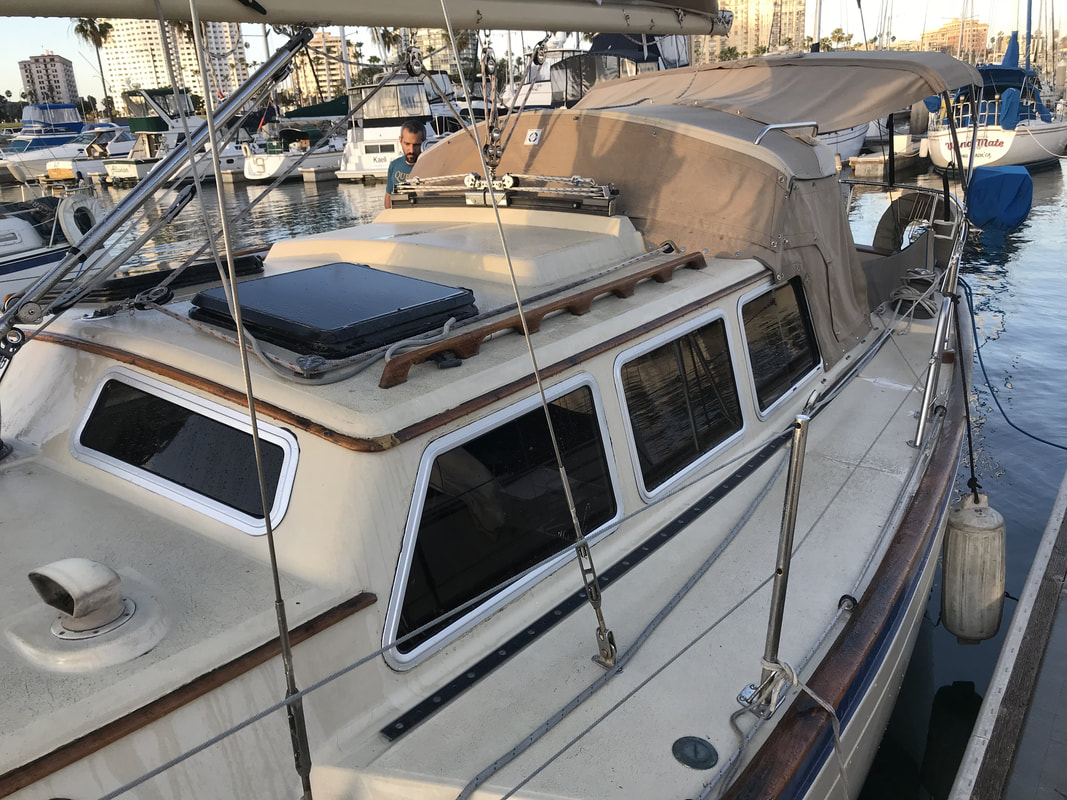
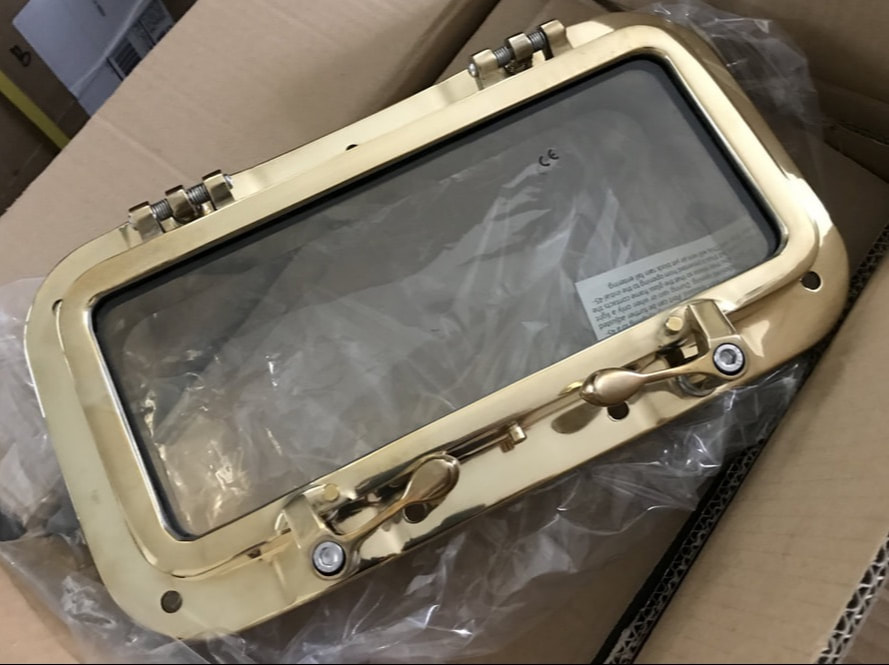
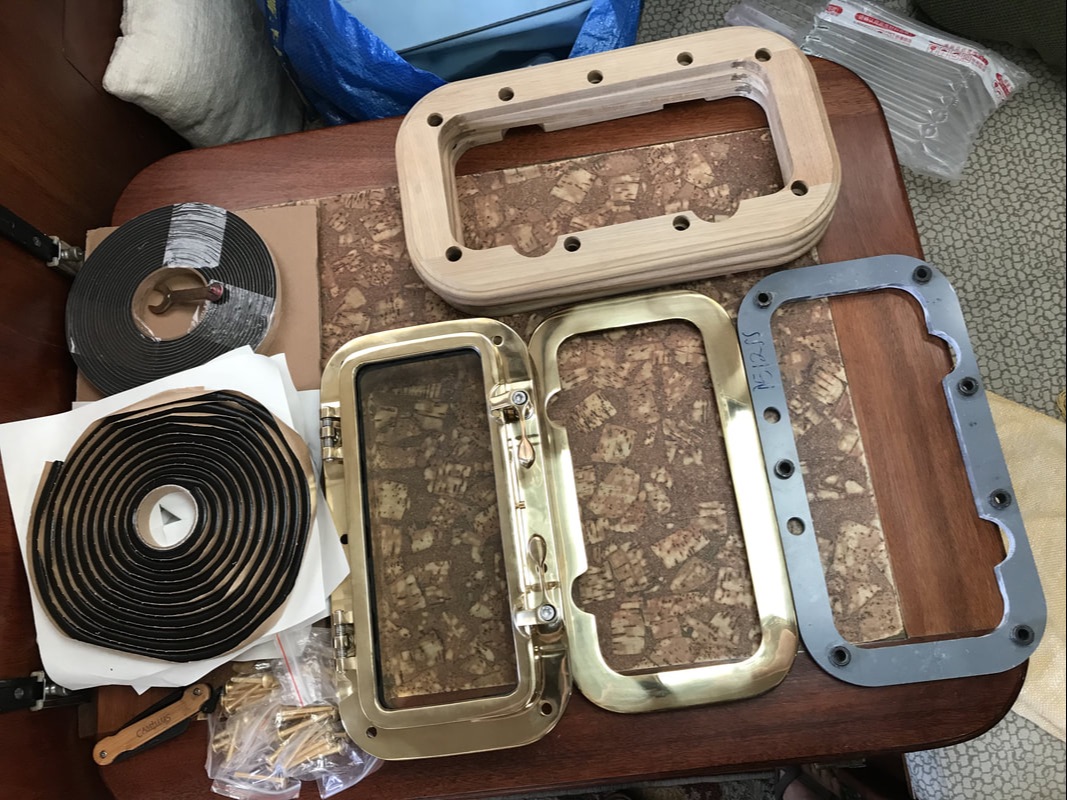
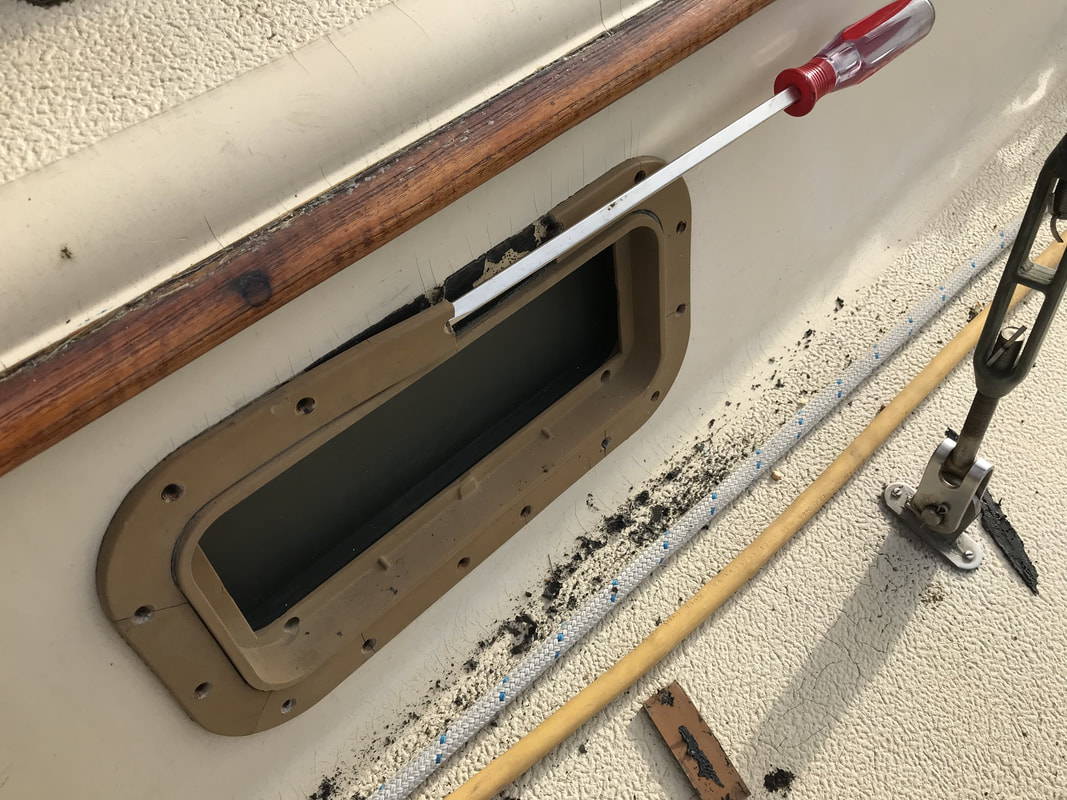
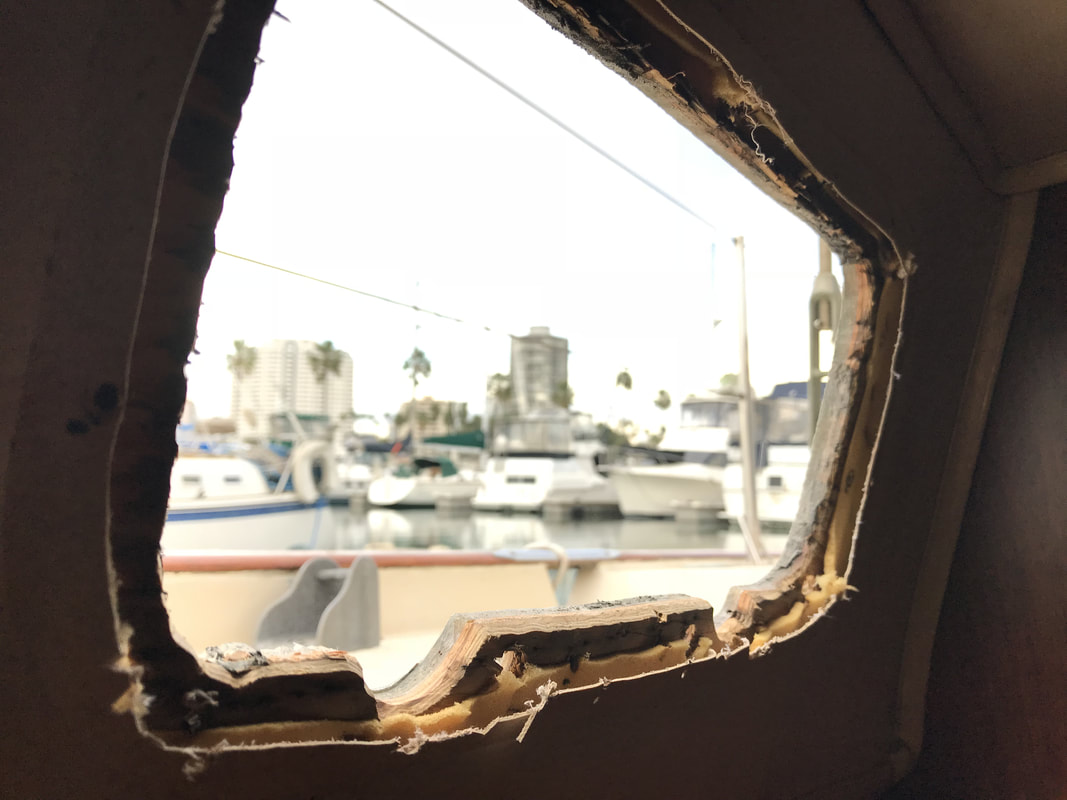
When we took our very first ride on Kenutu, before she was surveyed or anything, we asked about the windows. Were they deliberately cloudy or were they just that badly crazed? The answer was the latter. It was so bad you literally could not make out a thing outside the window. It was great for privacy but bad for function and the overall look of the boat. The plastic frames were chipping this awful tan paint and the windows looked perpetually filthy. We joined the FOGgers Group, a little online community of people who own Islander Freeports, and discovered other owners who'd upgraded their windows through Mark Plastics. Mark Plastics had the templates for the frames and windows already molded and sold a new set for about $5,000. Their windows would be exactly the same (but new) plastic products that came with the boat originally, and since they were plastic, they'd be a little more flexible to install. For the two years we've been with Kenutu, we'd planned on Mark Plastics when we could finally afford new windows. Then, after the installed portholes made the windows look even more terrible, the Captain found a place called Bomon, a marine window company in Canada. Their price for tempered glass windows with aluminum frames was around $5,000. Since glass doesn't craze nearly as easily as plastic and the price was the same, we decided to go with Bomon. Sure, we read all the DANGER A WAVE WILL BREAK THOSE WINDOWS but we decided that if a wave that powerful hit our boat, we'd probably be in some life-threatening situation and already at the point of just wanting to survive so who cares about a broken window. Before Bomon could make the windows, we had to send them templates. To do that, we had to take off the old windows, clean off all the silicone goo crammed in around their frames, and devise a way to make a template. We decided to start with a small window leading to the cockpit, which would give us a taste of what the removal, templating, and install was like. And it'd also let us check out the product before we dropped $5,000 on it. Mack made the template using some brown wrapping paper, we mailed that to Canada, they sent a computer generated one back to us, we mounted it over the empty window frame to see if it was accurate, then we gave Bomon the green light to make the window. The new window arrived and it was beautiful. Awesome quality, crystal clear glass, with a nice bronze tint. To install it, we had to use the router and Dremel to carve out the frame until we got a nice fit. Then we put some weather stripping along the outside frame, put it in place, and screwed the backing plate in place. It went off without any issues except we used too long of a screw in one spot and got a little bump in the aluminum. If you see it, keep it to yourself. The difference was night and day. The salon literally went from being dark to being super bright. We only had one window upgraded, and it was already changing life on board. Before we could pop out of bed half naked and have no fear that someone would see us. Now we have no doubt they can. Now that we knew that the Bomon windows were awesome, we had to make templates for the other 9. We decided to use poster board instead of brown paper since it was a bit sturdier (and only 25 cents at the Dollar Tree). Some windows were bigger than the poster board so we extended it with some painters tape. About half of the windows broke when we were getting them out because they were so dry rotted. Once we got them out, we used a knife to cut out all the extra silicone that was used as a sealant until we were essentially down to the hull. I taped the pasteboard into place and held support on the outside while Mack traced the window from the inside. We numbered them as went along so we could remember which window went where. Complete and repeat nine times. After we got the templates made, we put a piece of painters tape over the cracks on the old windows and put them back in place. Then we went directly to the UPS store to ship the templates to Bomon. It would take at least 8 weeks to get the new windows made and we didn't want to leave the cracked windows in there any longer than necessary. Thank god we live in drought-stricken Southern California. Last week the windows showed up. The guy who delivered them also delivered a weight bench to us last year, and Mack told him we were going to get swoll. The delivery guy asked if we were still using them, and I was like, yeah, of course... when we feel fat. Busted. I unpacked the box in the driveway and lugged each window into the house. Unable to contain my excitement, I unwrapped one of the two we'd had made to slide open and had a little party celebrating its perfect beauty. Now when cooking in the galley, we could slide open the window over the stove and let the heat out! Or we could get a cross breeze through the boat when the wind was coming over the beam! That party didn't last long because then we had to install the windows. And that meant routing out and Dremeling all the frames to fit. And that meant fiberglass and saw dust. SO MUCH DUST. I used the plastic the windows were wrapped in for shipping to make dust covers/drop cloths. We routed and Dremeled and vacuumed and got so itchy and swept and got more itchy and took hose showers and Mack ended up with the reddest eye I've ever seen. In the medieval times they wore hair shirts. In modern times, we get coated in fiberglass particles. It took about 4 days of torture, I mean work, to get all the windows in. It took some trial and error to find the best tools to do the job. The router bit we'd used for the portholes ended up being too short for the windows. We had to hold the router at weird angles since the wood on the exterior of the boat wouldn't let us move the router along the surface of the boat, and the best bit for that ended up being a 1" deep three-flute flush trip bit. To get in the upper corners we had to use the Dremel, and after breaking grinding stones and coming pretty close to starting a fire, we found that the high speed cutting/engraving bit worked best. Two of the windows pretty much required a reshaping, and there was no way to get the most extreme angle in without creating a pretty big margin along the window. It was definitely too big to trust to just weather stripping, so we pulled out the leftover butyl tape we had from the port light installations and crammed that into the nooks and crannies. As we went on, whenever a gap left us feeling a little uneasy, we just crammed butyl in there. We also found that the project required wrap around goggles and a proper respirator mask. It took about 4 days of torture, I mean work, to get all the windows in. Aside from the fiberglass-induced rage, it wasn't that bad of a project. Tedious and redundant, but not particularly hard in the muscle-type way. One thing we had to be conscientious of was the distance from the "eyebrow" outside, but we made it a point to do as much of the trimming from the bottom to ensure the tops of the windows would be in pretty consistent alignment. The final test was blasting each window with a hose to see if we had any leaks. WE PASSED! I'm not positive, but I believe we are now qualified to be professional grade window installers.
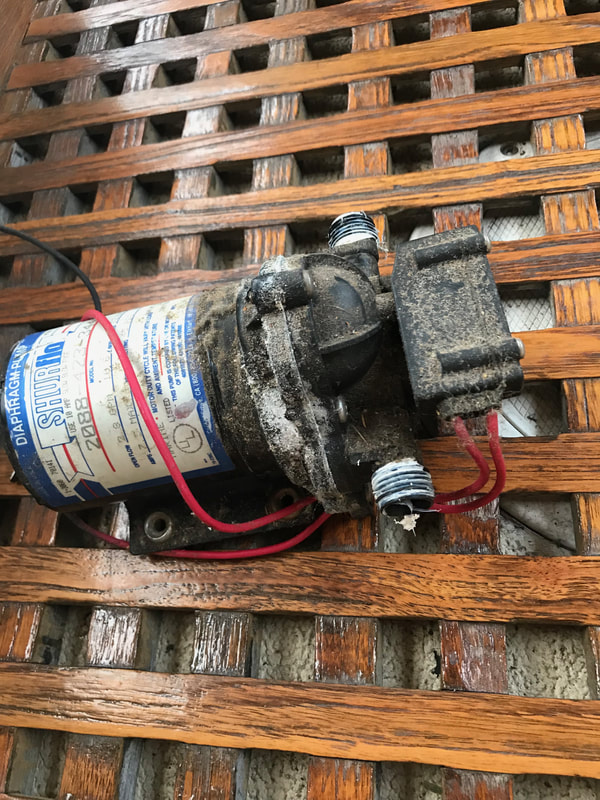
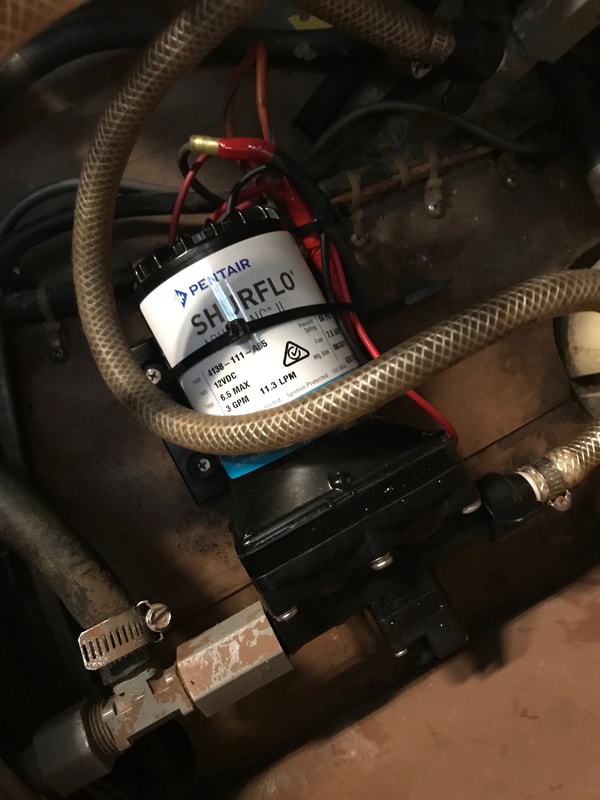
I was at work this past weekend when I got a text from Mack showing the images below. He and Kenutu were hanging out and now we have a new water pump. The old water pump was working, but it had a leak and would run intermittently throughout the night to fill the gaps left by the leak. The leak had also corroded all around it, including some of the wiring. Since the new Shurflo Aqua King II high pressure fresh water pump was $160, it seemed more doable than some of our other outstanding projects.
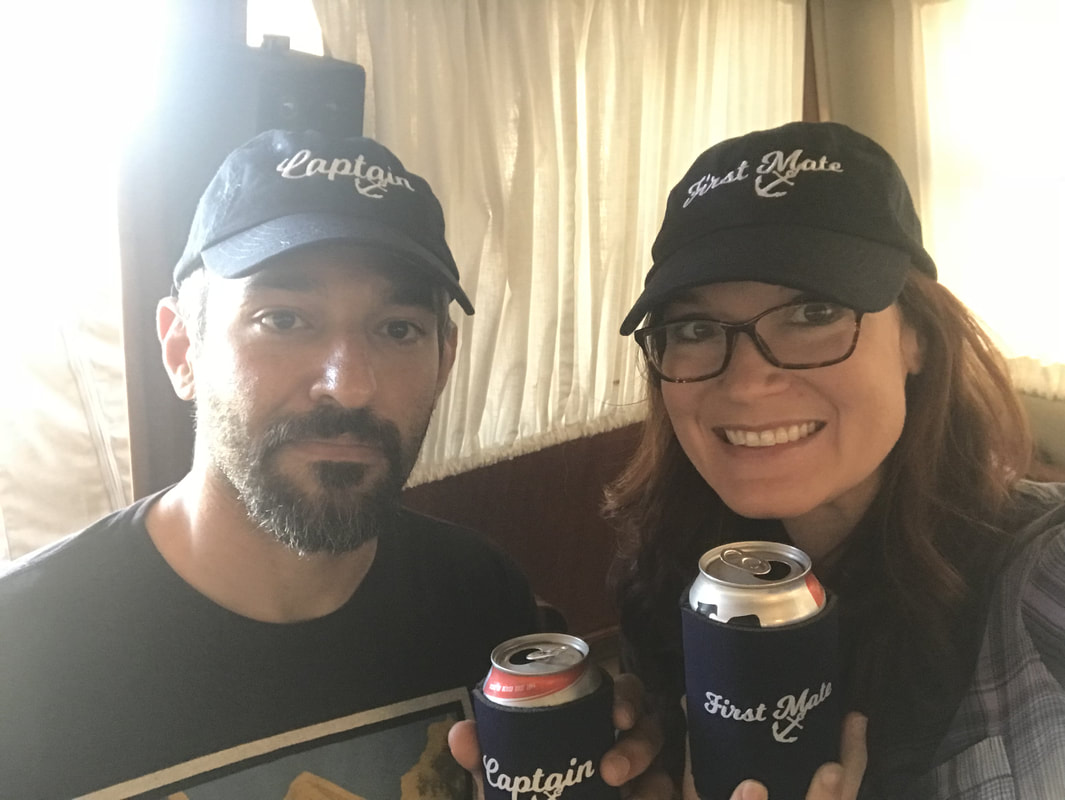
I don't know how hard of a project it was to do, but it couldn't have been that bad if Mack tackled it solo in less than an afternoon. It looks like it required a couple wire splices, some tube clamping, and one mounting effort. The water pressure isn't that much stronger, but the middle of the night hums have quieted down. Pump on, little Shurflo. As boat owners who also have chickens, we are pretty predictable Christmas gift getters. For instance, Santa brought the Captain an E-PERB and a Ditch Bag this year. We also got this little get-up under the tree from Mack's brother. I don't know why my head is so puny and Mack's head is so huge, or why hats make us look instantly dumber. But I do know that those cozies are gonna get lots of use.
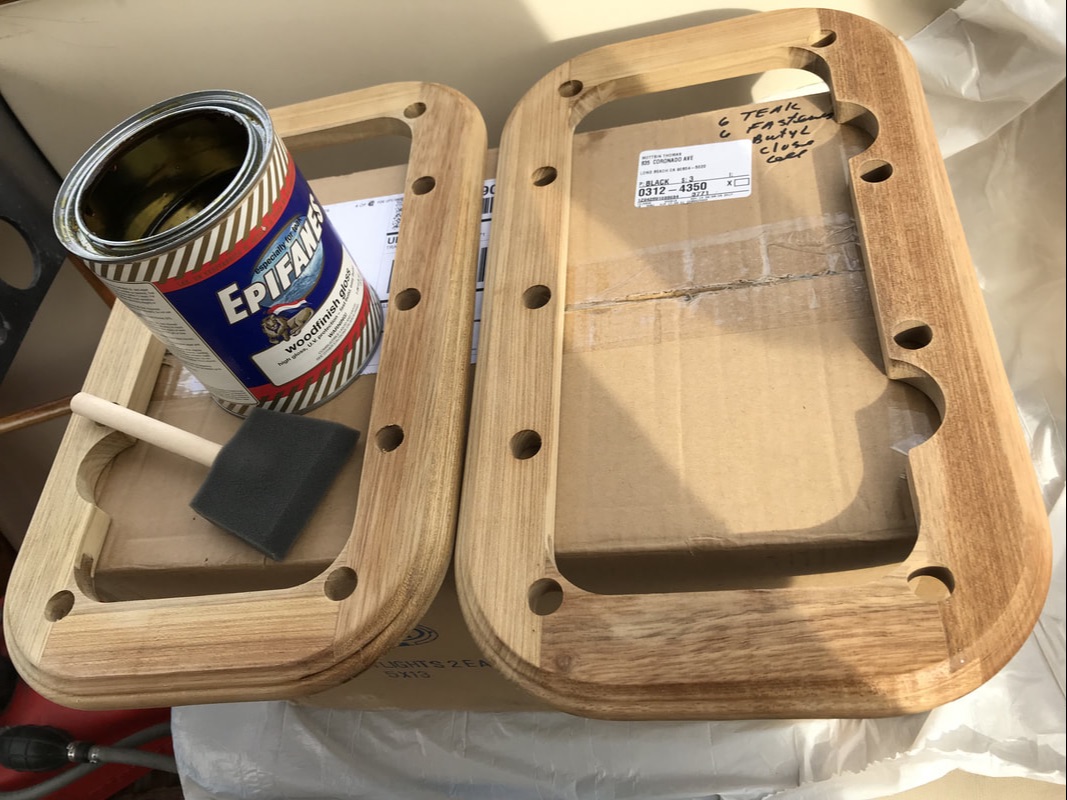
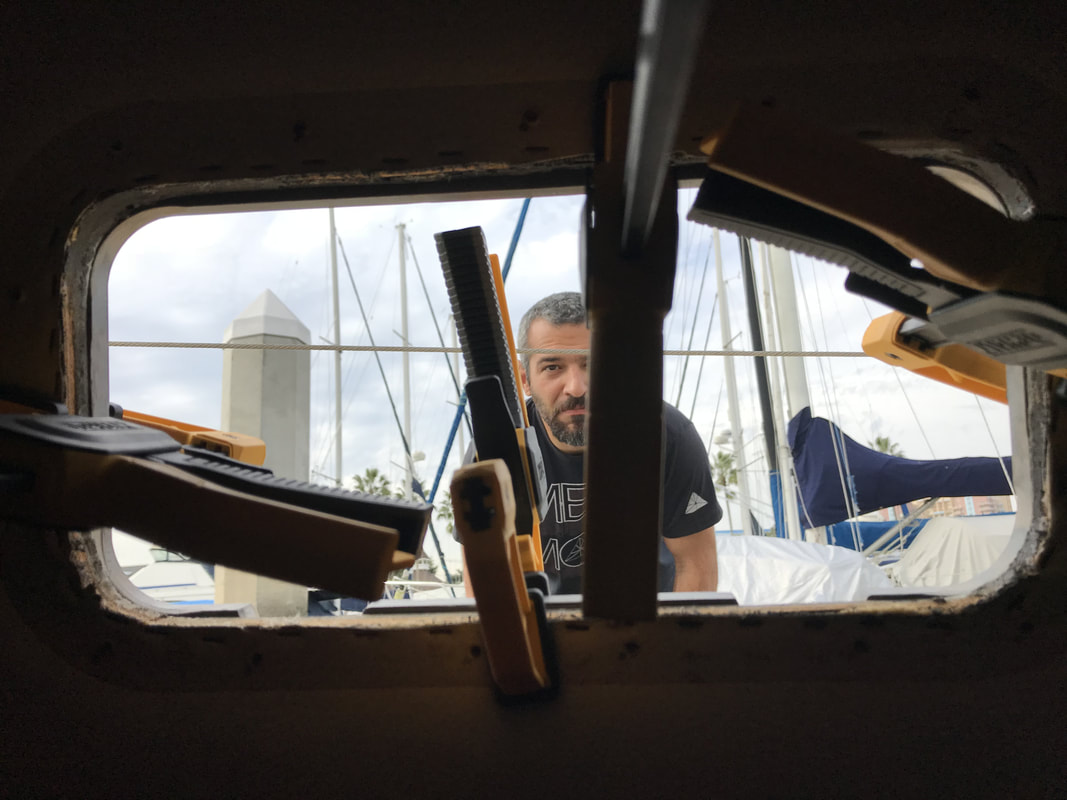
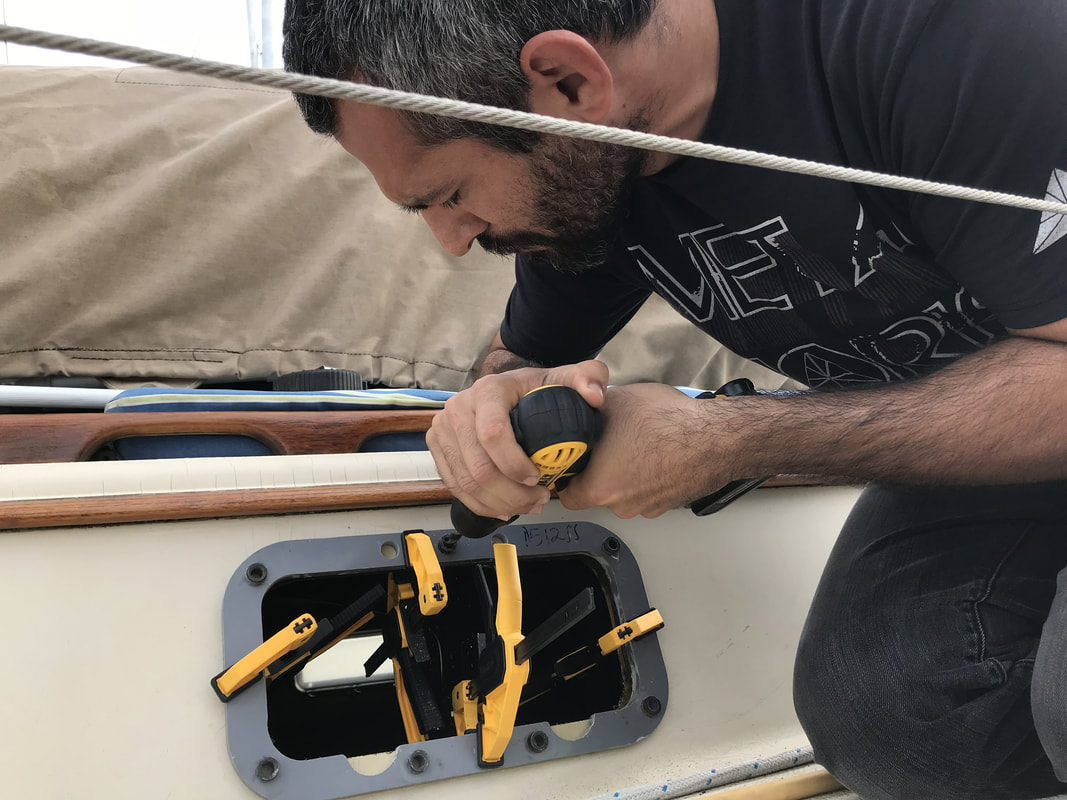
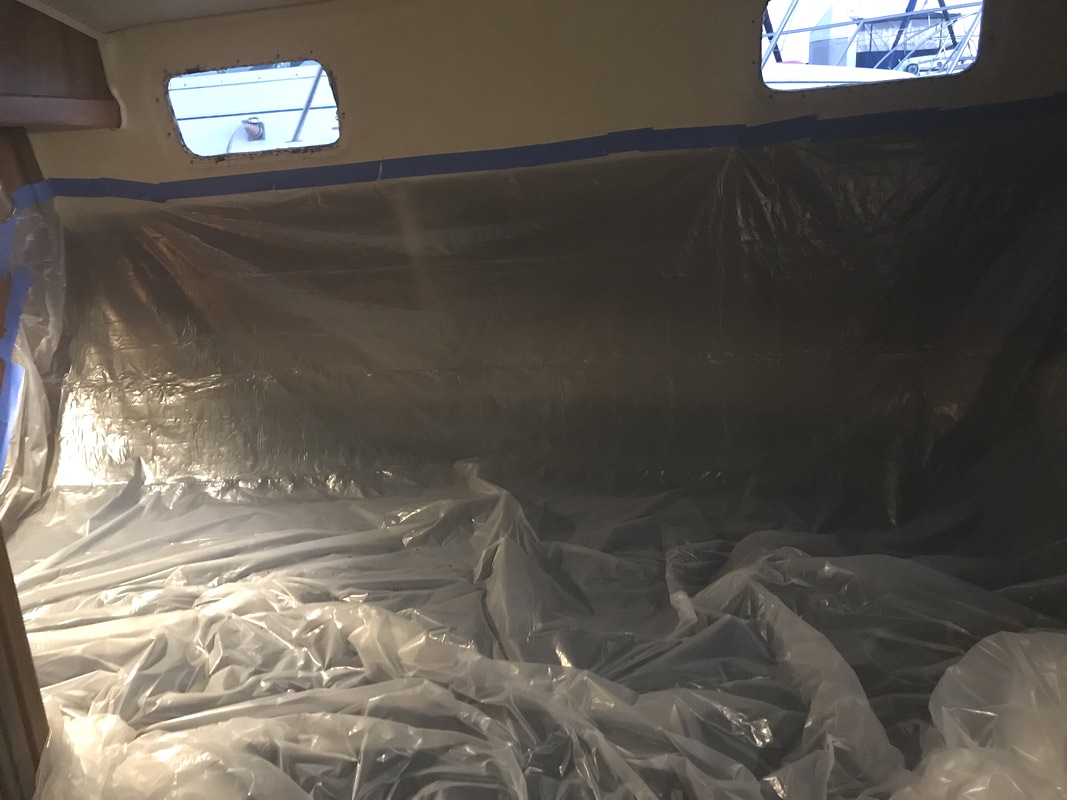
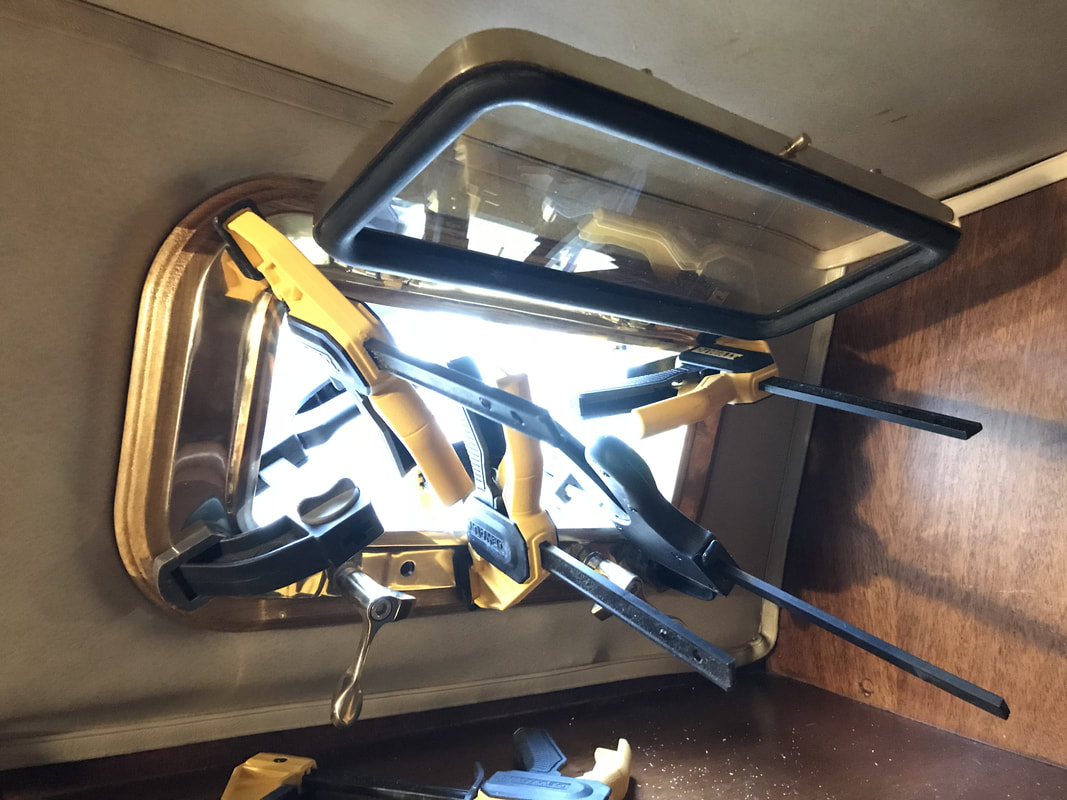
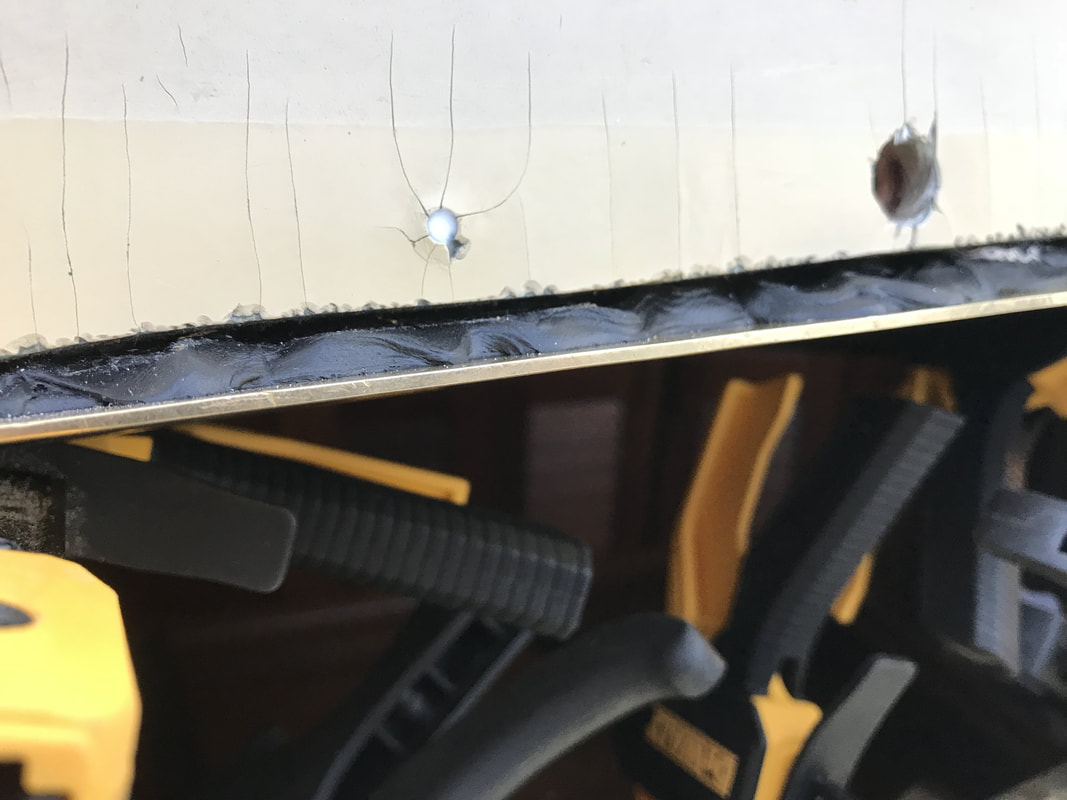
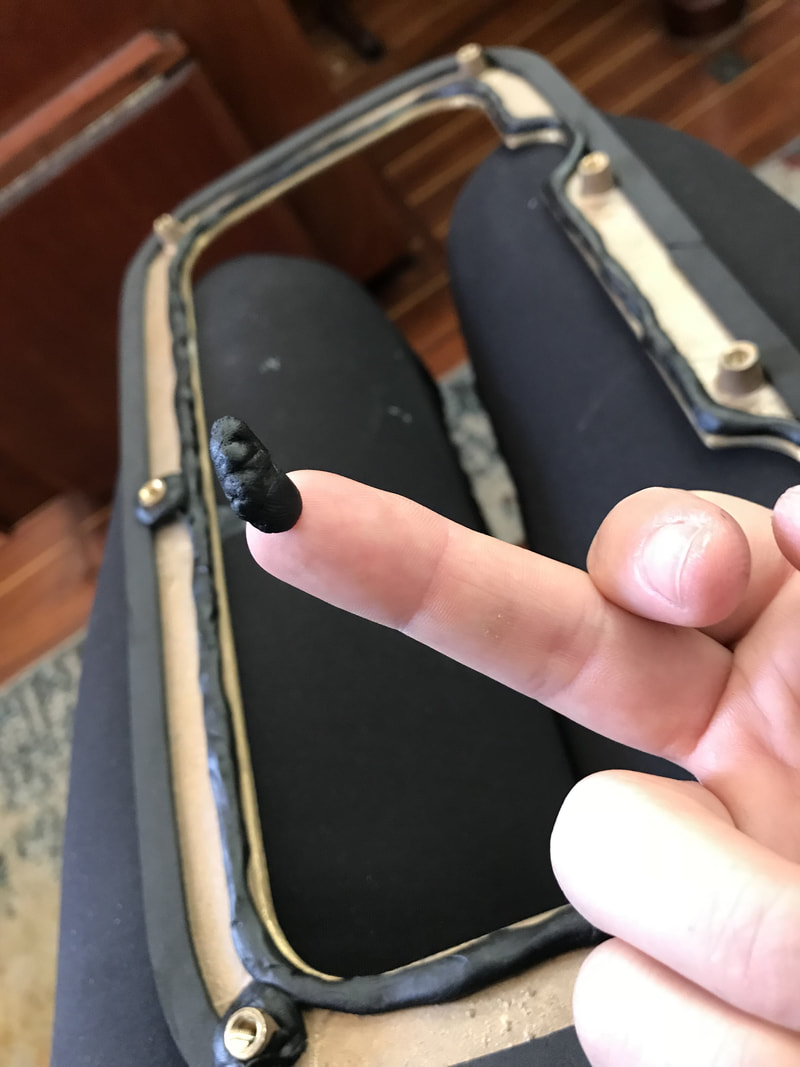
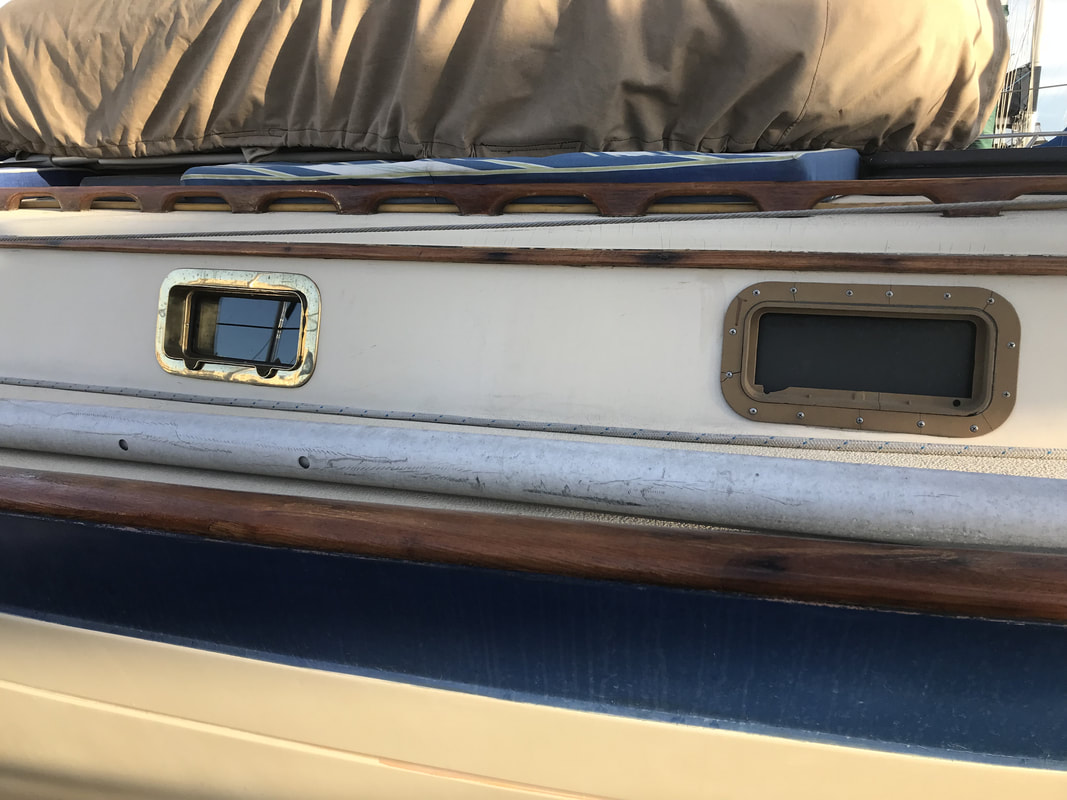
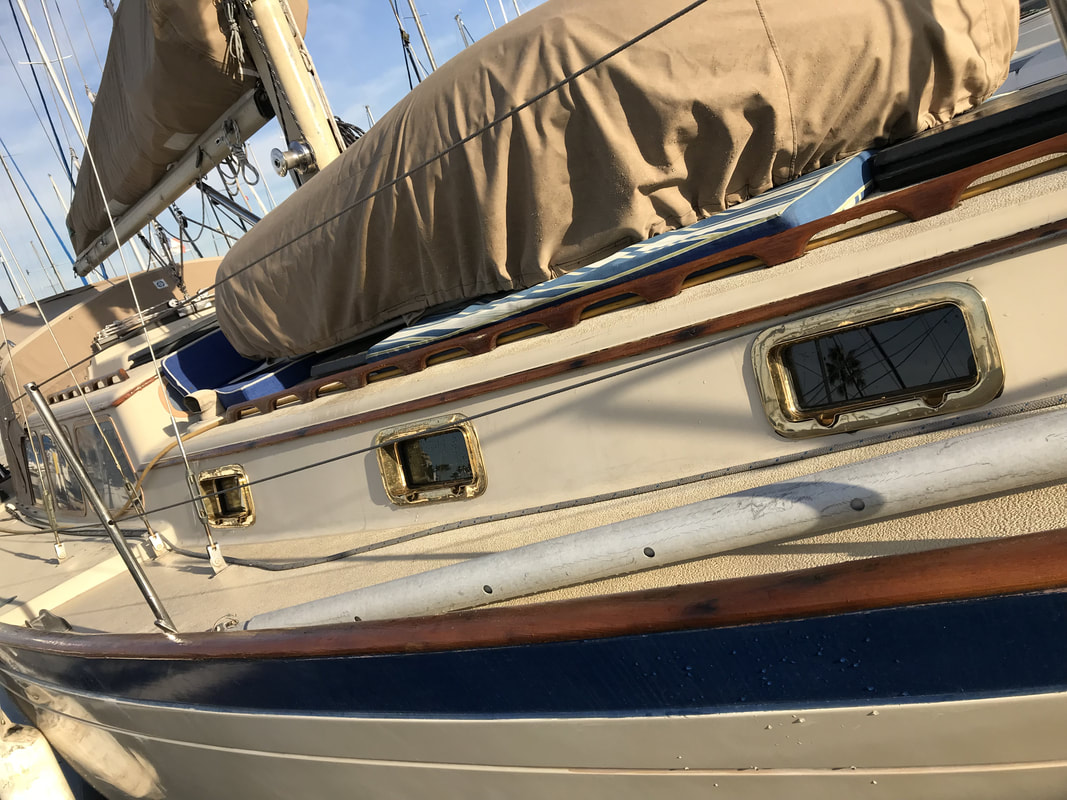
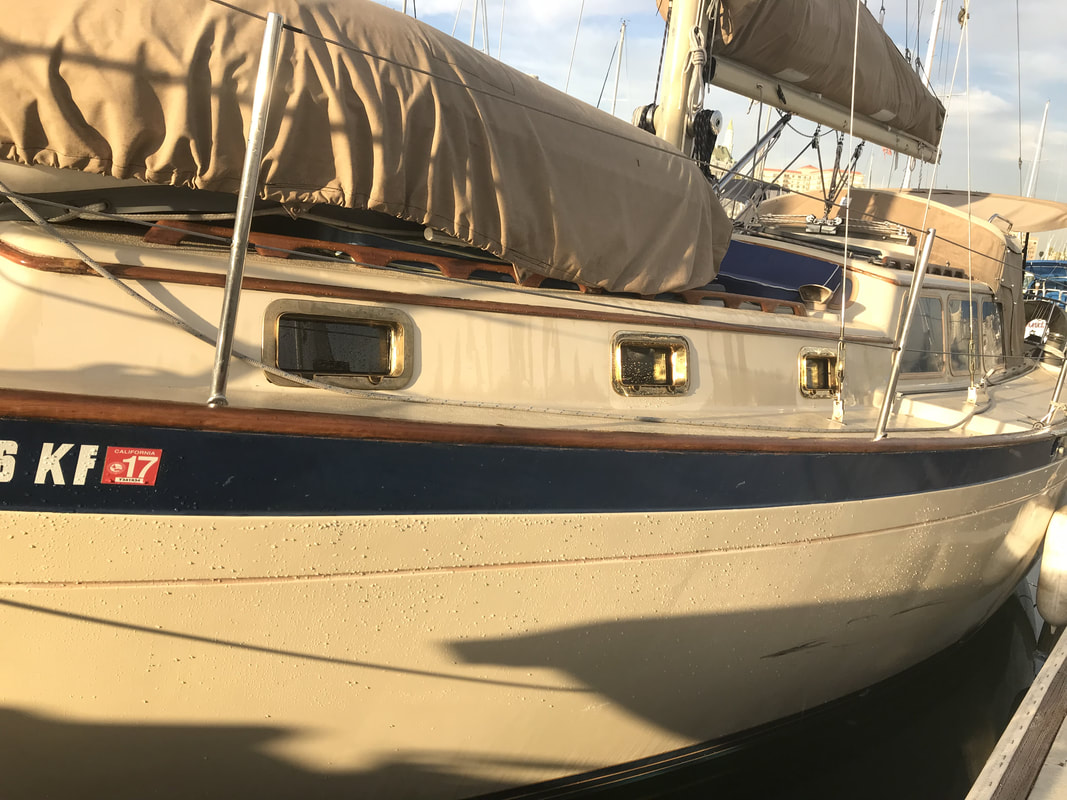
Already took one to church. We've been focused on Kenutu's inside beauty for a couple of years. In that time, her outside beauty has been pretty neglected. Sure, she got a new bimini and dodger, and a new sail and sail pack, but those are just accessories. Her facade has been patiently awaiting some attention, and finally, we are giving it to her. The girl is getting new windows and ports. First up is the ports, mostly because the templating-mailing back and forth to Canada-building process that comes with getting the windows started in May and is still ongoing. The ports, from finding to getting, took a couple weeks. Mack found an interesting fellow in Port Angeles making beautiful and affordable bronze portlights, and a phone call later the wheels were set in motion. We had six bronze portlights with drains being made for about $250 each. The most beautiful ports ever made showed up and we were so excited we barely waited 24 hours before starting to install them. We went with bronze because Kenutu seems more classic than modern, and stainless just didn't feel like it'd do her justice. Plus, I love the look of patina on old boats and I'm stoked to watch the color evolve over time. New Found Metals sent us all the gear we needed for the install -- teak spacers for the inside, a template for drilling the holes, the faceplate for the outside, the port window, bronze screws, butyl tape galore, weather stripping, and a little wrench for adjusting the seal tightness of the window locks. We watched the installation video a couple times, which basically made us professional portlight installers. I got to work on the demolition, and in the process discovered just how much our portlights had turned into pieces of shit. They were so dry they practically crumbled.at every contact. You couldn't even see thru the window anymore. Just like a boat project... put something new on and everything old looks worse. The other bit of prep work we had to do was varnishing the teak spacers. We didn't really factor this into our plan because we were too excited. I ended up making a varnishing station in the cockpit using one of the boxes that the ports came in and hoped they'd dry fast! Once we got the junky old ports removed, Mack lined up the template from the outside, making sure it was level with the woodwork running above it. We clamped it, measured it, and then, most importantly, gave it a good, long eyeballing. The scariest part of the whole install was drilling into the boat and cutting the drain holes at the bottom of the template. Putting holes in your boat just goes against every ounce of sailor sense you have, but we powered thru. With a drill and a router. So this router. We didn't have a router, nor did we have any experience with a router. We ran to Home Depot, grabbed a Rigid mini-router for about $100, and placed a lot of faith in that video we'd watched. For most of the ports we were able to rout (is that even a verb?) from the outside of the boat. Thank god we bought the mini router since there's no way a full size version would have worked in the little space we had. We couldn't use the router with the template clamped on, so we scored the template drain area with a special sharp drill bit Mack had and routed out the drain area bit by bit. We quickly learned that the router jumped when it hit a staple holding down the headliner inside the boat, but Mack got his knife and some needle nose pliers and addressed that hazard. We assume the teak spacer will secure that headliner better than those rusty staples were. Our routing technique wasn't pretty, but it worked. After routing, it was time for clean up. We vacuumed up as much fiberglass as we could, then vacuumed some more, then wiped everything down with a damp paper towel. At one point we were even vacuuming Mack's arms to get the dust out of his arm hair. Luckily we'd had the sense to wear masks so our lungs won't suffer permanent damage. I get itchy just thinking about it. Can we talk about the dust for another second? I mean, most of the time spent on this project was devoted to cleaning up dust! The fiberglass dust and sawdust was incredible. I held a handheld vacuum up as Mack drilled and routed to try to collect some of the dust, and that kinda worked. Then I held up some poster board we had on the boat to at least direct the flow of dust. I also tried holding a box over the opening on the inside, but I think all that did was direct the dust into Mack's face. I closed off as many doors as I could to contain the dust. For the bathroom ports, I actually taped down a plastic drop cloth to keep the dust from clogging up the drains and eventually the sump pump. The plastic halfway worked in the bathroom, but it really worked in the sleeping berth. Sure, it looked like I had a kill room set up, but it was really just good old dust control! Before we could put the port light in place, we cleaned the exterior of the frame with acetone and put some silicone in the old portlight screw holes. We also put some butyl tape between the port light and the teak spacer, as per the video instructions. We put the portlight in place and shoved the drill bit thru all the holes to make sure it was aligned, as per the video instructions. Then we clamped it and watched the butyl ooze out the other side. Every few minutes we'd come back and squeeze the clamps again. My job was to fill the gaps in the butyl on the outside so that when we attached the faceplate, we'd have a reallllllllly watertight seal. Mack's job was to put more butyl and weather stripping on the faceplate. Below is a a photo of that along with my feelings about butyl tape. Not only did everything get butyled and then get butyled again, but after the faceplate got clamped and bolted to the portlight, the butyl that got squeezed out got pulled off. It's a miracle there are fingerprints on those fingers after all the butyl rolling they did. We did the installation in three phases over three days. It took a total of about 12 hours, including all the clean up time (but not including the extra butyl removing, which we're still sort of doing). Seeing the difference between the new ports and the old is incredible. Just LOOK. We may be biased but Kenutu looks so good we'd probably catcall her. Imagine how gorgeous she's gonna be when that bronze starts to age!
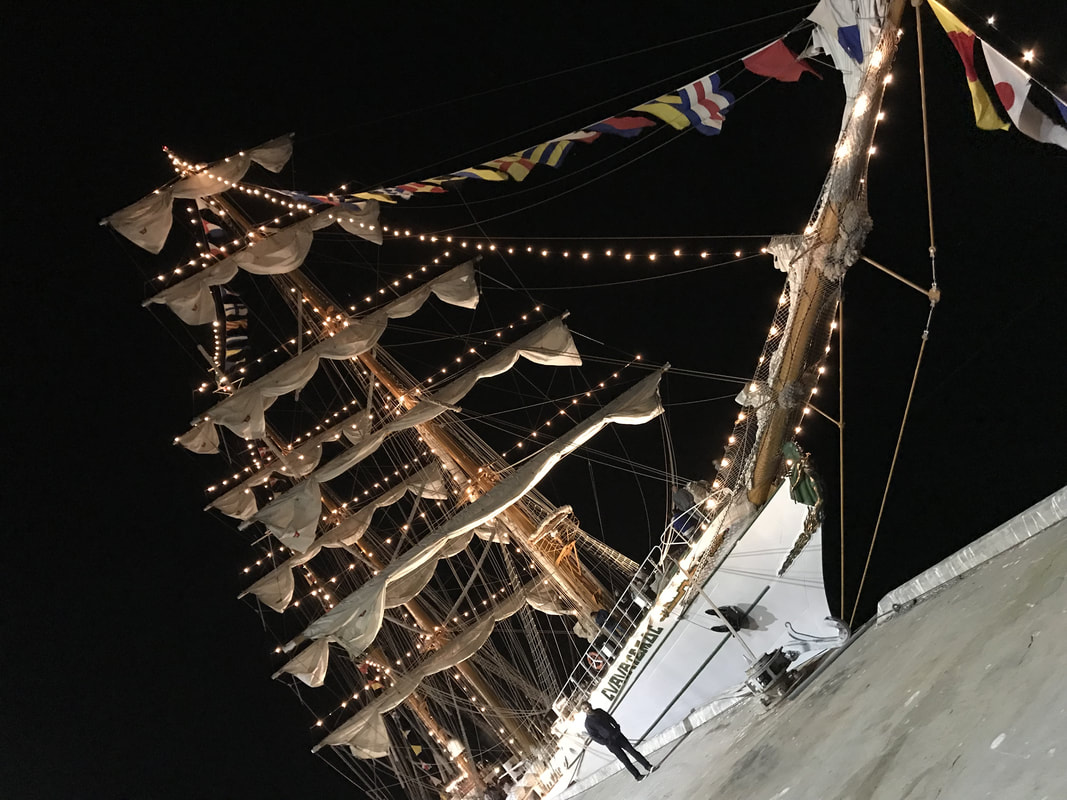
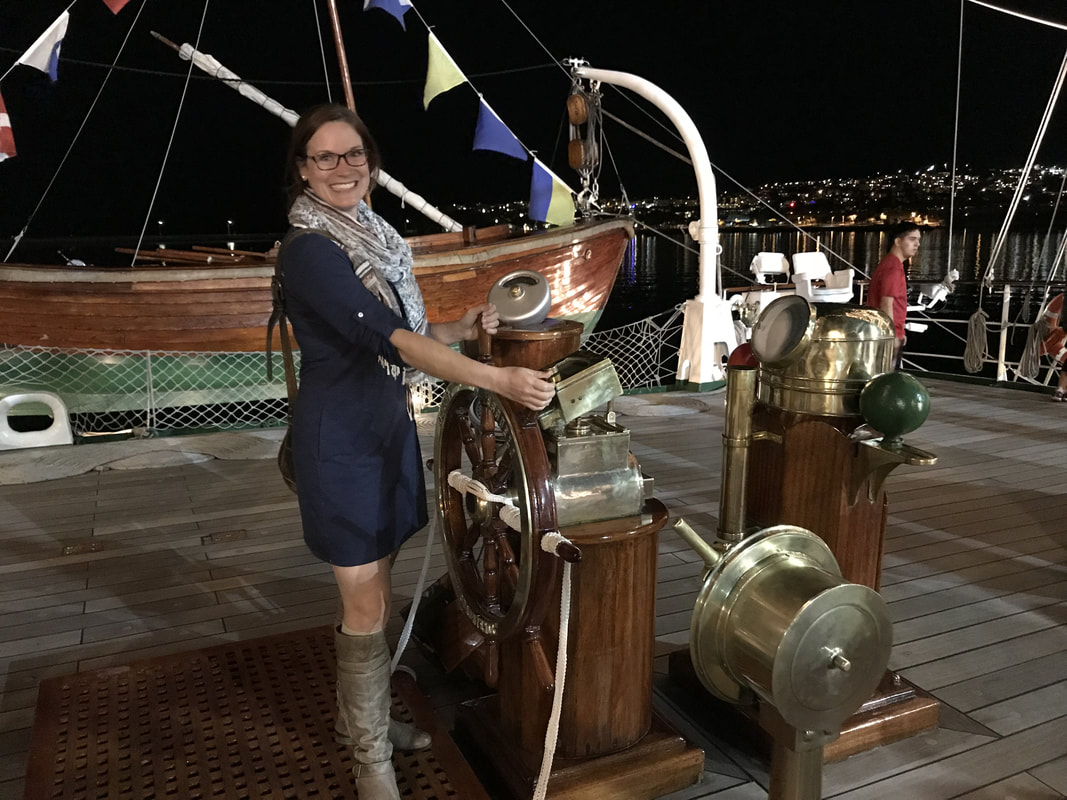
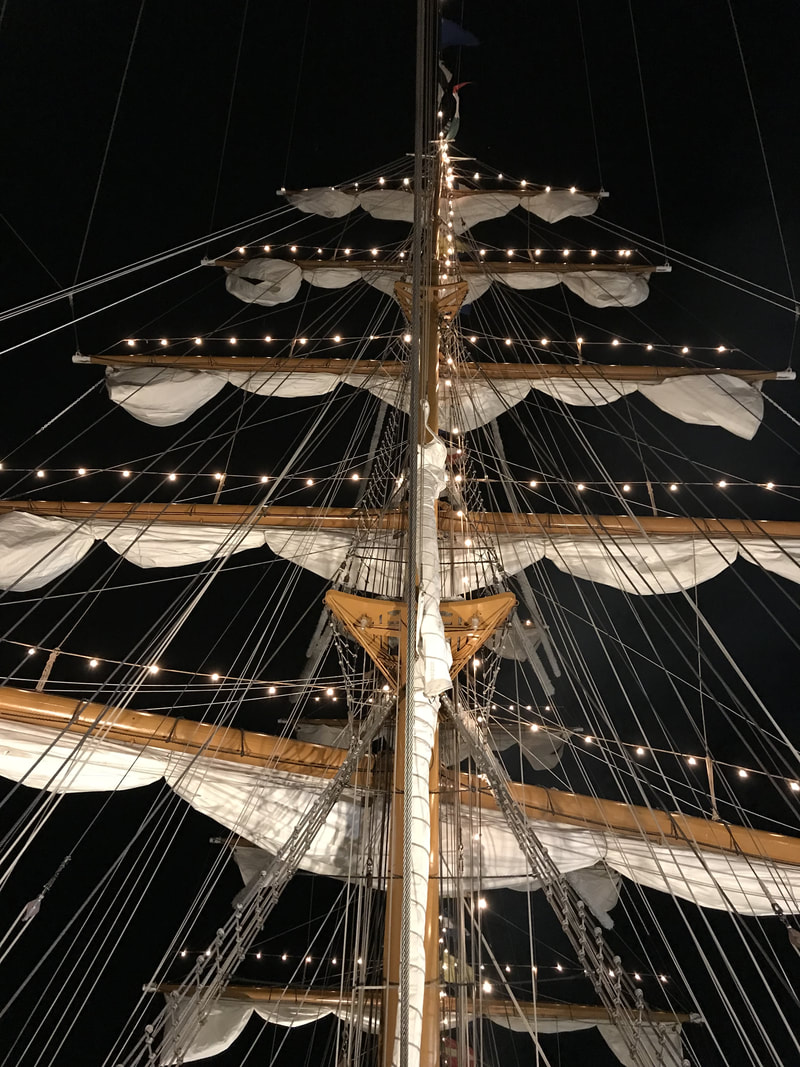
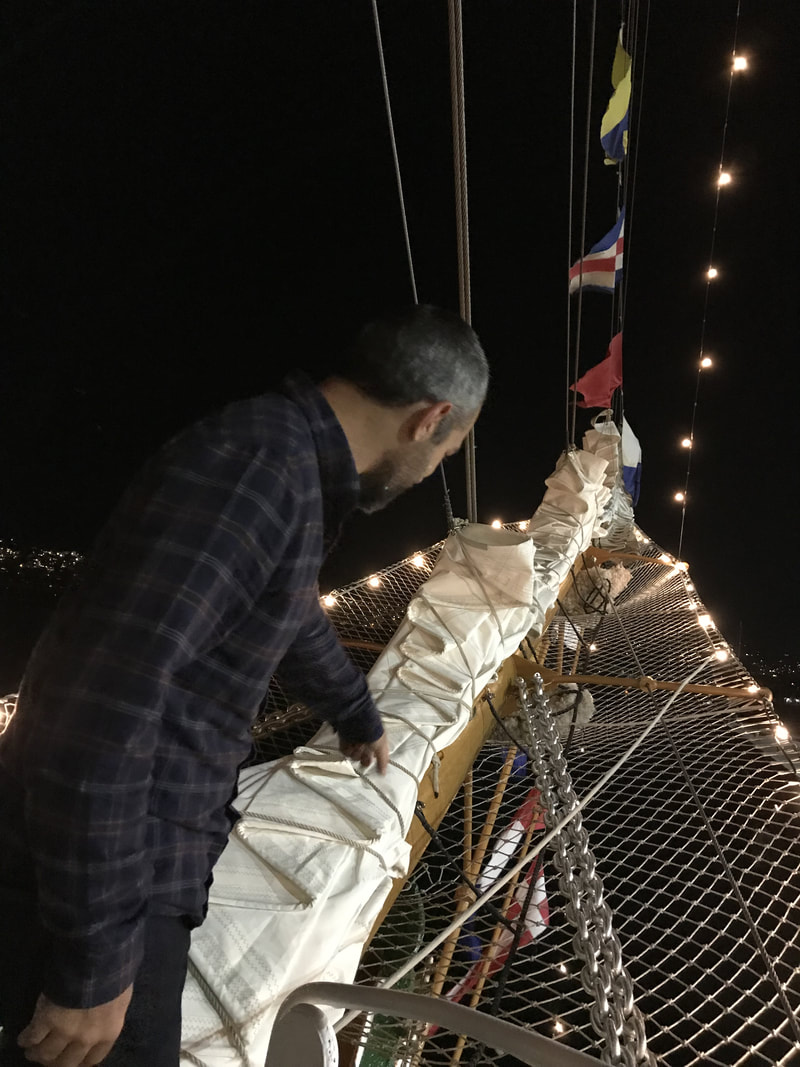
I read a little news blip about a tall ship visiting San Pedro for a few days. I have become a bit of a boat stalker since getting Kenutu, so I had to get on board and do some snooping on the Cuauhtémoc, a Mexican Navy training vessel. The almost-25-year-old windjammer has sailed to ports all over the world, covering more than 700,000 nautical miles. She's been rode and rode hard. After walking her decks and inspecting her brightwork and sail packing, let's just say that Mexican Navy is a force to be reckoned with. Every surface of the boat was spit shined, every line beautifully coiled... they put the phrase "tidy deck" to shame. Someone way more talented than me was able to capture just how fastidious the crew of Cuauhtémoc is here. Totally worth a look if you feel up to knowing you're inferior.
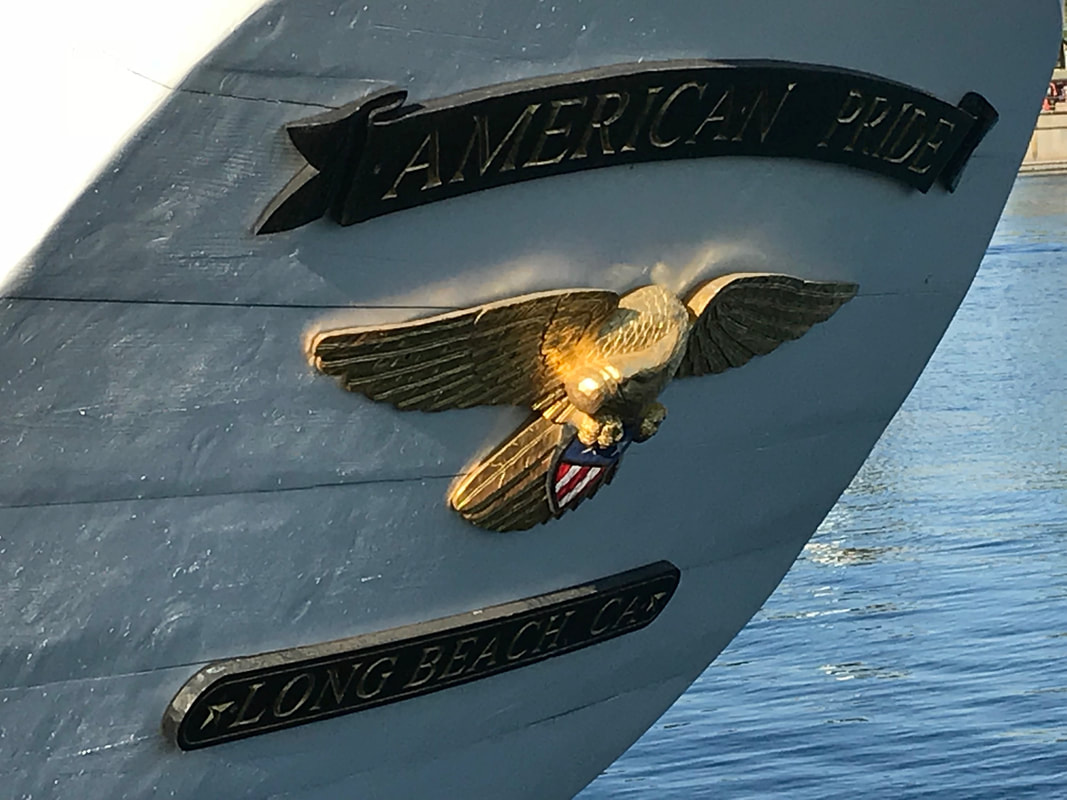
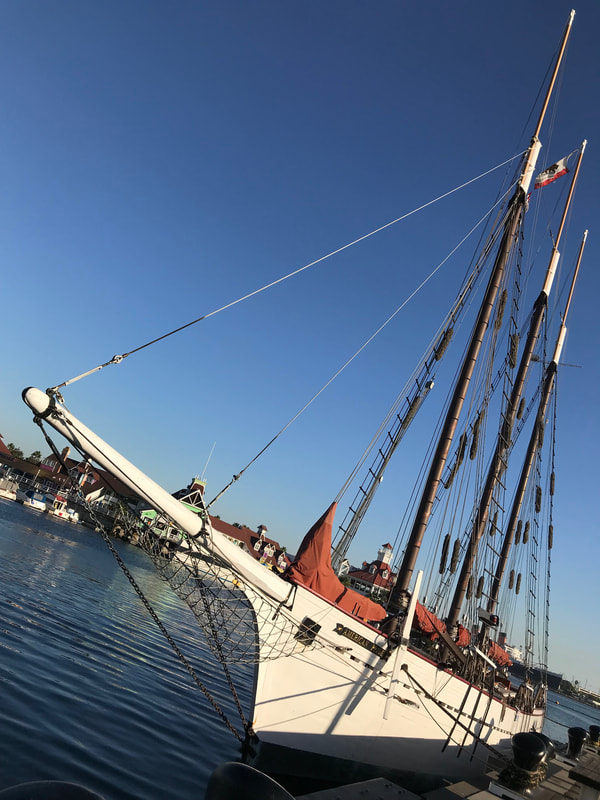
During a post-beer stroll around the marina the other day, Mack and I stumbled on this old lady. We moved in to take a closer look and saw that she was an impounded vessel! Thanks to the computers in our pockets we discovered that American Pride is a tall ship built by Muller Boat Works in 1941. She originally had 2 masts but they added another mast during a reconstruction in 1986. Until April, she was used by the Children's Maritime Foundation for sailing camps for kids and for brunch and whale watching for everyone. Then in April, she was gifted to the Giving Center in Nevada. And now she's impounded. 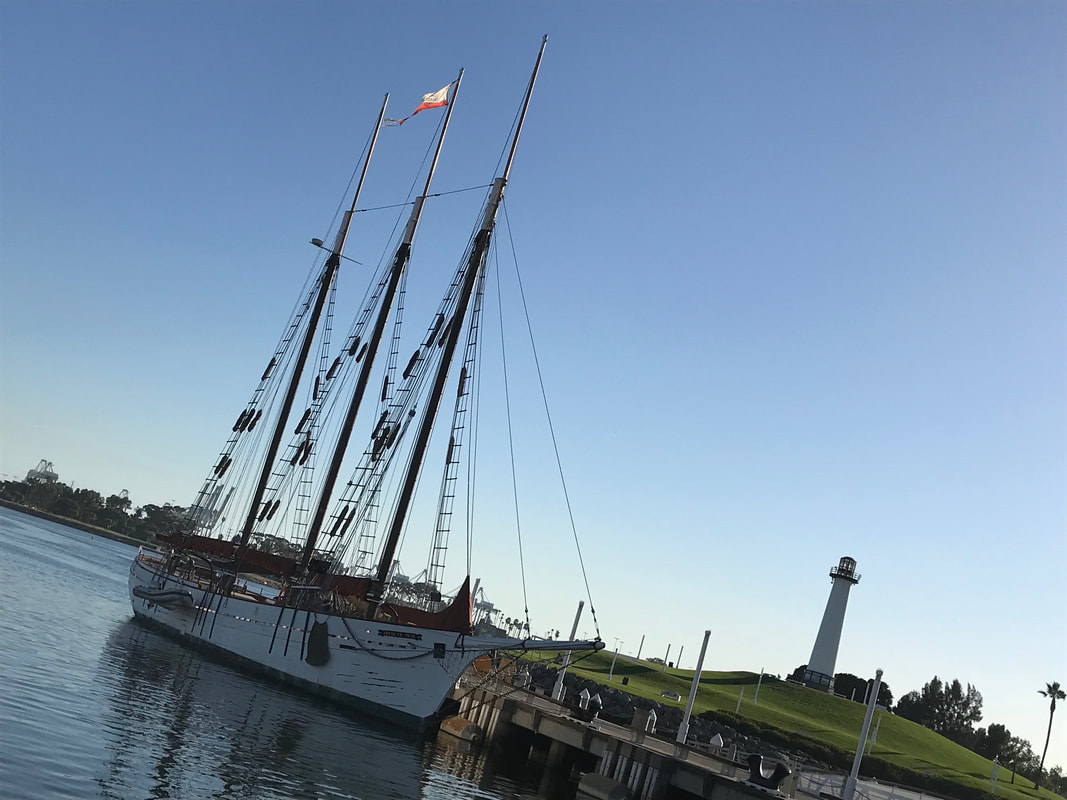 Our pocket investigation led us to believe that someone dumped her for a tax write-off, and then the receiving agency was like, what, we can't afford a thousand dollar slip payment for this beast. Now she is just sitting there, in desperate need of love. When we say desperate, we mean desperate. A little more sleuthing and we found an auction on Reddit saying the boat was $7,500! Then we found a comment where someone described the boat as perfect for someone who has a million dollars to blow and needs full time unpaid work for him/herself and all of his/her friends for a year. Apparently it is ate up with shipworms and rot and sadness. But damn, it's still so beautiful.
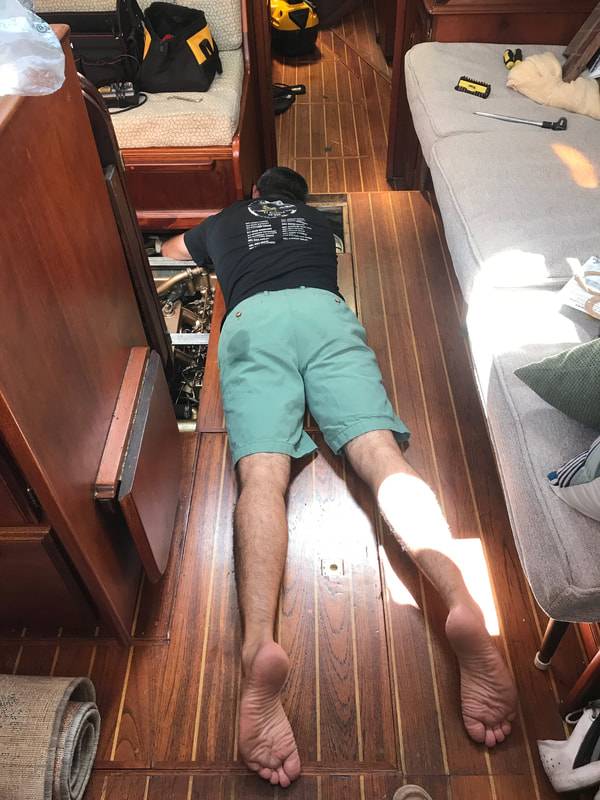
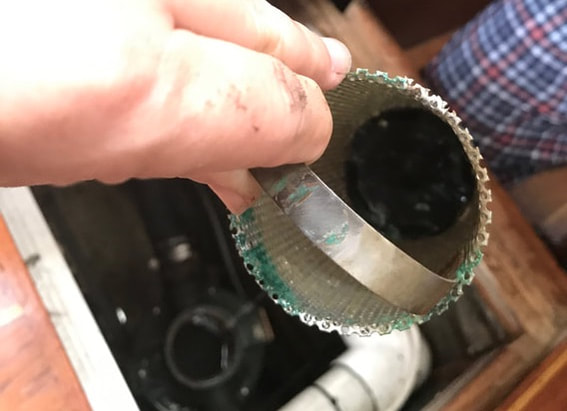
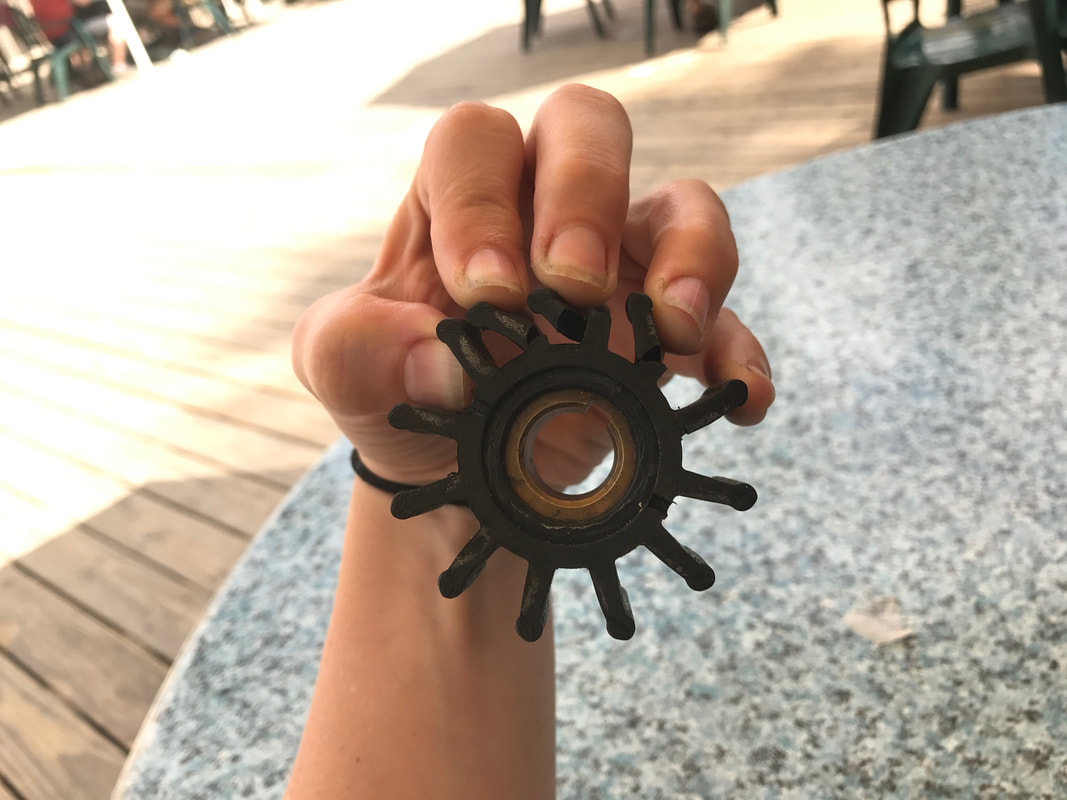
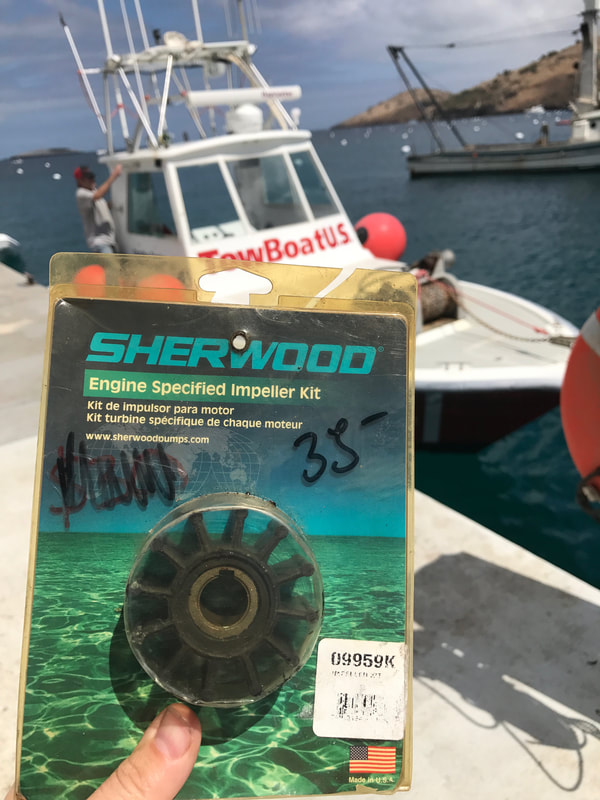
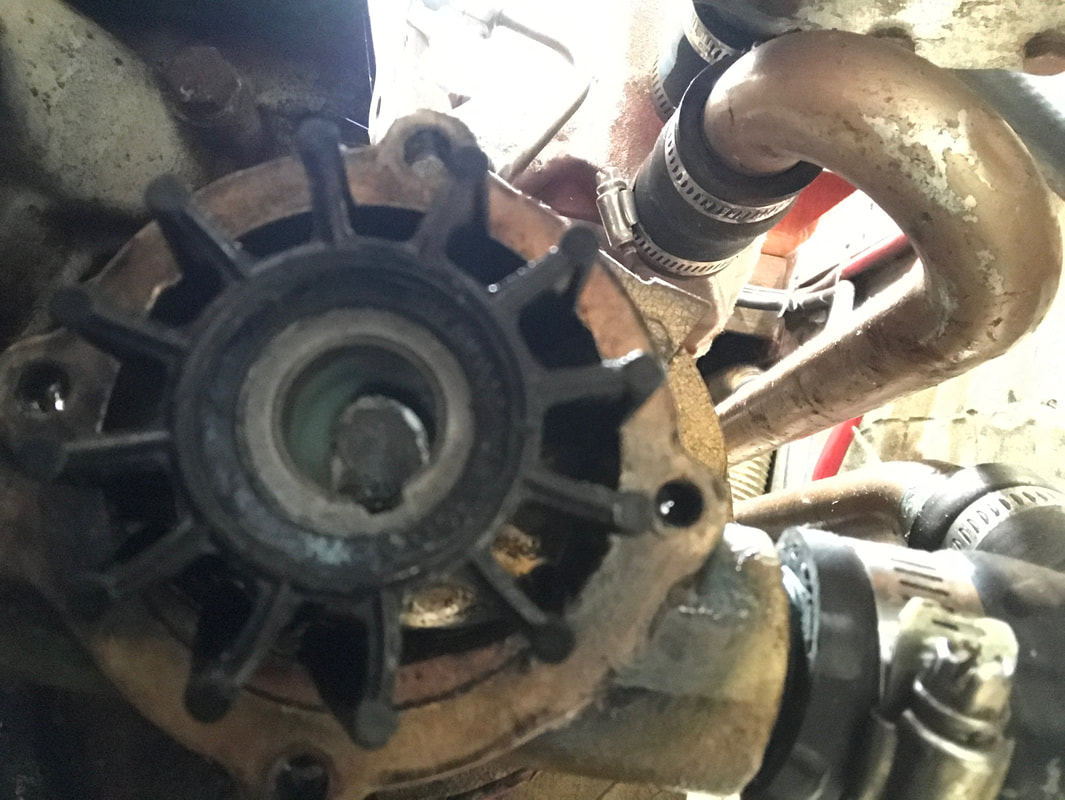
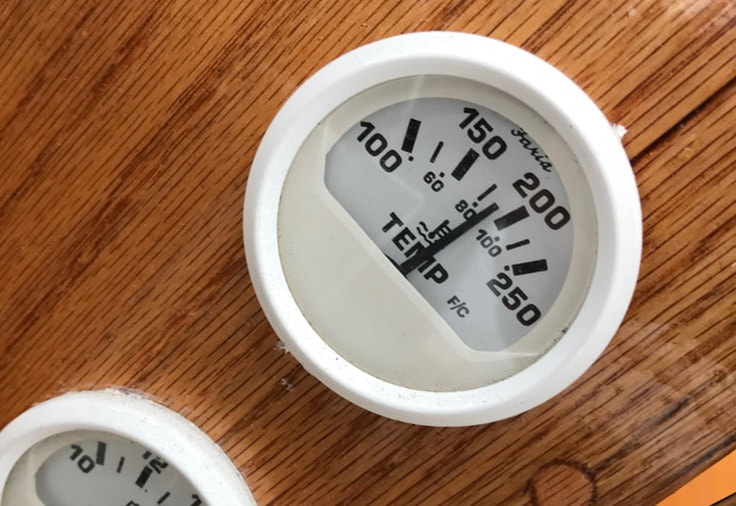
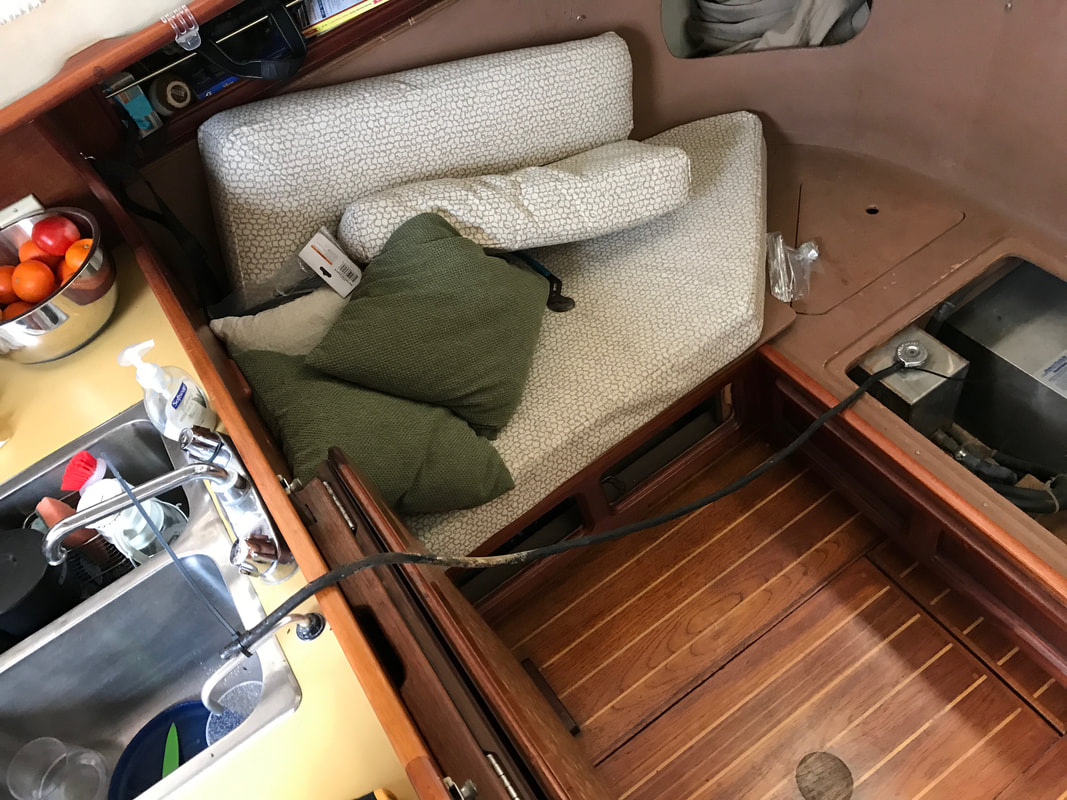
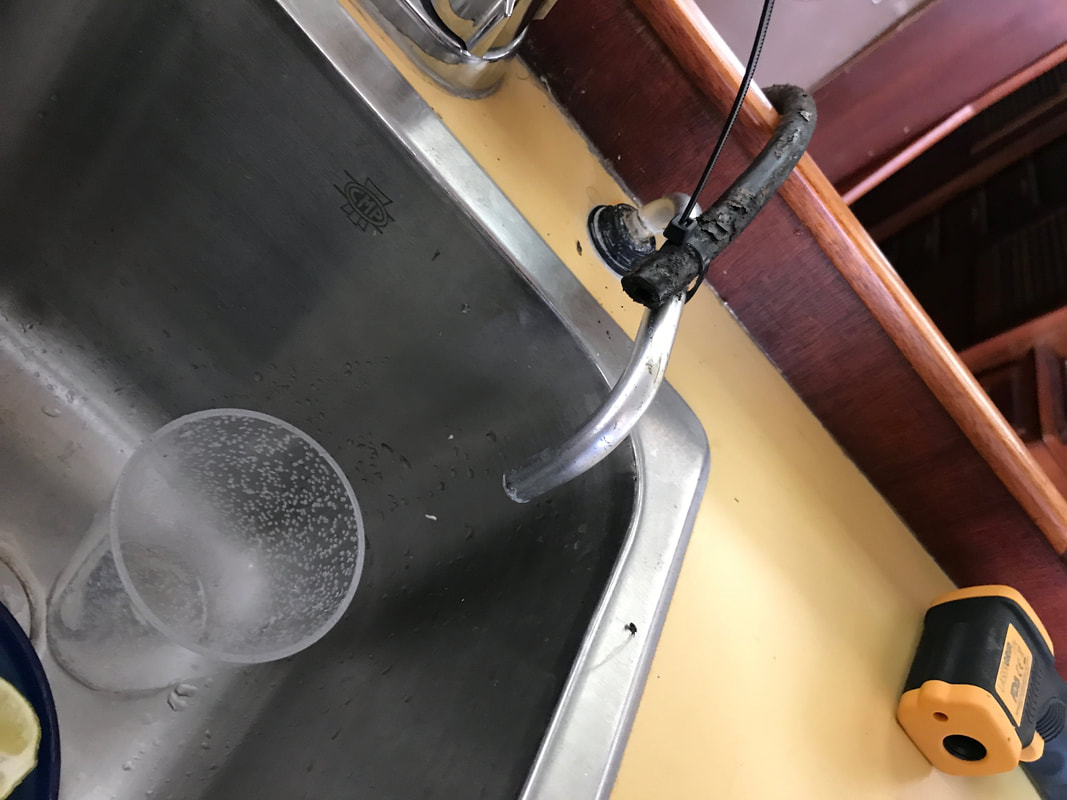
It finally happened. Kenutu created some real drama. We were having a gorgeous sail to Catalina, making excellent time with winds that let us point directly to our destination. We were chomping thru waves and admiring our perfect sail trim. At about 3pm, I kicked on the engine to motor in the final few miles so we could get moored before dark. At about 3:30 our engine temperature went to 250 and I was like, "Hey Mack...." We shut the engine off and Mack started doing some checks. He used the thermometer gun to see if the temperature gauge was reading correctly. He checked to make sure water was spitting out the back of the boat when the engine was on. He checked the coolant. The coolant was empty. Problem identified! Luckily we had some coolant on board. Mack refilled it, and we turned the engine back on and started motoring. That lasted about 20 minutes and then the engine started going from 200 to 250 again. The coolant was empty again and we didn't have anymore on board! We still had wind so we made our way slowly toward Two Harbors and kept trying to troubleshoot the problem, with the help of our smartphones. Mack remembered a scenario that he'd read about before where people are motor sailing heeled to one side for a long period and sea water doesn't make it in the intake to cool the engine. We had been having such a beautiful sail we didn't bother to flatten out the boat periodically to prevent that from happening. Problem identified! We figured we'd sail as upright as we could for as long as we could. The sun was going down, we were seven miles away from the harbor, and the wind was probably going to die down the closer we got to the island. Surprisingly, the only one who was being dramatic in all this was Kenutu. Mack and I were cool as cucumbers. No one was getting frustrated or annoyed, no one was bitching or complaining too much, and any time the Captain started to twitch toward something negative, I reminded him that we were safe and therefore we didn't have a real problem yet. We just had to be patient and prepare ourselves for a long waste of time. The sun went down, I bundled up in some warmies, and we kept on tacking our way to the harbor. The wind died so much so that a couple of times we tried to tack and failed because we couldn't get up enough speed. Finally we made it to the mouth of the harbor! The harbor master radioed us to see if we needed a mooring, we explained we'd reserved one five hours ago but our engine was overheating so we could only sail. "You're close enough now that I could give you a tow in if you need." Sweeter words have never been spoken. We dropped the sails and prepped for towing, which was a first for us. The plan was for him to get us to our mooring row, we'd engine for a couple minutes to get to the ball, and then he'd stick around to help us get tied up in case anything happened. I have never been more grateful to pay taxes in my life. He attached a line to our bow cleat and we were off, safely skirting the reef thanks to our boat angel. We got moored without any problems and got the engine shut off before it overheated again. We made dinner and went to sleep, and in the morning, with all the sun's glory and the mooring ball's security, we got to work. Mack started inspecting the entire cooling system. First was the raw water intake strainer. It can get clogged with sea debris and slow the flow of water to the engine. Ours was basically empty, but I scrubbed it with a toothbrush and gave it a fresh water rinse just to be nice. Next was the impeller. The impeller is this rubber wheel thing with sprocket arms that funnels the water in little boluses into the engine to cool it. To check it we had to unscrew some cap and pull it out. We put a bowl under where we were working so that we wouldn't lose any screws and have new problems to deal with. Sure enough the impeller was broken. Apparently the water lubricates the impeller as it spins, and when there's no water, things get really hot and the impeller can break to the point of being shredded. Once it's broken, it doesn't move water into the engine very effectively so it's gotta be replaced. Problem identified! We didn't have an extra impeller on board (lesson learned), but Two Harbors does have a seasonal boat shop. We dinghied to shore, grabbed a coffee, and tried to find a solution. They didn't have the impeller we needed, but they helped us identify the product number and informed us that our Boat US membership included vessel assist and parts delivery. God love em. We called Boat US and about an hour later another boat angel showed up with the perfect impeller, which I have a feeling was made about 14 years ago and has been on a dusty shelf in the shop of a possible lunatic for 10 years. But who cares! It was exactly what we needed! We felt like we were winning little victories all over the place. We got back to the boat and tried to put the new impeller in. And then we went crazy. We could not get the damn thing to slip into place. Mack texted Chris, the mechanic who'd given our Perkins an overhaul this spring, and he said to lube it up with some dish soap and fill the center with marine grease. We tried that but we still couldn't get it in. That little inlet up there is supposed to line up with something inside the housing, but getting that to happen is impossible considering you're literally putting it in blind. We even tried using our phone cameras to see what the hell was impeding our progress. How was this ever going in? Again we texted Chris for guidance. He told us there was a little metal piece in there that we could pull out, put in that little inlet, and then slide everything into place. Chris is also a boat angel. We'd bought some coolant when we were visiting the mechanic shop, so we refilled the coolant and continued to troubleshoot. We didn't see any leaks anywhere. We ran the engine for a while to charge the batteries and the temperature gauge stayed where it should! We even saw the soapy bubbles in the exhaust water, just like Chris said we would when he told us to lube the impeller with dish soap! Problem solved! Nope. Mack checked the coolant after running the engine and noticed it was almost gone again. We were befuddled. The guys at the diesel shop had told us it may be our radiator cap, but it seemed to fit just fine. Apparently if the radiator cap doesn't fit right the coolant can bubble out of the overflow tube and burn up on the hot engine, leaving no evidence of a problem. Mack engineered a clever way to test for loss, prevent it, and salvage some coolant. Basically he took the overflow tube and zip-tied it to our faucet over a cup in the sink. We could watch the tube from the cockpit to see if any anti-freeze was coming out. Anything that came out we could dump back in. Plus, gravity would keep the coolant from flowing out if it was a cap issue. We sailed home with the test in place, but the wind angels were on our side and we were able to sail all the way to the harbor. When Mack put on the engine, we watched for drips and monitored the temperature gauge and the engine temp with the thermometer gun. Everything ran as expected, and I think we got 2 drips total.
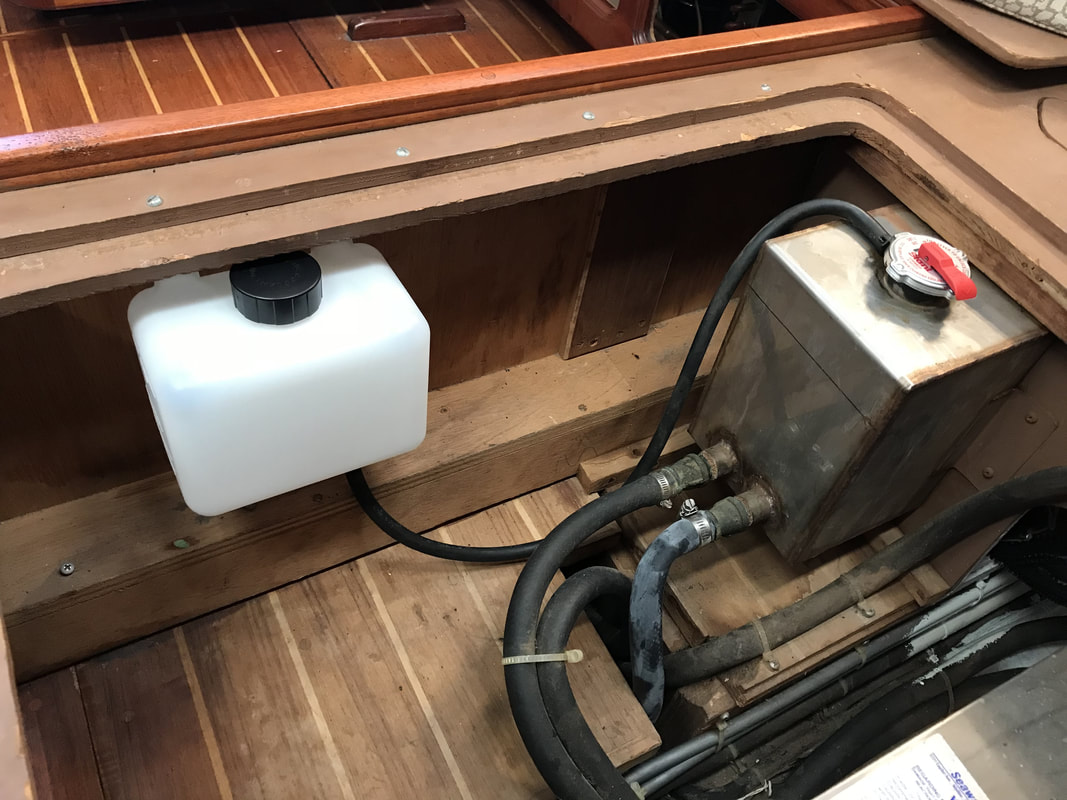
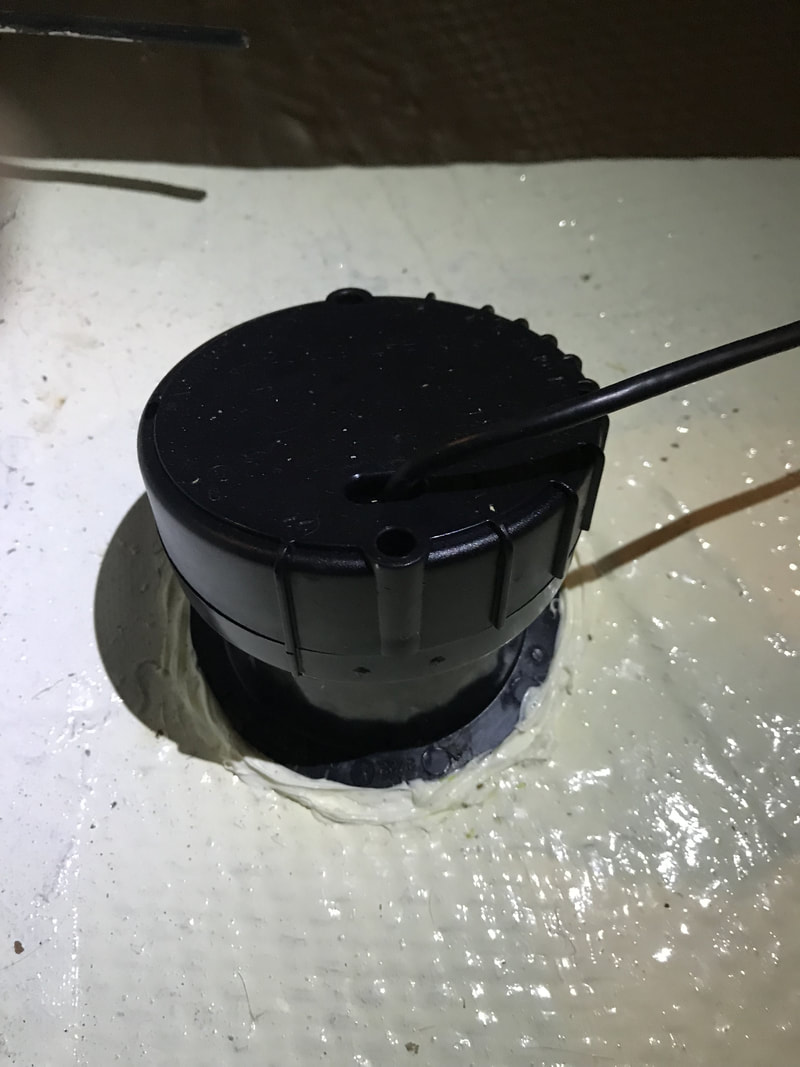
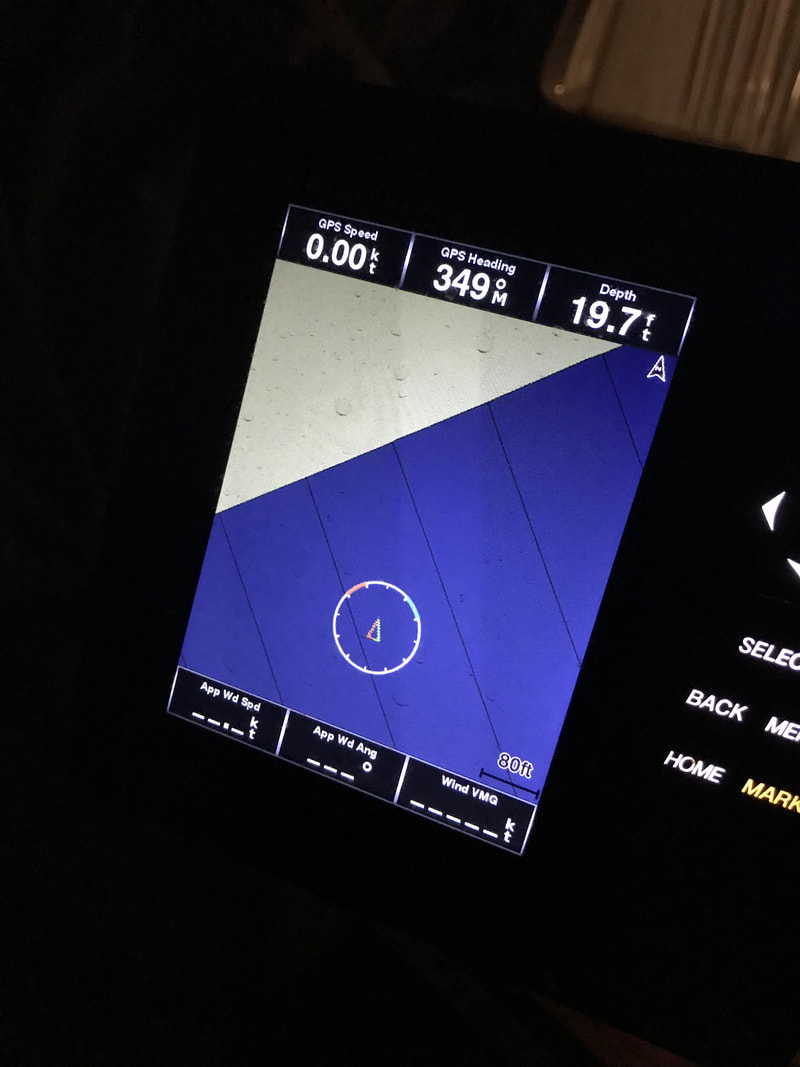
Problem identified! Again! Mack ordered a new radiator cap. And a back up. And maybe even another back up. He also installed a coolant collector for the overflow tube to drip into, so we can see if the cap fails us in the future. We still aren't sure what the original problem was -- the long heeling period, the empty coolant, the broken impeller, the ill-fitting radiator cap -- but ladies and gentlemen, whatever it was, PROBLEM SOLVED! The Captain Fairy came to the boat recently and installed a depth finder... a Garmin P79 Transducer, which is fancy because it shoots a signal thru the hull instead of being mounted into the hull (meaning a hole thru your boat). I was toiling away working for the man so I missed the install, but the Captain Fairy said it was pretty easy. To mount the device, you caulk a ring around the base and then fill the base with antifreeze to keep air out. Otherwise the transducer would shoot thru air bubbles and give false reads. After that you put the transducer in and cap it off. Alas, depth finder installed. Mostly. After it was mounted to the hull, it needed to be connected to the electronics system in the cockpit. Captain Fairy used the old depth finder cable as a lead to pull the new cable thru the boat's guts. Then he fished it up the stanchions and connected it to the chart plotter. At long last we discovered the boat's slip is about 19 feet deep. Knowledge. Now we'll know how much scope to put out and how deep our mooring spots are and if there are any fish down there and just how deep is the abyss we sail over out there. Dammit, why does knowledge always come with a tinge of fear? Cue the fear-busting mantra: Boats are made to float... If container ships can do it, we can.... What a glorious way to go....
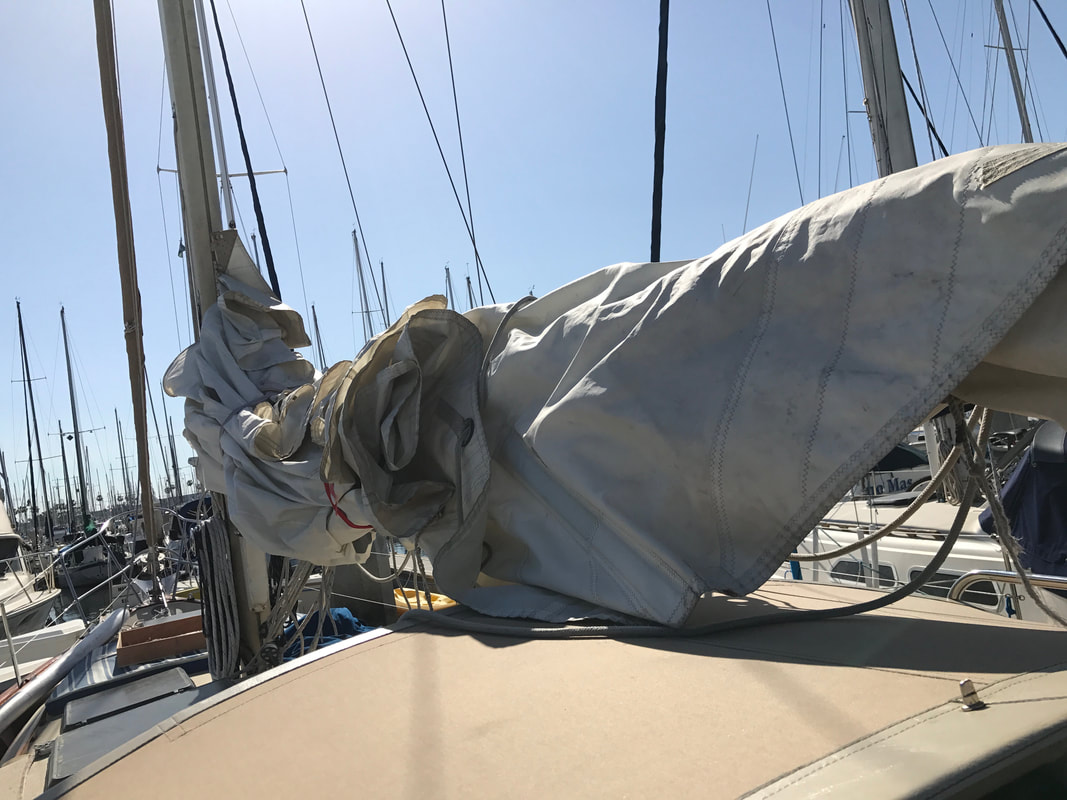
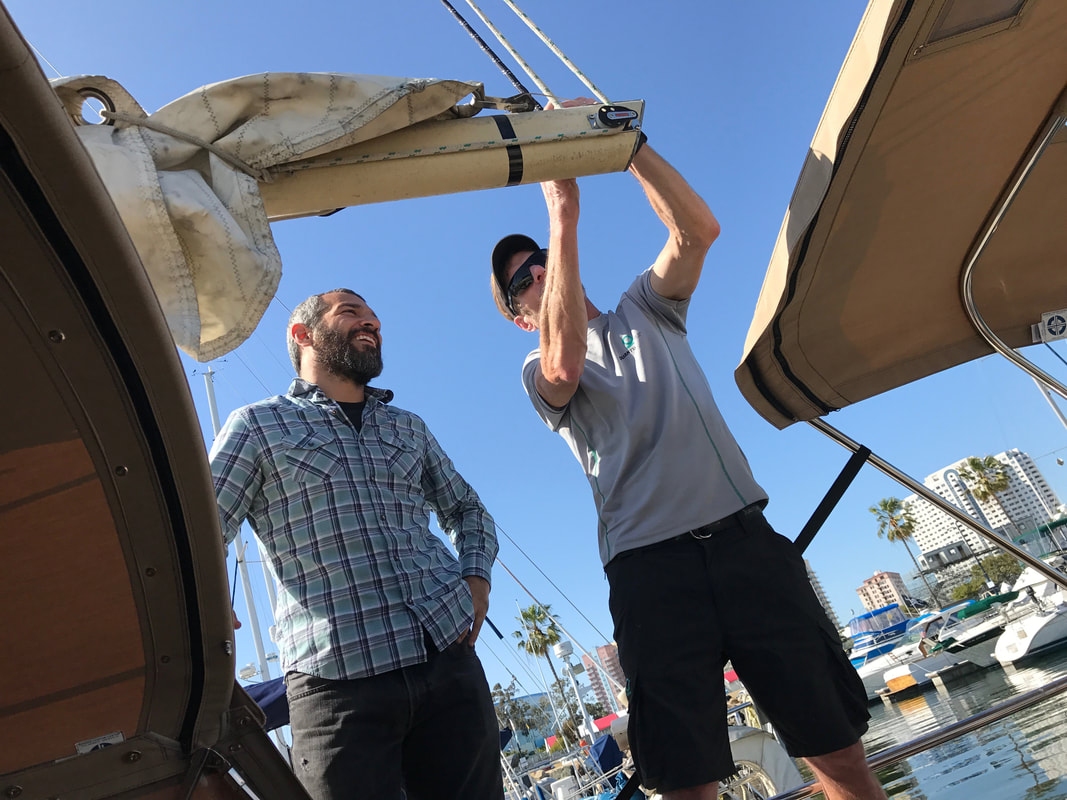
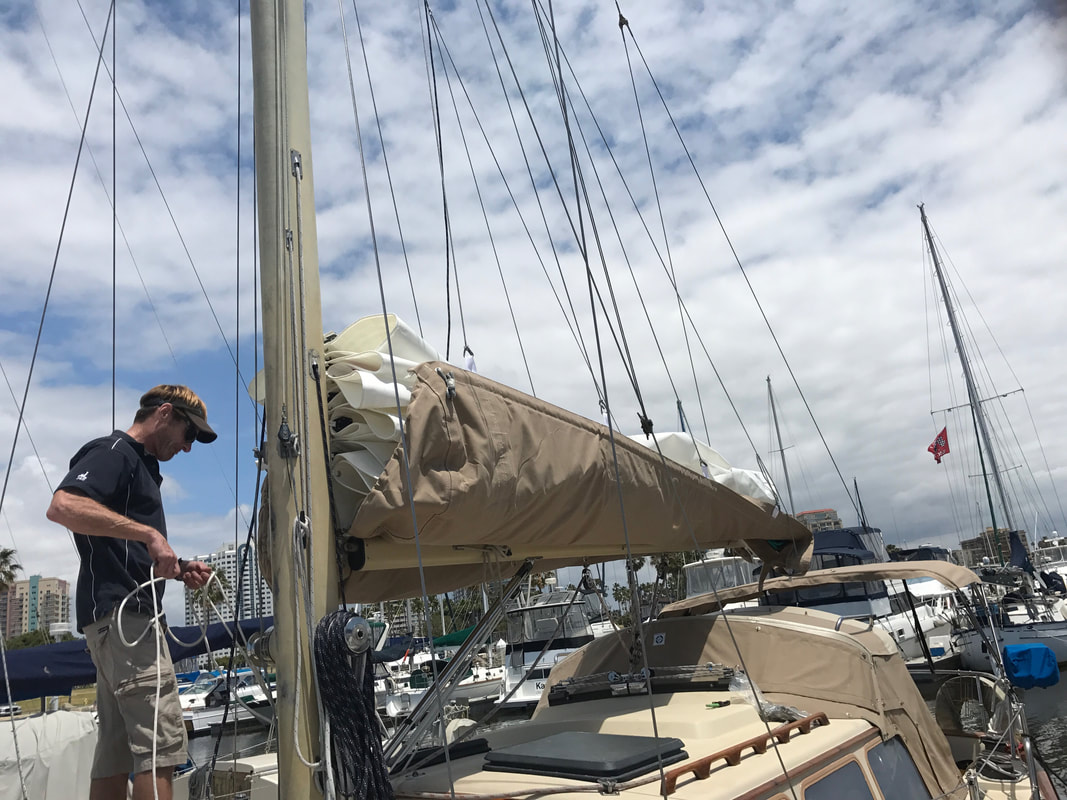
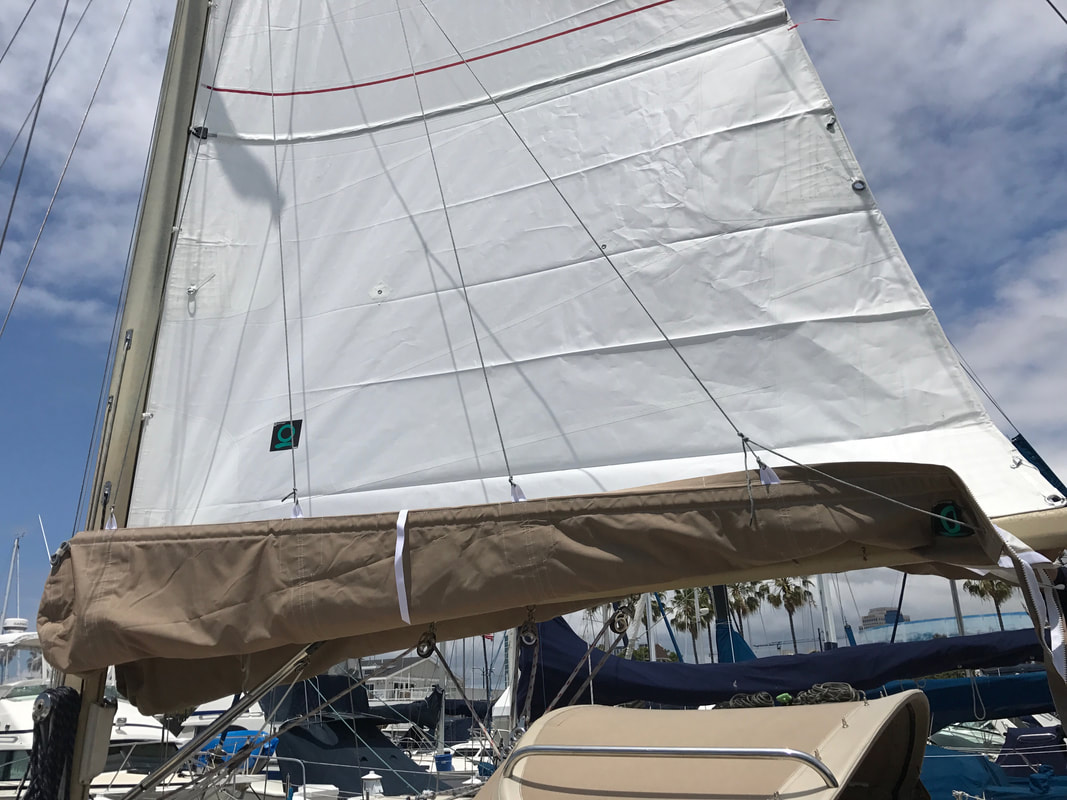
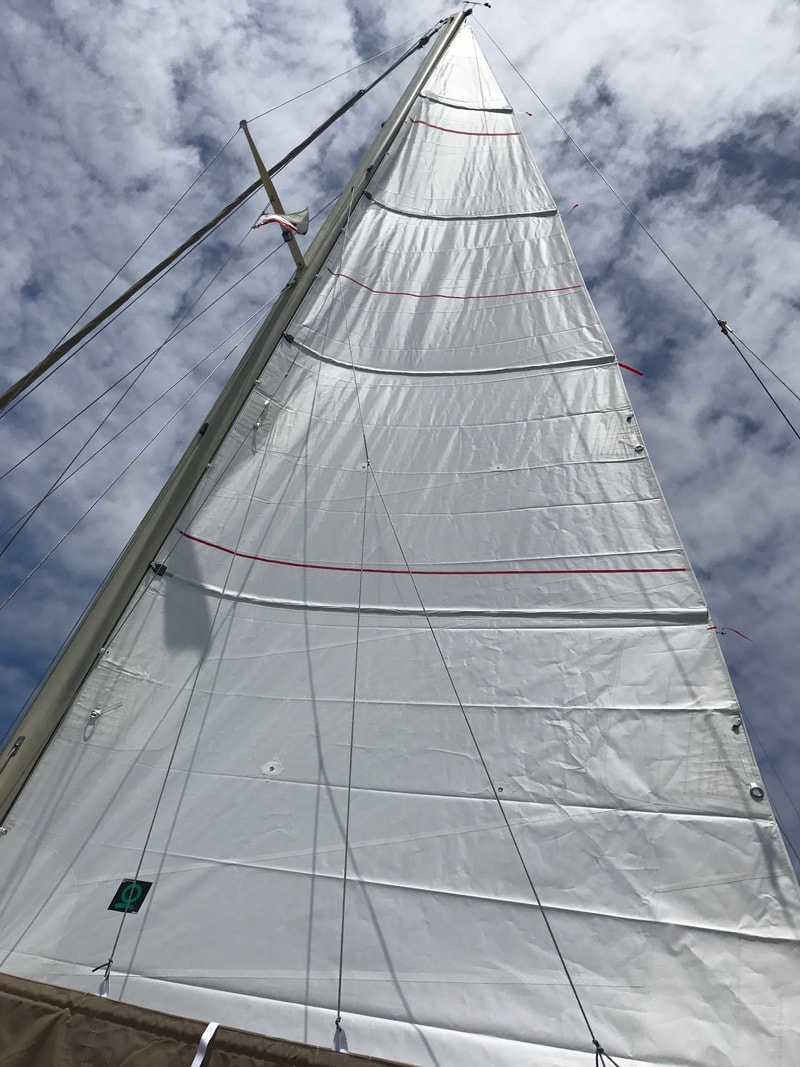
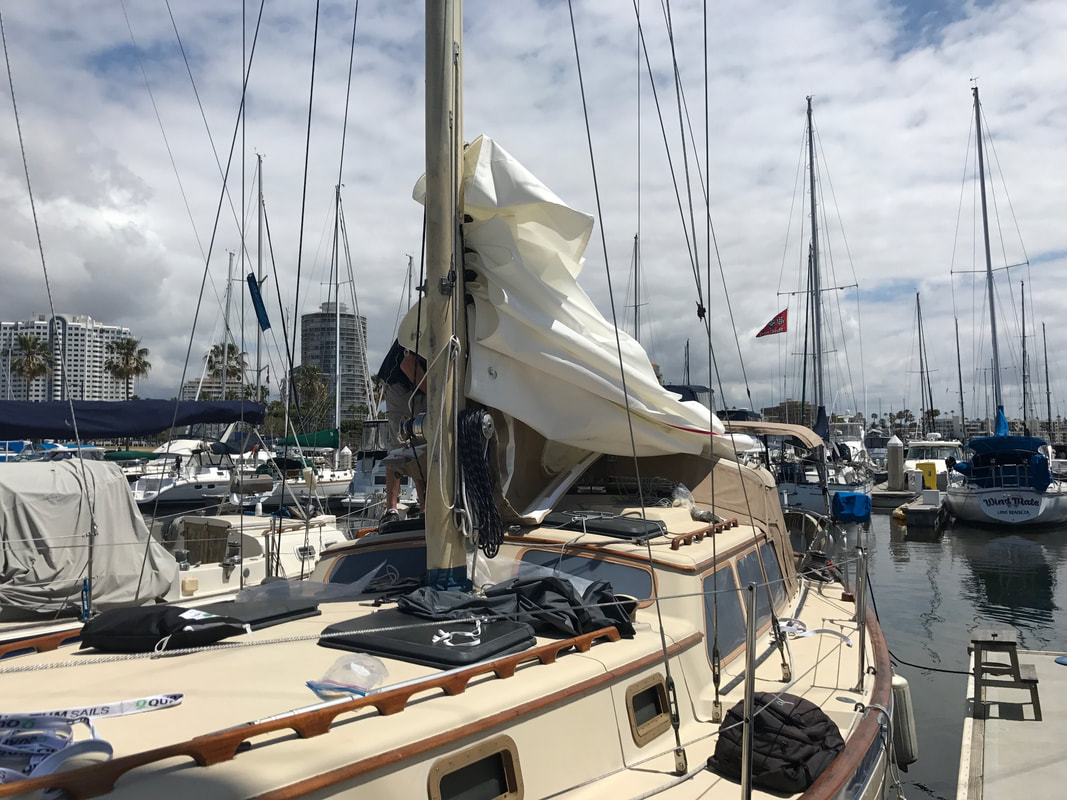
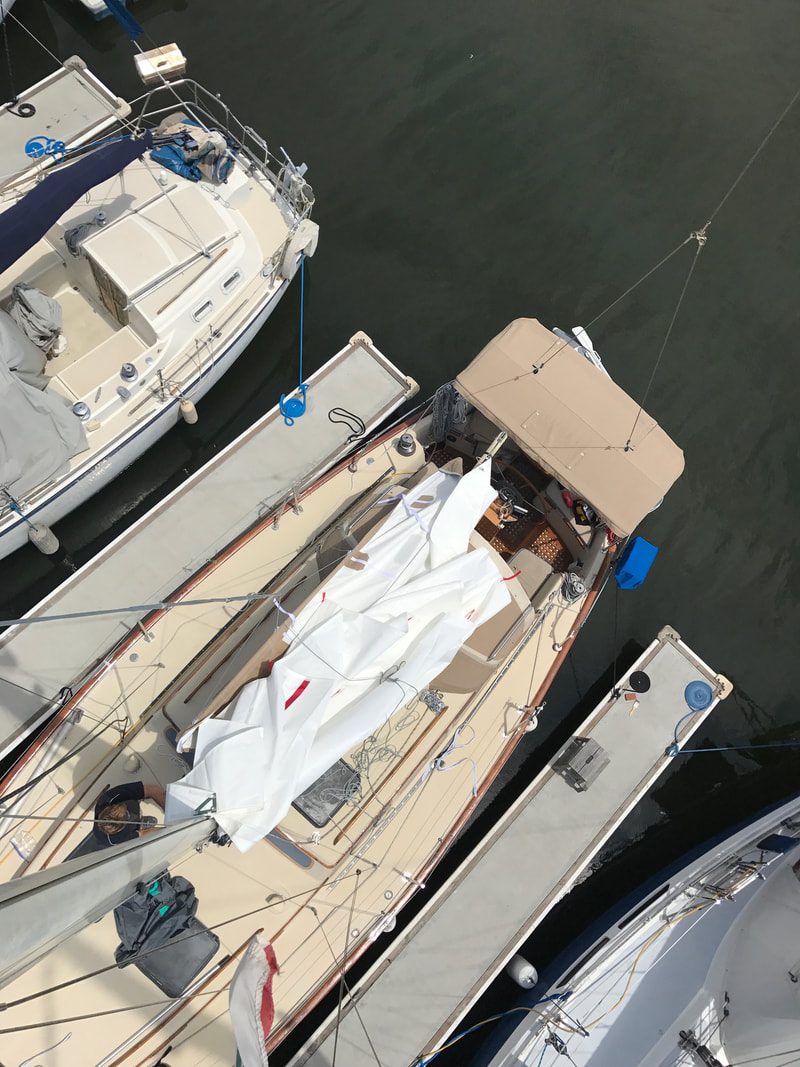
Kenutu has a lot going on. She's got a cute little upturned nose. She's got a hefty behind. She's cozy and comfortable. But her sail is stretched out and tired. Just look at this droopy, shot pair of underwear. The thing about boat repairs is that as you do them, the old stuff looks worse. In this case, once the bimini and dodger were done, the sail, in its tweed blue sail cover, looked like an appendage we found in a junk yard and glued on a luxury liner. We called Quantum Sails to see about a getting a new main with an appropriately matching sail pack. Jay came out to the boat to measure some things and tell us about all the sailing he did in hurricanes and races. Mack fell in love while I puked over and over in my head. At the end of the day we ordered a new sail and sail pack for about 5 boat units. It's too painful to say it in dollars so we agreed to speak of things in boat units for our health. It took about 8 weeks from measuring to making, but when Jay and his team showed up to install the new sail, with four full battens and two reefs, Mack practically danced. Pretty sure this makes Kenutu Victoria's Secret Angel caliber now.
|
AuthorTwo people dumb enough to think anything is possible and smart enough to bumble their way into discoveries. Archives
September 2018
CategoriesMates |
 RSS Feed
