|
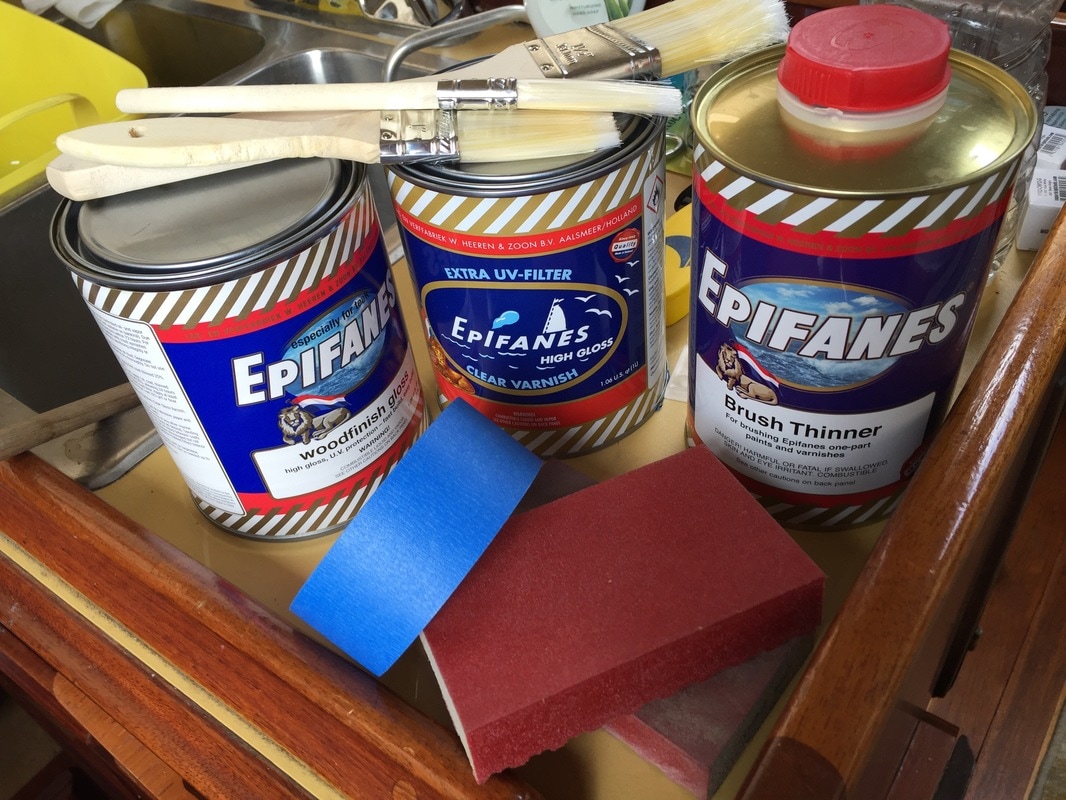
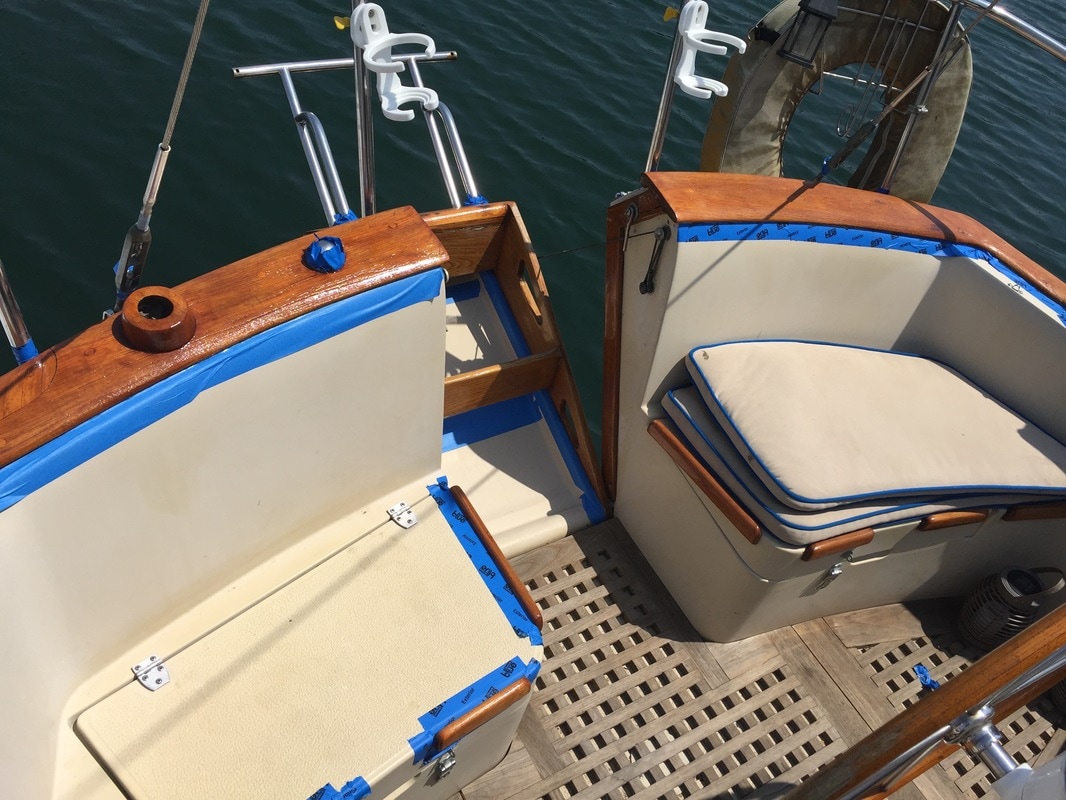
A guy a couple of boats over from us had some guys varnishing his woodwork, which made us really jealous. So jealous that we asked Jose, the guy doing the work, how much our varnish job would be. He said $800 and I'm pretty sure I rolled my eyes and said, "Have you seen these windows?" Our varnish looks 10,000 times better than our windows, which for me means it's just fine in its current state. After watching Jose demonstrate varnishing technique, we concluded we had all the skills needed to do the project ourselves. I did some research on varnishes and decided to go with Epifanes. Maybe because people loved it the most or maybe because people said it was super glossy or maybe because I get so tired of research making me crazy that I buy the most expensive one and cross my fingers. The first step was to sand everything down and clean it and wipe it with a microfiber cloth. I believe that is the first step to every boat project in existence, a first step that includes three steps and takes almost as long as doing the actual project. After we got the surface prepped, we taped off the wood. I'm a pretty good painter, so I rarely tape anything off. However, Mack was helping with this project and he tends to see the big picture more than the details. I used leftover blue painters tape and bought some extraordinary outdoor long lasting blue painters tape that was about $7 a roll. I won't do that again. The outdoor blue tape was thicker, but I don't think that made it better. It was harder to get it to conform to the weird shapes we were taping around. Then, when we pulled it off, it left behind a bunch of sticky, meaning even more clean up to do. Lesson learned. Once we got everything taped off, we mixed our varnish with thinner according to package instructions, which calls for a thicker coat at first and then thinner ones. We used Epifane's brush thinner to do the thinning. We used cheap bristle brushes, which were ordered off Amazon for like $9, and foam brushes, where were like $5 on Amazon, to lay down the varnish. Both brushes worked well while applying, but I noticed the foam brushes left some little air pockets on the surface of the varnish. Mack thought the foam brushes applied far better and used less varnish. I guess beauty is in the eye abilities of the beholder. We worked from the cockpit forward, in the hopes the cockpit would be mostly dry when we were done. After each coat, we sanded and wiped with the microfiber cloth. We applied one coat each day, which took about an hour with two of us and three hours on days when we had to go it alone. After about four coats, with angry knees and contorted backs, we decided we needed to go to Catalina for Labor Day and called it quits on the varnishing. Mack wants to do a heat gun method where you pull off alllllll the old varnish and start from scratch, where as I want to do the Amber method where you sand down the surface and keep building up the varnish by applying a few coats a year. I'm not sure which is better, getting down to the wood itself and starting over or building up the layers of varnish over time. For now, the wood looks better than it did, it's protected, and we're going sailing!
0 Comments
Leave a Reply. |
AuthorTwo people dumb enough to think anything is possible and smart enough to bumble their way into discoveries. Archives
September 2018
CategoriesMates |


 RSS Feed
