|
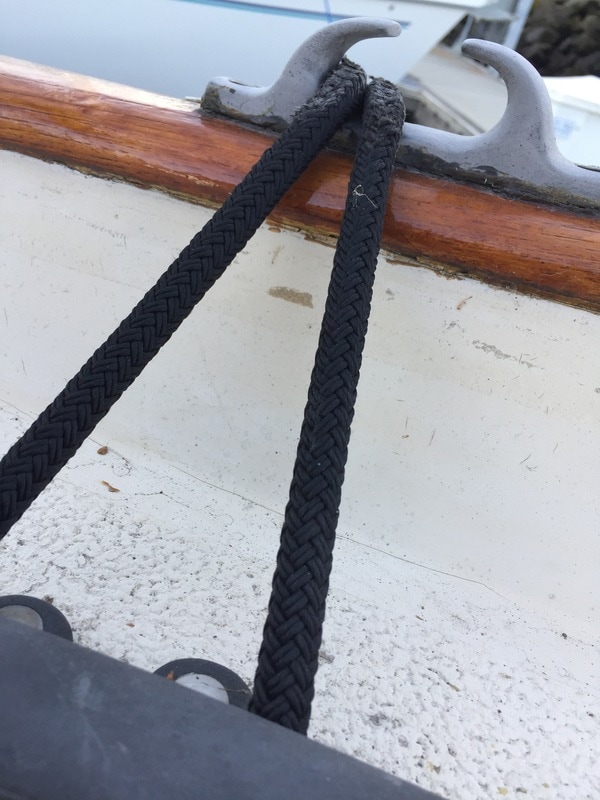
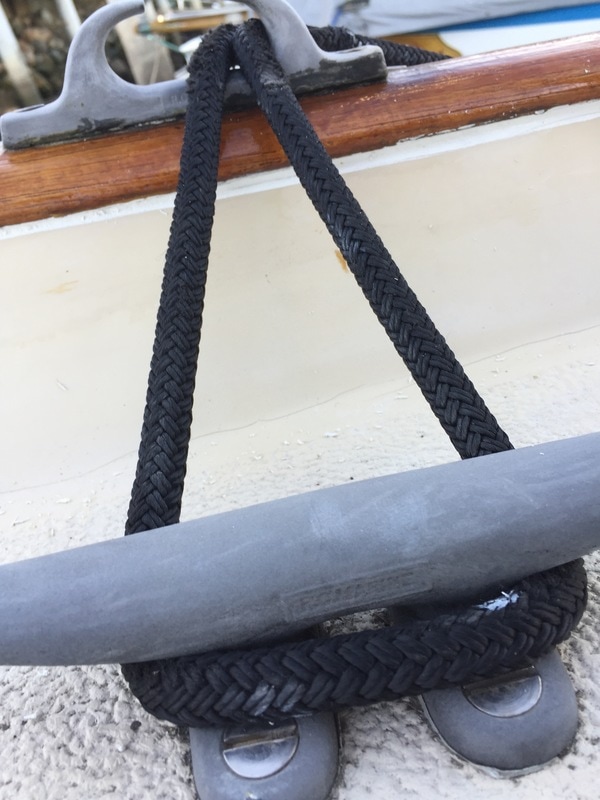
During those few hot days in August that we spent worshipping Kenutu's toe rail (aka varnishing the wood), it became clear that we'd need to bow down again soon to replace the caulk. Most of the caulk in the toe rail was broken into pieces and dried out or missing altogether. In some places someone had done a great job of putting new caulk all over old crumbly caulk. An uncaulked or poorly caulked toe rail is bad because water goes under there and rotting and bad bad bad. Luckily we live in Southern California so rain is a rare phenomenon and (fingers crossed) hasn't compromised the toe rail too badly. However, the weather guys were screaming rainy winter loud enough that I decided to get back on my hands and knees and work the toe rail. 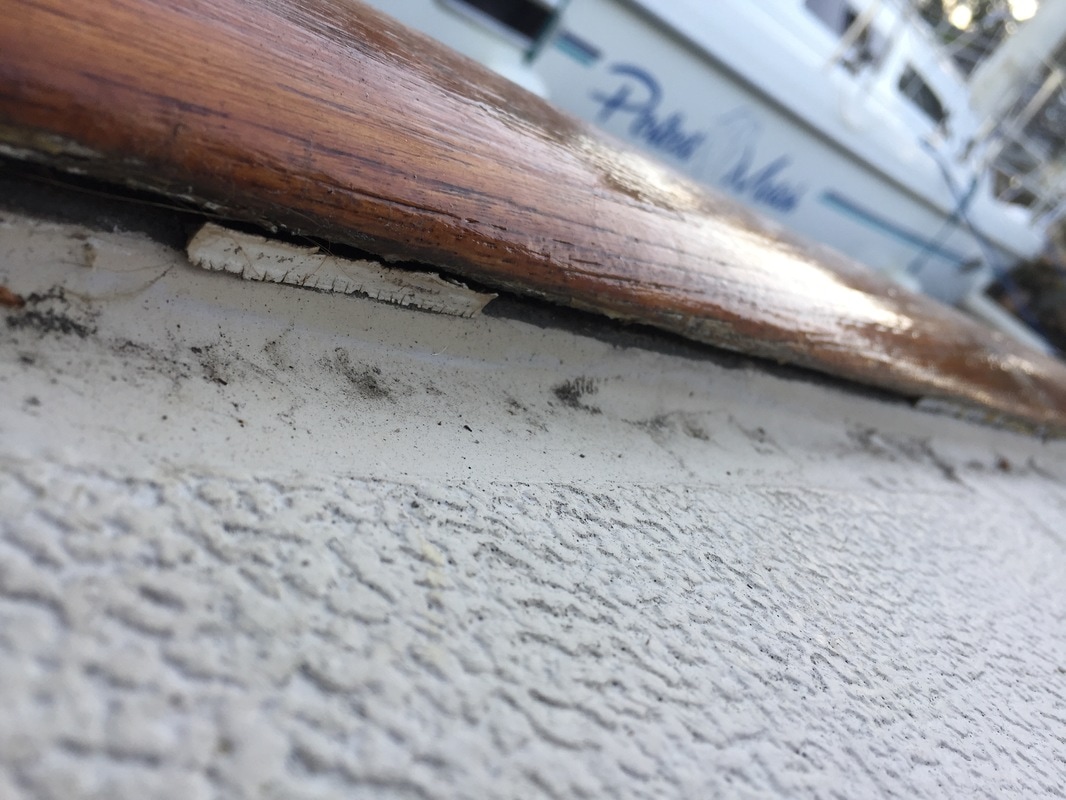 The first step was getting all the old crap out. There is no easy way to do this. I used a combination of a flathead screwdriver, a paint scraper, tweezers, puffs of air, and a fancy caulk tool that I bought. I also accidentally gouged the deck and the toe rail a few times but if anyone asks, no I did not do that. Removing the old caulk was one of the few instantly gratifying and fast boat projects I've done so far. It came out pretty easily, thanks to my abundance of tools, and then I washed the area down with a toothbrush, dried it with a microfiber towel, applied some primer recommended by the caulk maker, waited an hour or so to make sure it was really dry, and then caulked. See how fast and easy that sounds? 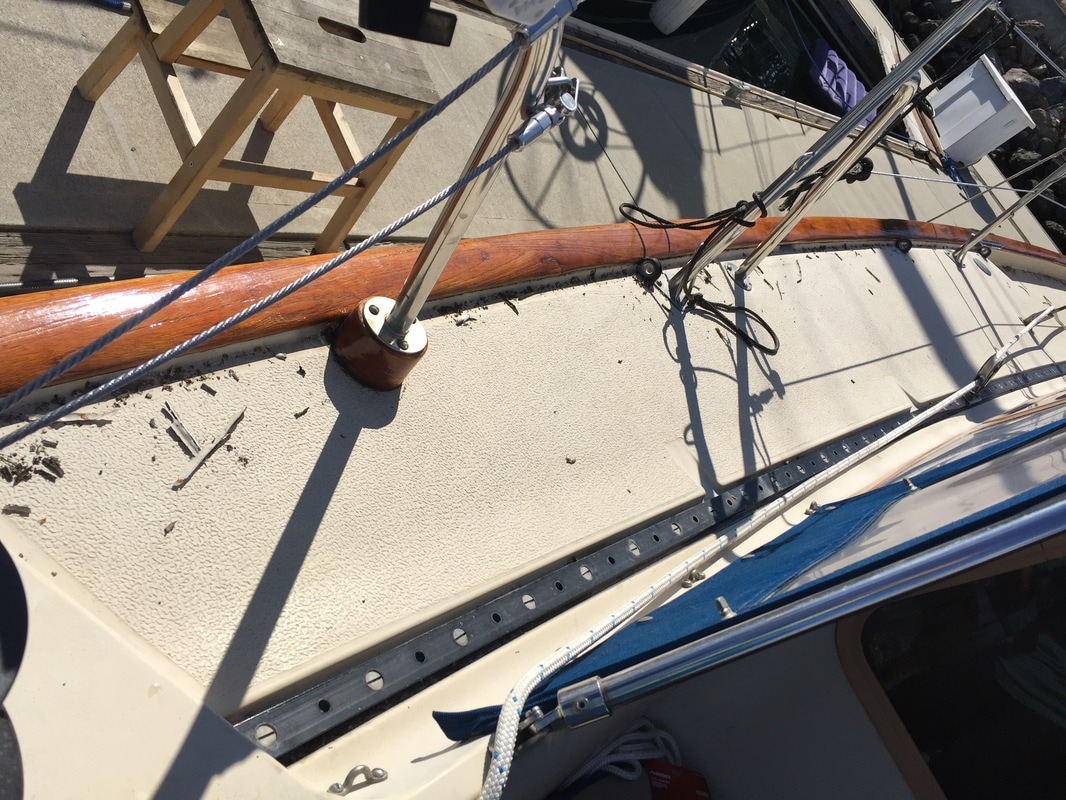 I did some research (these forums and this article) on caulking the toe rail and discovered that you want something UV resistant, flexible, and able to bond to teak. Among the options were Dolphinite, 3M UV4000 (which took the place of the beloved 3M 101), Sikaflex, and LifeCalk. In the end we went with LifeCalk and LifeCalk Primer, both made by BoatLife and available on Amazon, mostly because it seemed the most forgiving. All in, this project cost about $60. And 12 hours. And 27% lasting neck and knee pain. 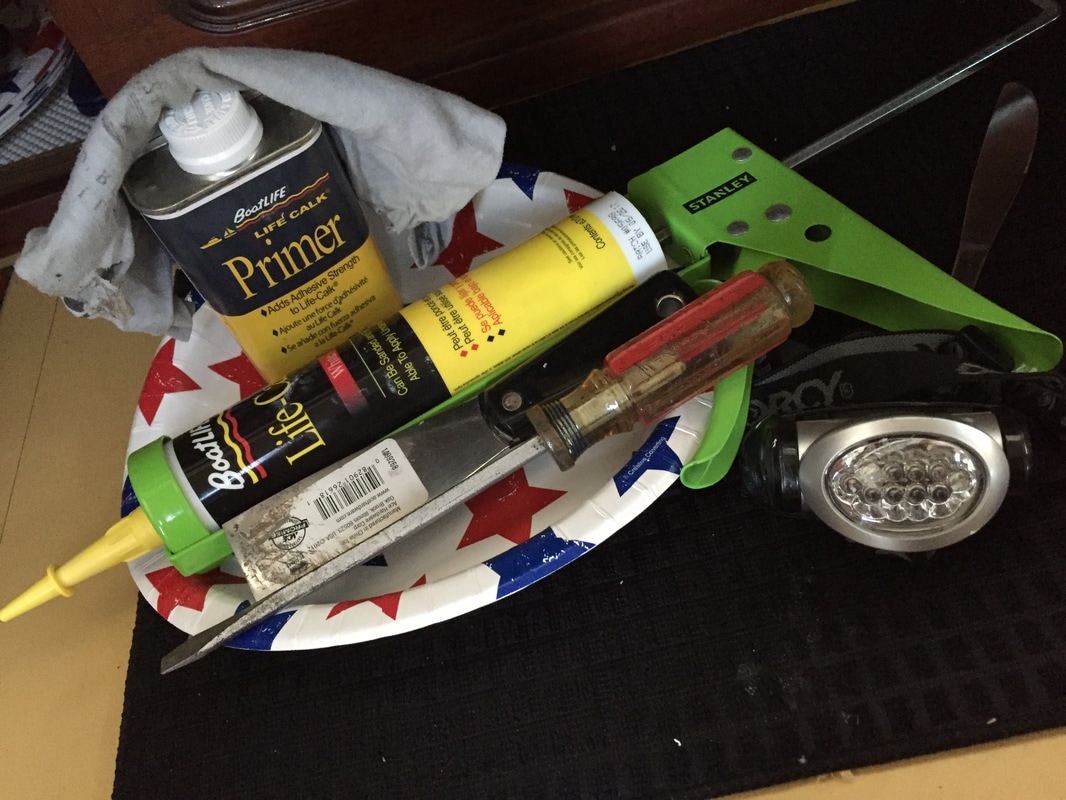 The caulk goes in pretty easily if you push it along rather than pull it. I used the side of my finger to create a smooth curve and really smoosh it into the gaps. At one point I thought, oh, I'll use that soapy water on your finger trick so it doesn't stick to my finger. DON'T DO THAT. This caulk actually cures faster in water, which makes that technique a bad idea. After a steep learning curve, I carried a dry paper towel around, pinched the extra caulk off my finger, folded that edge down to avoid getting caulk everywhere, and went on to the next section. Caulk definitely got way beyond the areas I wanted it, but that was pretty easily managed with some mineral spirits on a paper towel and some potential arthritis in my fingers. In the end, we were left with a solid bead of caulk keeping whatever toe rail rot we may have a secret from now until it reveals itself in a major way.
0 Comments
Leave a Reply. |
AuthorTwo people dumb enough to think anything is possible and smart enough to bumble their way into discoveries. Archives
September 2018
CategoriesMates |
 RSS Feed
